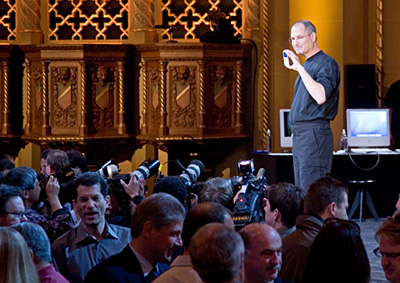
The December 2006 photo assignment, pool of light closes at the end of day on Sunday, Dec. 31. You still have a little time to send in your entry.
Participating is easy. All you have to do is attach your assignment photo to an email and send it in. Title your subject line: Photo Assignment [month, year]. Attach your entry making sure that it is no wider than 600 pixels. Include a few sentences about why you took this approach, the camera you used, and any setting details that you think are important. Address your email to: derrick@thedigitalstory.com.
If you can, don't remove the EXIF metadata as you prepare your image. I like to list this information with the picture when it's displayed in our gallery.
As an example, this image of Apple CEO Steve Jobs was captured in Oct. 2005 when he unveiled the iPod 5th Gen video at a press event. Steve is standing in the pool of light while others mill about in the shadows.
