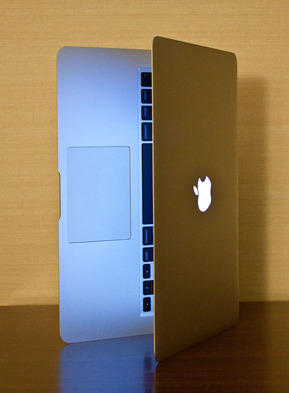
The new MacBook Air represents both freedom and power for the nimble photographer. This week I talk about how to best configure the laptop and have recommendations for camera bags that will accommodate it.
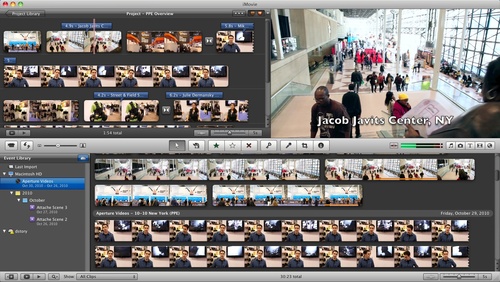
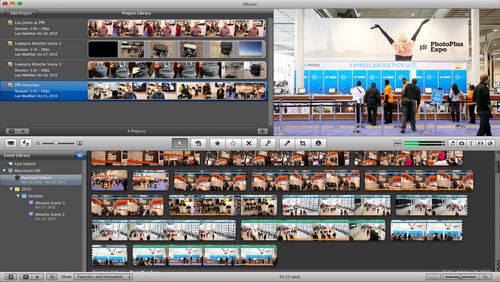
I've had a chance to actually use the computer in the field. On a recent assignment to New York, I used Aperture 3.1, Photoshop CS5, Adobe Bridge, Adobe Camera Raw, iMovie, Photoshop Elements 9, Premiere Elements, and iPhoto '11 on the MacBook Air. All of my productivity apps such as the iWork suite, Transmit 4, Text Wrangler, and QuickTime also performed well.
The bottom line is that the Air is a blessing for shooters who want to use their favorite photo apps on the go.
Lowepro Bags Discussed in the Podcast
- Lowepro Classified Sling 180 AW
- $129
- Lowepro Versapack 200 AW
- $99
- Lowepro Classified 200 AW Shoulder Bag
- $149
- Lowepro Fastpack 250
- $89
Listeners who have the TDS Podcast App also have a movie showing the Classified Sling 180 and the Versapack with the MacBook Air. Click on the Extras button.
Listen to the Podcast
You can also download the podcast here (34 minutes). Or better yet, subscribe to the podcast in iTunes. You can support this podcast by purchasing the TDS iPhone App for only $2.99 from the Apple App Store.
Monthly Photo Assignment
High ISO is the November 2010 Photo Assignment. You can read more about how to submit on our Member Participation page. Deadline for entry is Nov. 30, 2010. Entries must be recorded at ISO 800 or above.
TDS Spring 2011 Photography Workshop
We're making plans now for the Spring 2011 TDS Photography Workshop. If you want your name on the reserve list, just drop me a line.
More Ways to Participate
Want to share photos and talk with other members in our virtual camera club? Check out our Flickr Public Group. It's a blast!
Podcast Sponsors
Red River Paper -- Try the $7.99 Sample Kit.
Make Your Photos Sizzle with Color! -- SizzlPix is like High Definition TV for your photography.
Blurb believes passionately in the joy of books - reading them, making them, sharing them, and selling them. Learn more by visiting Blurb on The Digital Story.Technorati Tags:
digital photography, podcast, technique, Technology, The Digital Story, tips
