Recently in Photography

  Page 246 of 385 in Photography  

Photographers should think carefully about the hard drives they choose to organize and archive their images. There are three basic aspects to consider: capacity, convenience, and protection.

In Organizing and Archiving Digital Photos, I cover a few hard drive configurations to consider for your own backup workflow: RAID1, removable drives, and personal cloud computing. I also demo their functionality by accessing my images on a local area network, and even downloading archived photos over 400 miles away on a Buffalo Cloudstor drive in my studio.

In fact, if you're considering personal cloud backup as a component for your backup strategy, take a look at my article on the Buffalo Cloudstor. It is an affordable, easy to use solution that has been working well for me.

More on Organizing and Archiving Digital Photos

Organizing and Archiving Overview Movie

Roundtripping from Lightroom to Photoshop

"Organizing and Archiving Your Photos" - Digital Photography Podcast 290

Quick Keywording Tips in Lightroom 3

Backing Up Aperture 3 Via My Local Network


The Digital Story on Facebook -- discussion, outstanding images from the TDS community, and inside information. Join our celebration of great photography!
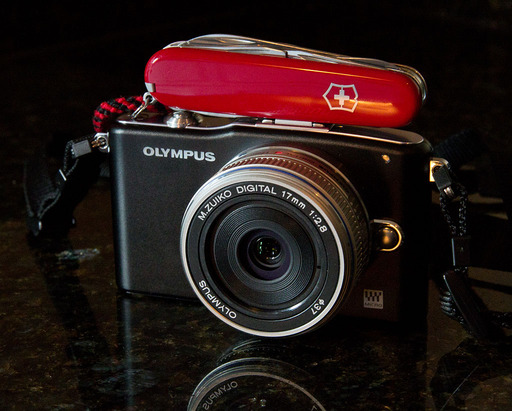
Fujifilm has found a formula that I think is going to sell a lot of cameras in the near future. With the announcement of the FinePix X10, the follow up companion to the popular X100, Fujifilm once again combines classic styling with modern functionality to create a very tempting high end compact camera.

Fujifilm X10

They bring back the 2/3" image sensor (bigger than most compacts, but smaller than the micro four/thirds offering), premium glass, EXR image processor, manual controls, RAW capability, fast f/2.0/2.8 4X zoom lens, image stabilization, and 7 fps continuous shooting mode.

Plus, a macro mode that will focus as close as 1cm, optical zoom viewfinder, film simulation mode, auto bracketing, 49-point selectable AF points, full HD movie recording, and a lot more.

We'll learn about availability and pricing in the coming weeks. But the X10 should hit the streets by Fall.


The Digital Story on Facebook -- discussion, outstanding images from the TDS community, and inside information. Join our celebration of great photography!

richard_bulda_winner.jpg

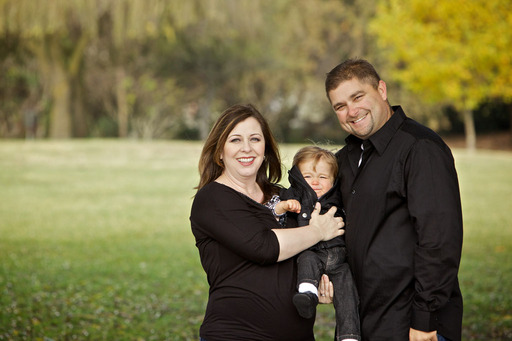
Congratulations to Richard Bulda who is the winner of the Lowepro Fastpack 100 filled with goodies.

Richard, please send me your shipping information (including phone number) and I will get your prize to you asap.

Thanks to all of my Twitter, Facebook, and Google+ friends who participated. I enjoy your comments and contributions to my corner of the world.


The Digital Story on Facebook -- discussion, outstanding images from the TDS community, and inside information. Join our celebration of great photography!


DIY Studio Set Up

It's amazing what you can build with a few pieces of PVC pipe and a handful of shower curtain hooks. This week I talk about assembling your own portrait studio. You can use this rig at home, at your local school, at a friend's house, or just about anywhere you can find a 10' x 12' space to set it up and work. During the show, I walk you through the entire parts list.

A Few of the Resources Mentioned in the Podcast

In addition to PVC pipe, a hack saw, shower curtain rings, a few C-clamps (the kind with orange handles from the hardware store), clothes pins, and gaffers tape, here are some resources to finish off your studio:

Listen to the Podcast

You can also download the podcast here (28 minutes). Or better yet, subscribe to the podcast in iTunes. You can support this podcast by purchasing the TDS iPhone App for only $2.99 from the Apple App Store.

About These Images

The top photo is a self portrait of me in my DIY studio. I'm shooting into the big mirrors that I have against the back wall. Models can use those to help them position themselves during the session. You can click on the photo to see the other details, such as the PVC pipe and backdrop.

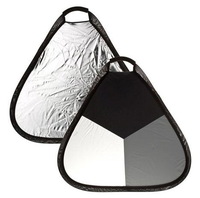
Second photo is a portrait captured in this studio. The main light is from the north facing window. Fill light is supplied by a Photoflex 5-in-1 32" reflector disc mounted with the holder attachment. No other lighting was used.

You can see more images from the photo shoot on the TDS Flickr page. Photos by Derrick Story.

Taylor in DIY Studio

Monthly Photo Assignment

Reflection is the August 2011 Photo Assignment. You can read more about how to submit on our Member Participation page. Deadline for entry is August 30, 2011.

TDS Nov. Aperture Workshop

I've an Aperture Workshop on Nov. 12th and 13th. If you want your name on the reserve list, or just more information, drop me a line. BTW: We include a professional model shoot as part of this workshop. Just saying...

More Ways to Participate

Want to share photos and talk with other members in our virtual camera club? Check out our Flickr Public Group. And from those images, I choose the TDS Member Photo of the Day.

Podcast Sponsors

Red River Paper -- The $7.99 Sample Kit is back! And with free shipping.

Make Your Photos Sizzle with Color! -- SizzlPix is like High Definition TV for your photography.

Need a New Photo Bag? Check out the Lowepro Specialty Store on The Digital Story and use discount code LP20 to saven 20% at check out.


Technorati Tags:
, , , , ,


Quick Keywording Tips in Lightroom 3

In Organizing and Archiving Digital Photos, I cover basic organizational techniques in Lightroom, Aperture, iPhoto, and roll-your-own. In this short video, I discuss keywording in Lightroom 3 on a Windows 7 machine. By adding keywords to your images, you make it easier to find them up the road. This is especially true when your library grows to thousands of images.

More on Organizing and Archiving Digital Photos

Organizing and Archiving Overview Movie

Choosing the Right Hard Drive for Your Photo Backup

Roundtripping from Lightroom to Photoshop

"Organizing and Archiving Your Photos" - Digital Photography Podcast 290

Backing Up Aperture 3 Via My Local Network


The Digital Story on Facebook -- discussion, outstanding images from the TDS community, and inside information. Join our celebration of great photography!
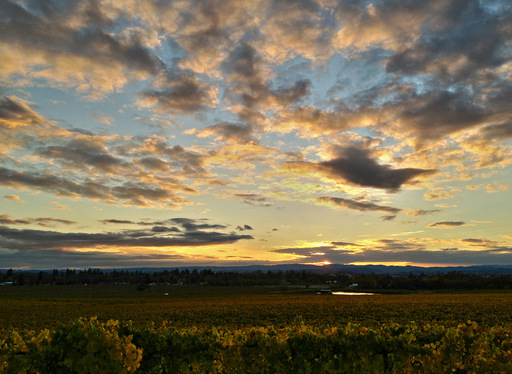

Outdoor Portrait Shoot Photo shoot during the TDS Sonoma Coast Workshop.

Portraits indoors and out require a mix of craftsmanship and artistry. After two days of shooting during the TDS Sonoma Coast Workshop, I have a few tips to share that we covered during the sessions.

  • Make sure the eyes are sharp. And if the subject's head is rotated left or right, focus on the eye closest to the camera.
  • Reflectors are just as useful on overcast days as when the skies are clear. They are particularly helpful for brightening up the eyes.
  • Fill flash, when used properly, can help you when you don't have an extra set of hands for reflectors. But practice with your settings before the shoot, or it can become an exercise in frustration.
  • Learn to see the color of light as well as its intensity. Adjusting your white balance during the shoot renders better skin tones on the LCD screen, and back at the computer.
  • Communicate with your subject. Keep talking during the shoot. Be encouraging. Share images from the camera's LCD to build confidence during the session.

And if you've promised to share images with the subject after the shoot, deliver the goods in a timely manner. It's the professional thing to do.


The Digital Story on Facebook -- discussion, outstanding images from the TDS community, and inside information. Join our celebration of great photography!

"Oh My!"

katherine_crosbie_tds_workshop.jpg

I love this photo by Katherine Crosbie of Ashley Tuttle captured at the ongoing TDS Sonoma Coast Workshop in Santa Rosa, CA.

Katherine is one of eight attendees who will be heading to the coast today for our focus on landscape work and environmental portrait. Great shot, Katherine!


The Digital Story on Facebook -- discussion, outstanding images from the TDS community, and inside information. Join our celebration of great photography!

Organizing and Archiving Digital Photos is live in the lynda.com online library. It's about the concepts and techniques behind efficient photo management and backup. This training is Mac and Windows friendly. I worked on a Mac for Aperture stuff, Windows for Lightroom stuff, and there's plenty of roll-your-own tech too. There are also five free movies you can watch right now.

The course begins by showing how to transfer and organize photos "by hand" -- that is, by copying them from a memory card to a hard drive without using software. In the second portion of the course, I explain how to take advantage of the photo-management features provided by programs such as Lightroom and Aperture, by assigning descriptive keywords, by giving photos ratings and color-coded labels, and how smart album features can automatically collect photos that meet certain criteria.

I also get into the new generation of user-friendly RAID hard drives, cloud computing, and lots of other good stuff.

More on Organizing and Archiving Digital Photos

Organizing and Archiving Overview Movie

Choosing the Right Hard Drive for Your Photo Backup

Roundtripping from Lightroom to Photoshop

"Organizing and Archiving Your Photos" - Digital Photography Podcast 290

Quick Keywording Tips in Lightroom 3

Backing Up Aperture 3 Via My Local Network


The Digital Story on Facebook -- discussion, outstanding images from the TDS community, and inside information. Join our celebration of great photography!
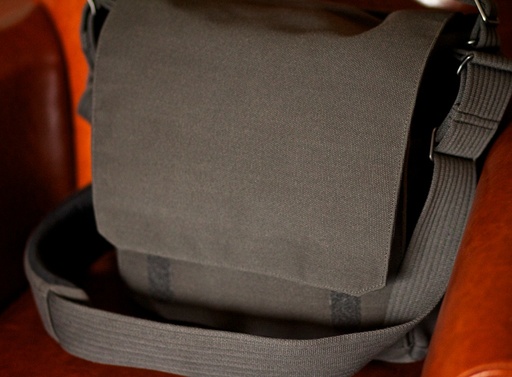

Lowepro Fastpack 100

How easy is this? All you have to do is "Like" the TDS Facebook Fan Page, or... follow me on Twitter, or... add me to a circle in Google+, and you could win a Lowepro Fastpack 100 filled with goodies. If you're on more than one of these social networks, then you can have as many as three entries.

What Are the Goodies?

I'm not going to tell you all of them, but how about a few? One item will be an Expo Disc for super accurate white balance (worth $100). Another will be a signed copy of The Digital Photography Companion. And then there's the Lowepro Fastpack 100, perfect for that day outing with your DSLR.

The Rules

Deadline for participation is Tuesday, Aug. 30, 11:00 pm PST. Participation is void where prohibited. The winner will have to provide email address, shipping address, and phone number to receive the prize package. Winner will be announced on The Digital Story on Wed., Aug. 31, 2011.

The Printing Room

The Printing Room

Here's a look inside the Printing Room at the TDS Studio in Santa Rosa, CA. This image was captured after a 3-day marathon session while I was assembling a new portfolio. (If you want to hear the process I use for that, check out the Clever Portfolio podcast.)

For the color work, I'm using the Epson R2000 13" printer ($349) with Epson Premium Luster paper and Red River Arctic Polar Luster 75 lb.. I connect to the R2000 using WiFi from the MacBook Pro located on the right side of the photograph. I always use Epson original ink for all my Epson printers.

B&W images are created with the Epson R2400 13" printer, mainly because I love the way the K3 ink set renders the images. I've been printing the B&W on Red River Aurora Art White stock, and the images look, and feel, fantastic. In fact, the image you see coming out of the R2400 is on that particular paper. For these images, I use the "Advanced B&W" setting on the R2400. It is connected to the MacBook Pro via a USB cable.

I make all of my prints using Aperture 3. I have presets for the different types of output, and that saves me a lot of time. During these marathon sessions, I bring my MacBook Air up to the printing room so I can work while the devices do their thing.


The Digital Story on Facebook -- discussion, outstanding images from the TDS community, and inside information. Join our celebration of great photography!