This is The Digital Story Podcast #722, Jan. 21, 2020. Today's theme is "Non-Confrontational Street Photography." I'm Derrick Story.
Opening Monologue
Many photographers who I've worked with over the years like the idea of exploring urban environments with their cameras, but aren't comfortable approaching strangers for pictures. I understand the sentiment, and have worked on a strategy that I call Non-Confrontational Street Photography. And the best part? People shots will still be part of the mix. I hope you enjoy the show.
Non-Confrontational Street Photography
Not everyone is cut out to walking up to a stranger and saying, "Can I take your picture?" Yet, the images that we can capture in urban environments can be truly memorable.
So how do folks who are a bit more on the shy side work the city streets? Here are five tips for what I call Non-Confrontational Street Photography. We'll be practicing these during my upcoming LA Street Photography Experience Workshop in March.
- Let them come to you - Many new street photographers think that they always have to be on the move, hunting their subjects like lions in Africa. But that's just not necessary. Find an interesting spot, park yourself with camera ready, and let the world come to you. Be friendly, smile, and make eye contact.
- Be ready for street performers - Make sure that you have a few $1 bills in your pocket for street performers. They can appear on the corner of a busy intersection, or inside a subway car. They are perfectly fine with photos. Be sure to offer a tip and ask for a hashtag.
- The more colorful, the easier to approach - When you see someone with an outlandish outfit or dressed very uniquely, they tend to want attention. You can politely approach these characters, tell them how much you love their look, then ask for a snapshot.
- Have business cards ready - If you're not a stranger to them, they will be more comfortable with you. Carry simple business cards that have your name, email, and website printed on them. Hand the card to a potential subject, and tell them that you are an amateur photographer who loves to take portraits, and you would love to capture their picture. If they ask for a copy, then tell them to send you a note to the address on the card.
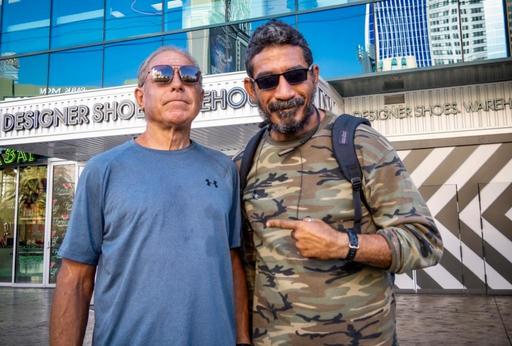
- Have someone friendly with you - In my case for example, I'm a tall, big guy. So I find it helpful to have a friendly woman with me who can make small talk and help people feel at ease while I capture their portrait.
As for cameras, my PEN-F is perfect for this assignment. It's not intimating, looks interesting, and sometimes becomes a bonding topic of conversation.
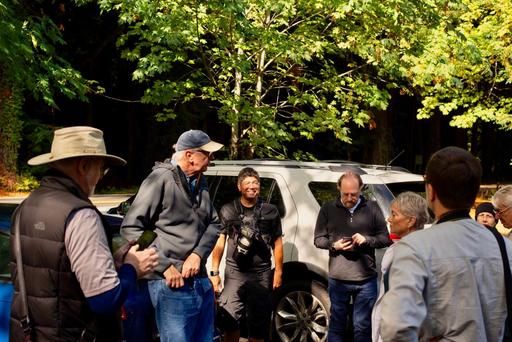
As I mentioned earlier, I'll be teaching these practices, and more, during my upcoming LA Street Photography Experience Workshop in March. Also, you may want to check out my article, Join Me in March for the LA Photography Experience Workshop that has images and information from last week's scouting trip in Southern CA.
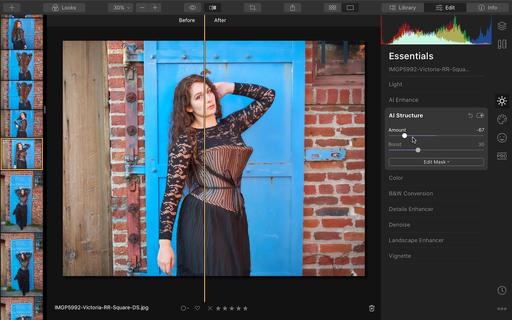
How Sharp is Too Sharp?
This falls into the category of knowing your lenses and not applying the same amount of sharpness in post to all of them. I explain more in this second segment.
The TDS 2020 Photography Workshop Season
What makes these events so special? It's the magic blend of fellowship, location, inspiration, and focus. You can actually be single-minded about your craft. I'll take care of everything else.
When I was discussing this on our Patreon site, one Inner Circle member raised a concern about the class presentation on the final day. I'm going to tell you what I say at every workshop. This is not a competition. It is the most supportive creative environment that you will ever share your work with. And no matter your skill level, the floor is yours to discuss your experience and share a few images. I promise you, you will love it.
When you decide which event is best for your, jump over to our 2020 Workshops Signup Page and place a $100 deposit to secure your place. Only participants on the Reserve List who have placed a deposit will be eligible to register for a workshop. If you have questions or need more information, fill out the "Send Me Info!" request form. I'll get back to you asap.
- LA Street Photography Experience - March 13-15, 2020 - This hands-on workshop guides you on an exploration of classic Los Angeles locations and architecture. Our excursions will take us as far west as Venice Beach, as well as famous movie spots and the back streets of this fascinating Southern California area. Limited to 9 participants and featuring two instructors (Derrick Story and Mike Boening), you will enjoy great photography, food, and friendship with our fellow enthusiasts. Three days, $749. You can place your deposit here.
- Humboldt Redwoods and Coast Workshop - May 12-14, 2020 - Our home base for this experience is in the hospitable town of Fortuna that's on the banks of the Eel River. From there we explore the magnificent redwood groves of Humboldt County and the rugged coastline of Northern California. This workshop explores three distinct ecosystems in a satisfying 3-day event. Limited to just 9 participants, you can reserve your spot and learn more about this event here.
- Lassen Volcanic Park Photo Workshop - July 16-18, 2020 - We'll convene at a spacious cabin at Lake Almanor that serves as our HQ. From there we explore the stunning Lassen landscape, peaceful shores of Lake Almanor, and the magnificent mountain night skies. This hands-on photo workshop is limited to 8 participants and is a wonderful blending of experience, camaraderie, and artistry. Limited to just 8 participants, you can reserve your spot and learn more about this event here.
- The Eastern Sierra Photography Workshop - Autumn 2020 - Our event is headquartered at the Silver Maple Inn in Bridgeport, CA - gateway to Bodie, Mono Lake, and June Lake. We'll take advantage of the magical morning light to photograph some of the most unique landscape in North America. We'll photograph the sparkling night skies of the Sierra and explore rustic urban environments. Limited to just 9 participants, you can reserve your spot and learn more about this event here.
Updates and Such
Inner Circle Members: A big thanks to those who support our podcast and our efforts!
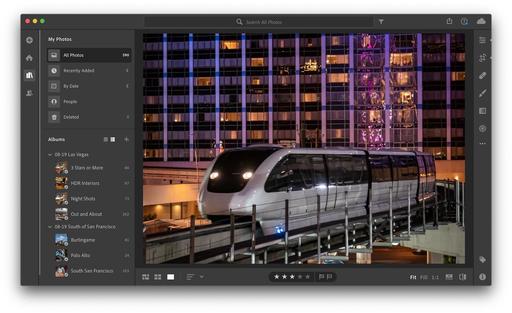
How to Watch Photos for macOS Catalina and iPadOS - Learn everything you need to know about Photos for the Mac and iPad by checking out my latest course on LinkedIn Learning and on lynda.com. This course is perfect for Mac and iPad based photographers who shoot with iPhone, Mirrorless, and DSLR cameras. It covers both photography and movies. And if I say so myself, it's a lot of fun.
B&H and Amazon tiles on www.thedigitalstory. If you click on them first, you're helping to support this podcast. (The Digital Story is supported by its audience. When you purchase through links on our site, we may earn an affiliate commission.) And speaking of supporting this show, and big thanks to our Patreon Inner Circle members:
Affiliate Links - The links to some products in this podcast contain an affiliate code that credits The Digital Story for any purchases made from B&H Photo and Amazon via that click-through. Depending on the purchase, we may receive some financial compensation.
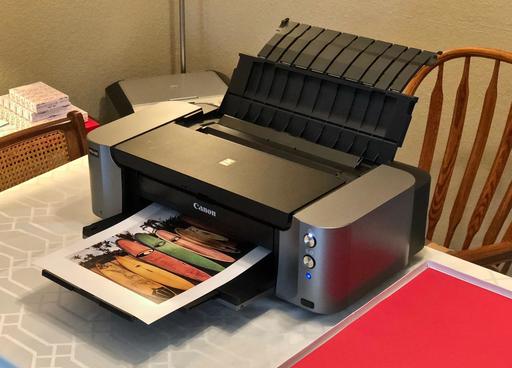
And finally, be sure to visit our friends at Red River Paper for all of your inkjet supply needs.
See you next week!
More Ways to Participate
Want to share photos and talk with other members in our virtual camera club? Check out our Flickr Public Group. And from those images, I choose the TDS Member Photo of the Day.
Podcast Sponsors
Red River Paper - Keep up with the world of inkjet printing, and win free paper, by liking Red River Paper on Facebook.
Skillshare is an online learning community with thousands of classes for creators, entrepreneurs, and curious people everywhere. Get two months of learning for free by visiting www.skillshare.com/tds.
The Nimbleosity Report
Do you want to keep up with the best content from The Digital Story and The Nimble Photographer? Sign up for The Nimbleosity Report, and receive highlights twice-a-month in a single page newsletter. Be a part of our community!
Want to Comment on this Post?
You can share your thoughts at the TDS Facebook page, where I'll post this story for discussion.