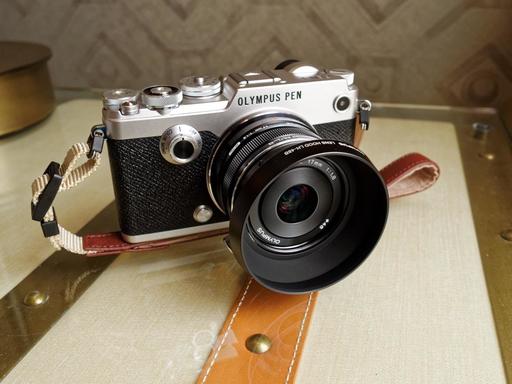
The Olympus PEN-F is a creative force for everyday use, but it truly shines in an urban environment. And I was once again reminded of its street photography prowess this past week in San Francisco. Here are five reasons why.
Nobody Cares
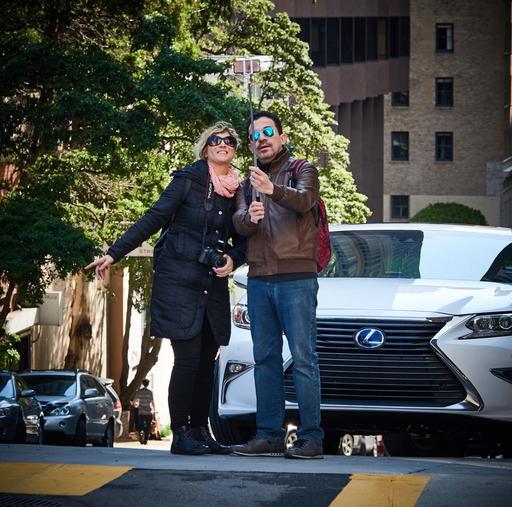
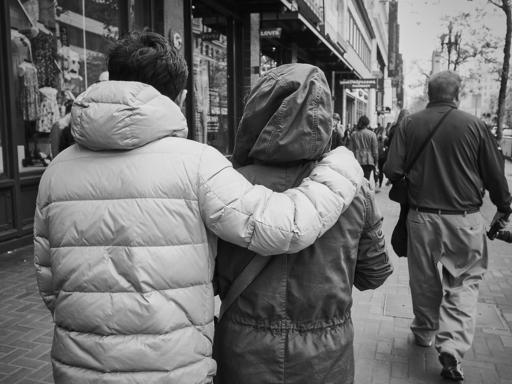
I could stand right in front of people with the PEN-F in hand, and neither I, nor the camera seemed to present any type of threat. Having this ability to stay off the radar for my photo subjects provided me tremendous freedom to capture the world at ease.
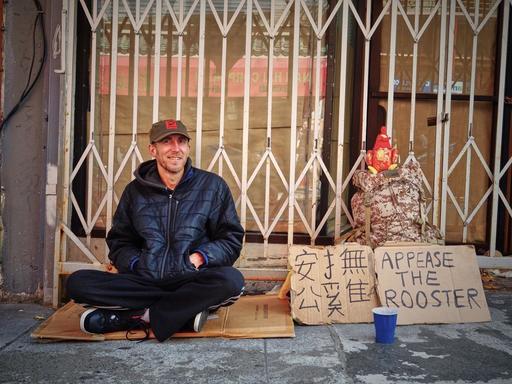
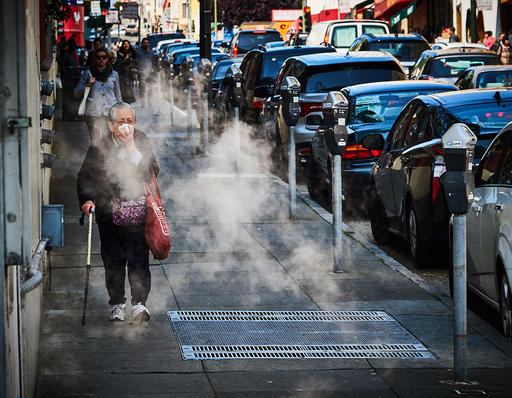
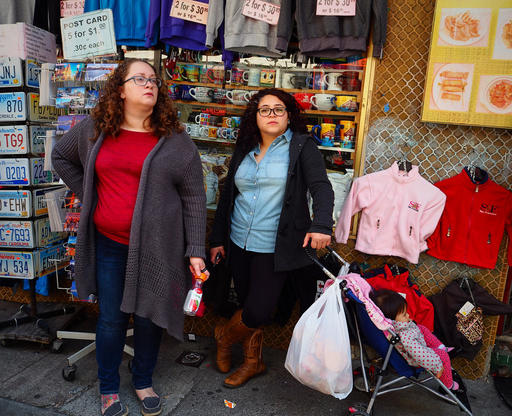 "Shopping in Chinatown" - Olympus PEN-F with 14-42mm EZ, ISO 200, f/5.0, 1/125th, Color Profile 3, -0.7 exposure compensation. Photo by Derrick Story.
Color Profile 3
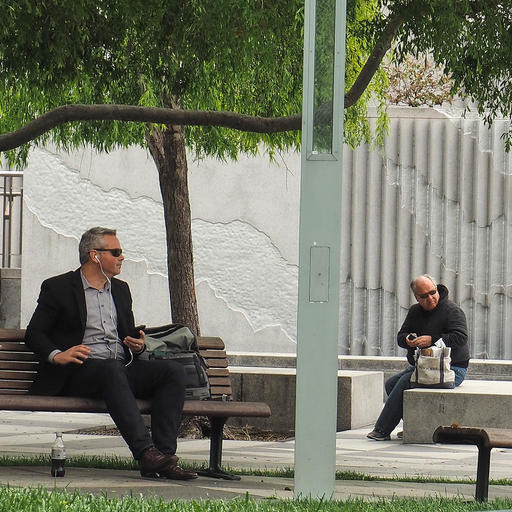
To say the PEN-F captures amazing color is to state the obvious. I programmed the color setting on the front dial to "Color Profile 3" for my morning in Chinatown. Later that night when I was comparing the SuperFine Jpegs to the RAW files, I was impressed with the film-like color in the Jpegs with the Color 3 setting. In many cases, they seemed like completely different shots.
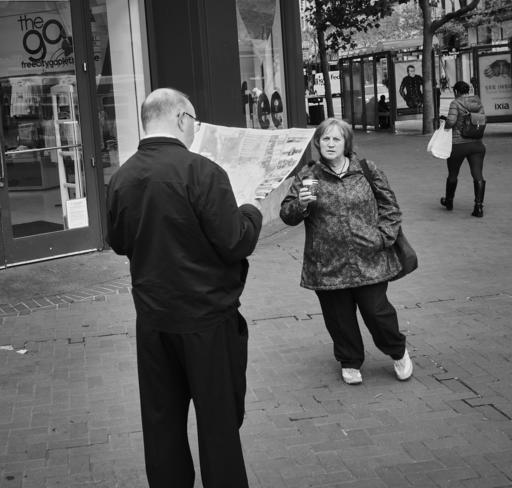
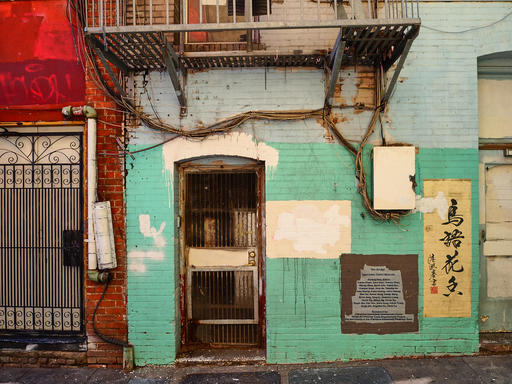 "Chinatown Alley" - Olympus PEN-F with 14-42mm EZ, ISO 200, f/6.3, 1/200th, Color Profile 3. Photo by Derrick Story.
Vertical Shots with Hat On
Because the viewfinder is on the far left, I can shoot vertical images with my baseball cap remaining in place. All I have to do is lower the right side of the camera and keep the viewfinder on the top. I love this technique.
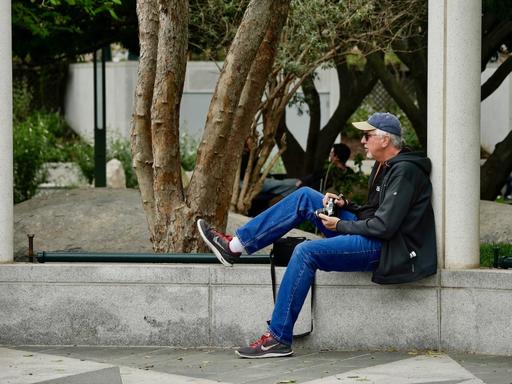 "Derrick Story in Chinatown" - Photo by Carl Shortt.
Mono Profile 2
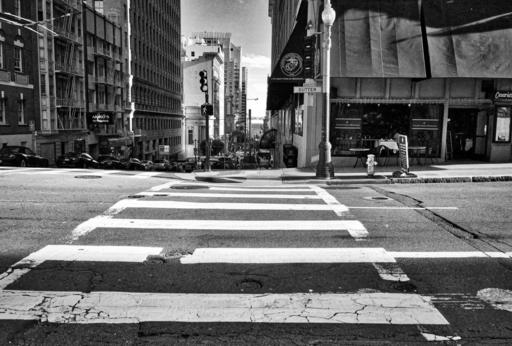
When it's time to shoot B&W, I set the front dial to Mono Profile 2. Using the front dial with my preprogrammed profiles makes switching from color to B&W a breeze. And the gritty TRI-X like tones produced by the Mono Profile 2 are quite engaging for street photography.
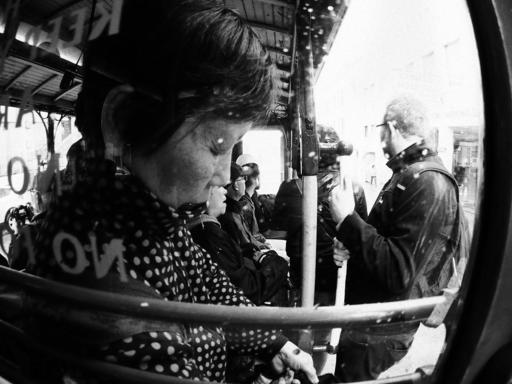 "Cable Car Exit" - Olympus PEN-F with 9mm Body Cap Fisheye, ISO 1600, f/8, 1/25th, Mono Profile 2, +0.3 exposure compensation. Photo by Derrick Story.
Fully Articulated LCD
There were so many shots where I had to lean far in one direction with my arm extended far above my head and the LCD screen angled downward so I could compose the shot. And when I wasn't using the screen, I could turn it inward so it was protected from the rigors of street photography. The PEN-F LCD is beautiful, sharp, and extremely functional.
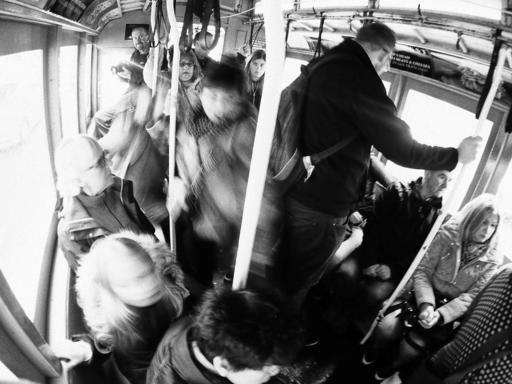 "Making Room on the Cable Car" - Olympus PEN-F with 9mm Body Cap Fisheye, ISO 1600, f/8, 0.4 seconds, Mono Profile 2, +0.3 exposure compensation, handheld above my head. Photo by Derrick Story.
The Bottom Line
The Olympus PEN-F ($1,099) is an urban photographer's dream camera. Its supreme craftsmanship, handsome looks, intelligent brains, fantastic image quality, versatility, and compactness provide a great shooting experience and impressive results.
If you're a fan of mirrorless cameras, this one should be on your short list for urban photography.
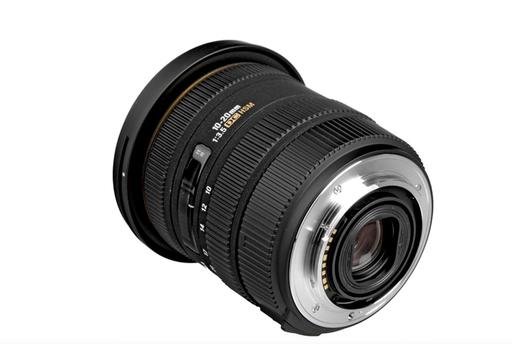
 "Old Stairs" Pentax KP with Sigma 10-20mm at 10mm. Aperture Priority at f/11, ISO 200, 1/30th, DNG processed in Capture One Pro 10. Photo by Derrick Story.