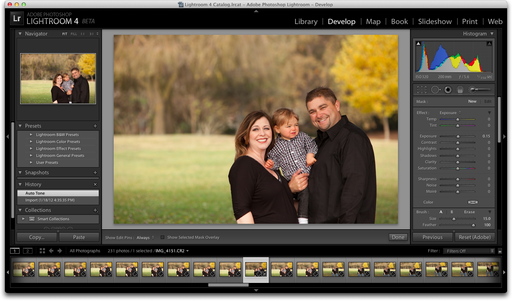
I've had a chance to work with Lightroom 4 public beta and publish an article about it for Macworld Magazine. That release has led to speculation about an upcoming Aperture 4 update. While all of this was going on, Corel rolled out their non-destructive pro photo management app, AfterShot Pro. In this week's podcast, I start with a basic review of Lightroom 4 public beta, then discuss some of the features I'd like to see in Aperture 4. I wrap up with a few thoughts about AfterShot Pro. It's great to be back!
Listen to the Podcast

You can also download the podcast here (37 minutes). Or better yet, subscribe to the podcast in iTunes. You can support this podcast by purchasing the TDS iPhone App for only $2.99 from the Apple App Store.
Monthly Photo Assignment
Mobile Phone is the Jan. 2012 Photo Assignment. Entries must be captured with a mobile device. You can read more about how to submit on our Member Participation page. Deadline for entry is Jan. 31, 2012.
Special Offer from SizzlPix!
20% Discount for Jan. 2012 - So we can build up a gallery of SizzlPix! made from cell phone images. Any TDS listener/reader gets a 20% discount on SizzlPix!â„¢ Hi Definition Photographyâ„¢ made from pictures shot with T-Mobile My Touch Slide 4G, Samsung Galaxy S II, or Apple's iPhone 4S.
SizzlPix! may be from 18" to 60" in the longest dimension. Photographer's cropping will be honored.
Shipping will be within one week. Photographer gives us permission to publicize, with credit, their SizzlPix! made from a cell phone original in yours and our on-line galleries and blogs, Twitter, FaceBook, Google+. etc.
When you fill out your order form for the SizzlPix, add "TDS Jan Offer" to get the discount.
More Ways to Participate
Want to share photos and talk with other members in our virtual camera club? Check out our Flickr Public Group. And from those images, I choose the TDS Member Photo of the Day.
Podcast Sponsors
Red River Paper -- The $7.99 Sample Kit is back! And with free shipping.
You might also want to check out my article, Artistic Gifts You Can Make in an Hour.
Make Your Photos Sizzle with Color! -- SizzlPix is like High Definition TV for your photography.
Need a New Photo Bag? Check out the Lowepro Specialty Store on The Digital Story and use discount code LP20 to saven 20% at check out.
Technorati Tags:
digital photography, podcast, technique, Technology, The Digital Story, tips


