This week on The Digital Story Photography Podcast: Lightroom Update, Night Photography Tips, Sigma 50mm f/1.4 Art lens, Exporter for Aperture 1.0 in Mac App Store - All of this and more on today's show with Derrick Story.
Story #1 - The Weekly Update: Ricoh expands Q series with Pentax Q-S1 ($499). I definitely like the new styling for the latest Pentax Q. But the image sensor is a smallish 12MP 1/1.7-inch BSI CMOS that remains largely unchanged. (source: DP Review).
In other news, Adobe ships Lightroom 5.6, Camera Raw 8.6 Nikon D810, Panasonic GH4 and FZ1000 support. Update also includes profiles for 21 new lenses on seven different mounts. And they fixed the Lightroom Mobile star rating bug I discovered. (Source: Imaging Resource).
And finally, Martin Scorsese Writes Passionate Letter to Kodak in Defense of Film. (Source: PetaPixel)
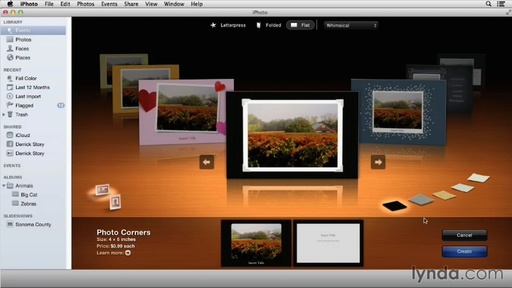
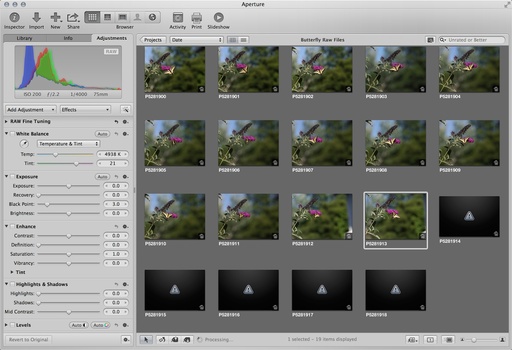
Story #2 - Exporter for Aperture 1.0 in Mac App Store for $14.99. If you're going to migrate to Lightroom, this is probably your best friend.
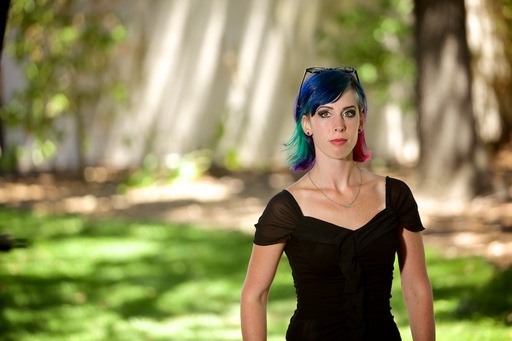
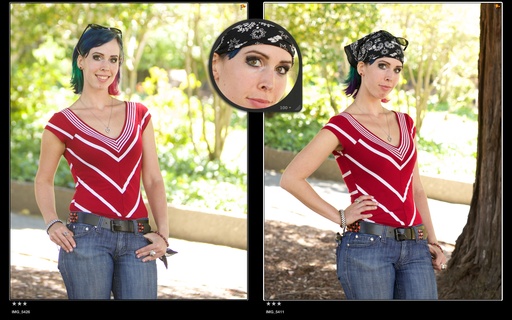 Canon 70mm image on the left and the Sigma 50mm Art lens portrait on the right. Photos by Derrick Story.
Story #3 - The Sigma 50mm f/1.4 Art lens for Canon is a delight on the full-frame 5D Mark II. And by special request, I also tested it on the Canon 70D body. I discuss the results in the third segment of today's show.
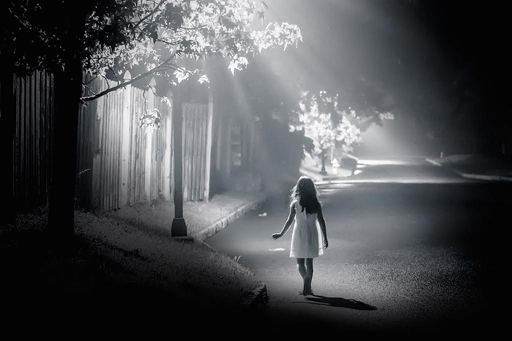
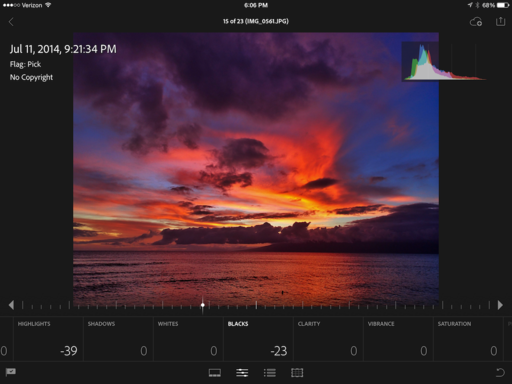
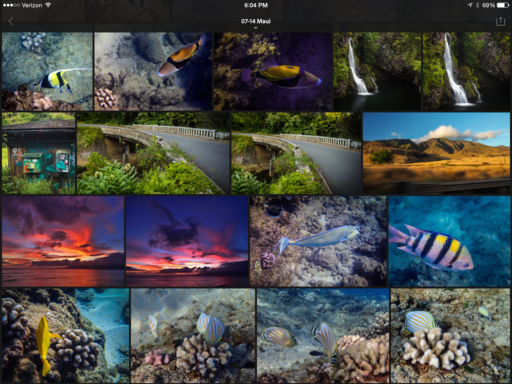
Story #4 - From the Screening Room - Enhancing Night and Low-Light Photos with Photoshop with Seán Duggan. Sean is a terrific instructor who uses ACR, Photoshop, and Lightroom to tackle a variety of night-shooting challenges. My favorite parts are his tips for starry sky photography.
You can watch Sean in action by visiting the TDS Screening Room at lynda.com/thedigitalstory. While you're there, you can start your 7 day free trial to watch other design, photography, and computing titles, plus every other topic in the library (including my brand new "Photographing High School Senior Portraits."
Story #5 - A Free Photo Workshop. I'm working on the 2015 TDS Photography Workshop Schedule. As many of you know, I like to introduce at least one new topic a season. And I'd like to hear from you, "What Theme Would You Love for Me to Teach in 2015?" Send your idea to derrick@thedigitalstory.com with the subject line: My Favorite Workshop Topic. My goal is to incorporate one of these suggestions into the 2015 season. If I do, that person gets free tuition to that workshop.
Virtual Camera Club News
Save on Ground Shipping for Red River Paper: Use coupon code ground50c to receive a 50 percent discount on UPS ground shipping for Red River Paper. No minimum purchase required.
Photo Assignment for August 2014 is "My Favorite Close-up".
If you haven't done so already, please post a review for The Digital Story Podcast in iTunes.
BTW: If you're ordering through B&H or Amazon, please click on the respective ad tile under the Products header in the box half way down the 2nd column on thedigitalstory.com. That helps support the site.
Download the Show
In addition to subscribing in iTunes, you can also download the podcast file here (34 minutes). You can support this podcast by purchasing the TDS iPhone App for only $2.99 from the Apple App Store.
More Ways to Participate
Want to share photos and talk with other members in our virtual camera club? Check out our Flickr Public Group. And from those images, I choose the TDS Member Photo of the Day.
Podcast Sponsors
lynda.com - Learn lighting, portraiture, Photoshop skills, and more from expert-taught videos at lynda.com/thedigitalstory.
Red River Paper -- Keep up with the world of inkjet printing, and win free paper, by liking Red River Paper on Facebook.
SizzlPix! - High resolution output for your photography. You've never seen your imagery look so good. SizzlPix.com. SizzlPix! now is qualified for PayPal "Bill Me Later," No payments, No interest for up to 6 months, which means, have your SizzlPix! now, and pay nothing until February!
Want to Comment on this Post?
You can share your thoughts at the TDS Facebook page, where I'll post this story for discussion.