This is The Digital Story Podcast #572, Feb. 21, 2017. Today's theme is "1Frame4Nature with Alexandra Garcia ." I'm Derrick Story.
Opening Monologue
After the WildSpeak Conference last November in Washington D.C., I had quite a few inquires about the best ways to get involved with conservation photography. I guess I wasn't the only one. So the folks at ILCP came up with 1Frame4Nature, and it's the perfect way to have your images published right alongside pro conservation photographers. And that's the lead story in today's TDS podcast.
1Frame4Nature with Alexandra Garcia
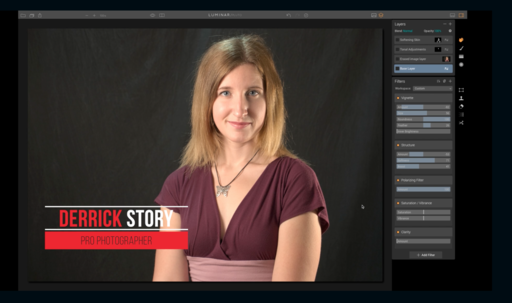
I met Alex Garcia last summer during her visit to California. During our interview, I was excited to learn just how accessible conservation photography can be. And as a result, I traveled to Washington D.C. in the Fall to cover the WildSpeak Conference.
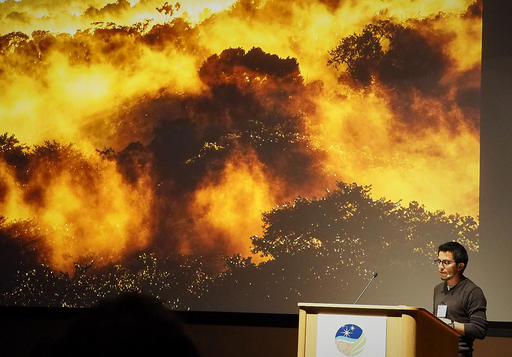 Conservation photographer Lucas Bustamonte presenting at WildSpeak 2016.
That event generated a lot of interest among those who want to use their photography skills to help protect our planet. And as a result, the 1Frame4Nature was conceived.
So Alex and I decided to team up for another interview to provide you with the inside scoop about this project. I hope you enjoy, and think about, what she has to say.
In the News
Canon debuts EOS M6 mirrorless with optional EVF (via DPReview):
Canon's newest mirrorless camera, the EOS M6, is a replacement for the entry-level EOS M3 and slides in directly under the enthusiast M5 (confused yet?).
It shares essentially all of the M5's internal components, including the 24MP APS-C sensor with Dual Pixel CMOS AF, Digic 7 processor and 3" touchscreen. It's also capable of 1080/60p video capture and has Wi-Fi, NFC and Bluetooth.
Differentiating factors between are limited to the built-in EVF on the M5 and the flip-up selfie screen on the M6. The M6 gains an additional top plate control dial compared to the M3, which should improve handling.
Canon also announced an optional EVF (the EVF-DC2) for use with the M6. This 2.36M-dot EVF is smaller and lighter than the EVF-DC1 used by the M3, but do note that it does not tilt upward.
The Canon EOS M6 will go on sale in April 2017 in both black and silver. It will sell for $780 body-only, with the EF-M 15-45mm F3.5-6.3 IS STM for $900 or with the EF-M 18-150mm F3.5-6.3 IS STM for $1280. The EVF-DC2 is priced at $250 and also comes in black and silver.
Speaking of Canon...
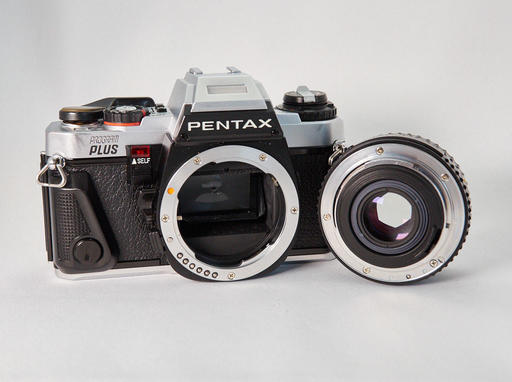
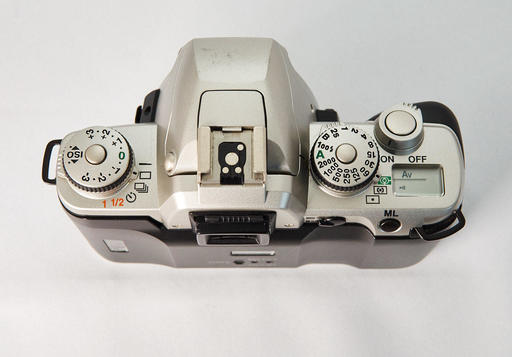
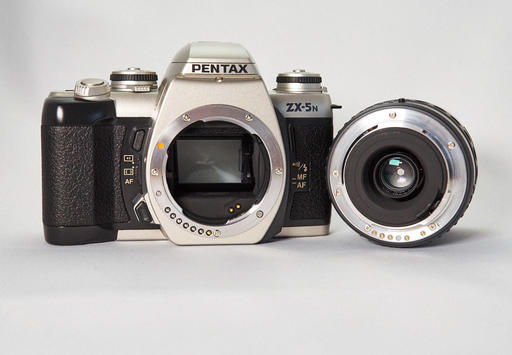
Yesterday on The Nimble Photographer, I posted Canon: It's been a Good Run, the story about my selling the 5D Mark II and replacing it with then brand new Pentax KP DSLR with a Pentax DA 20-40mm f/2.8-4 ED Limited DC WR zoom lens. It's the end of an era for me...
Dates Set for the Northern CA Coast Tour Workshop
Good news for those wishing to join us for a tour up the Northern CA Coast. We've set the dates for this event: May 18-20th, 2017. Originally, we were planning this as a summer workshop. But after working with experts who actually live in the areas that we'll be working, we moved the event to late May. This provides us with Spring weather and far cheaper room accommodations.
Those of you on the Reserve List will receive your personal invites later this week. You will have 10 days to secure your spot before we open up the event to the general public. If you're not on the reserve list, and would like to be, please visit the TDS Workshops Page and use the Send Me Info form.
Updates and Such
Big thanks to all of our Patreon members! I was able to pay for the podcast server and the backup system from last month's pledges. Your contributions are making a positive impact.
B&H and Amazon tiles on www.thedigitalstory. If you click on them first, you're helping to support this podcast. And speaking of supporting this show, and big thanks to our Patreon Inner Circle members.
And finally, be sure to visit our friends at Red River Paper for all of your inkjet supply needs.
See you next week!
More Ways to Participate
Want to share photos and talk with other members in our virtual camera club? Check out our Flickr Public Group. And from those images, I choose the TDS Member Photo of the Day.
Podcast Sponsors
MindShift Gear - MindShift Gear is a group of committed professional photographers and product designers who support conservation and protection of our natural resources and planet.
Red River Paper - Keep up with the world of inkjet printing, and win free paper, by liking Red River Paper on Facebook.
The Nimbleosity Report
Do you want to keep up with the best content from The Digital Story and The Nimble Photographer? Sign up for The Nimbleosity Report, and receive highlights twice-a-month in a single page newsletter. Be a part of our community!
Want to Comment on this Post?
You can share your thoughts at the TDS Facebook page, where I'll post this story for discussion.