Aperture 3's slideshow authoring tool allows photographers to mix stills and video to create dynamic presentations. You can playback at full screen in Aperture to share with clients, friends, and family.
Typically, however, we need to move those presentations off our computer to other devices, such as an iPad, or to YouTube and other online sharing sites. Maintaining that high quality during the export process can be tricky. And if you're not mindful, you might be disappointed with the results.
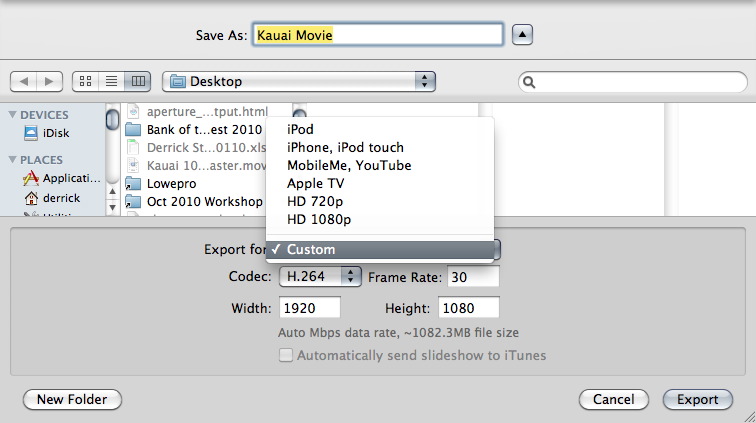
 The Export dialog box in Aperture 3. You can go with one of these presets, but you may not like the final output.
In Slideshow mode, when you click the Export button in the upper right corner of the Aperture interface, Apple provides you with a handful of presets for various devices such at the iPod, iPhone, Apple TV, YouTube, 720p, 1080p, and Custom. The first thing iPad users will notice is there's no preset for them. You might be tempted to choose the 720p preset, but unfortunately that preset doesn't work on the iPad. iTunes won't let you copy the movie to the iPad. Plus you're stuck with 30 fps for your frame rate, witch is a bummer if you captured your video in beautiful 24 fps.
You could go to the next preset up, "MobileMe/YouTube" for standard definition output (640x360 at 30 fps). But I can tell you right now, you probably won't like the results on an iPad, or even YouTube for that matter. The audio will sound fine, but my images were consistently soft.
I decided to go back to the drawing board to see what kind of vido output I could squeeze out of Aperture. After a few adjustments, I was able to improve my results substantially, but it required a three additional steps. Here's what I did:
- Create higher quality previews. Since I do use some Ken Burns effect in my shows, I decided that my default 1920x1920 previews might be compromising quality. Aperture uses your previews to create its slideshows. So I changed the Photo Preview (Preferences > Previews) to 2560x2560 at 9 quality. I then had to regenerate those previews at the new settings so Aperture could use them. I selected all of the thumbnails in my presentation, held down the Option key, and chose Photos > Generate Preview. This took a while for Aperture to regenerate the higher quality previews, so I took a break while the computer churned away.
- Export Using the Custom Setting. My goal was to create a high quality master file at the frame rate I wanted. To do that, I needed to select Custom under the preset menu. I used H.264, 24 fps (to match the video in my presentation) at 1920x1080. Label this file "master" for both playback on your computer, but also for creating smaller versions for other devices.
- Now Create Your iPad Version Using QuickTime 7. QuickTime 7 is in your Utilities folder. It gives you more flexibility for exporting than the QuickTime Player that is the default for Snow Leopard. After the movie is open, go to File > Export and choose Movie to QuickTime Movie from the popup menu. Click the Options button and make these selections -- Compression: H.264, Quality: High, Frame Rate: (your choice, I use 24 fps), Encoding Mode: Multi-Pass, Dimensions: 640x480 (or what ever you want), and Scale: Letterbox. For Sound, just make sure you go with AAC at whatever settings you want.
All of these steps take time to process, so make sure you have other tasks lined up to do elsewhere. Once your new movie is rendered, copy it to iTunes or upload to its online destination. On my iPad, I have both versions of the same movie: the Aperture preset for "MobileMe" and my multi-step version. The quality of my version is about twice as good.
More Aperture Tips and Techniques
To learn more about Aperture 3, check out my Aperture 3 Essential Training on Lynda.com. Also, take a look at our Aperture 3 Learning Center. Tons of free content about how to get the most out of Aperture.
 Follow me on Twitter
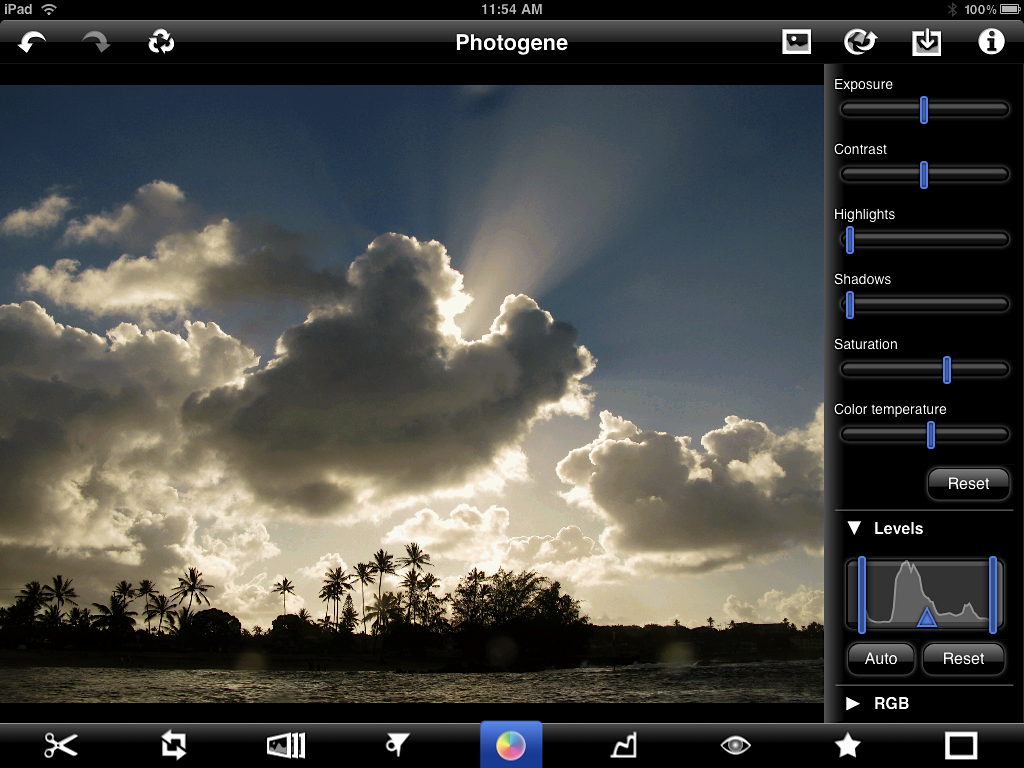 Editing a photo on the iPad using Photogene.