An interesting thread appeared recently on The Digital Story Public Group that posed the question, Are we going to make this a constructive critique site?. If you read the comments on the thread, many of our virtual camera club members are interested in having more meaningful conversations about their photos than "Wow, great shot!".
I think this is a valuable discussion. From my point of view, I think those who want to have critiques about their photos, and to critique others, should have a mechanism to do so within our group. At the same time, TDS members who are just getting their feet wet with showing their images to others, may not be ready for honest critiques. if you're wondering which side of the aisle best suits you, take a look at the comments posted to this photo of mine and see how you feel about them. I think this is the level of discussion we can expect for critiques on our site.
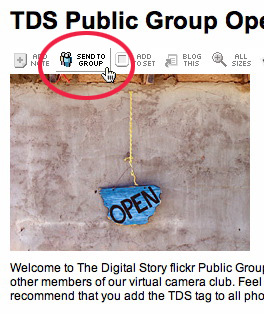
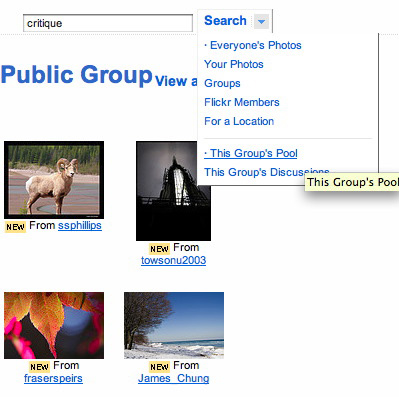
So here's the plan. If you'd like a critique on a photo you publish to The Digital Story Public Group, then simply add the tag "critique" to the image. You should already be adding the "tds" tag to our camera club photos, so adding "critique" is simple enough. Then others can find photos that are available for critique by searching within our TDS group pool, as shown below.
Guidelines for Critique
Here's how I recommend we approach critique of one another's photos:
- State the things you like about the shot as specifically as possible. So instead of saying, "Nice shot!," try "I like the way you've balanced the colors."
- Offer suggestions to adjust the things you don't like in the photo. Comments such as, "if you moved a little to the left, you might have a better angle on that subject" can be quite helpful.
- It's OK to ask questions. "What lens did you use, how did you do that B&W conversion, etc. are all legit and help others understand the creative process.
- Share the love. If you have some time to critique, try not to focus just on one photographer, rather; pick a photo from a few photographers and comment.
- If you feel that someone is abusing this opportunity, please contact me directly and include the url that contains the offending material. I have no problem pulling comments that cross the line of decency.
And most importantly, if you're not ready to participate in critique, that's just fine. We want you submitting grab shots, working on photo assignments, submitting photos to the TDS pubic pool, and joining in the conversation. We welcome you at any level you're comfortable.
Technorati Tags: The Digital Story, Flickr Public Pool