This is The Digital Story Podcast #603, Sept. 26, 2017. Today's theme is "Take a Hike." I'm Derrick Story.
Opening Monologue
I've always had a love/hate relationship with the news, which is ironic for someone trained as a journalist. But there are times when I hear and see things of which I have no control, and as a result, I become disheartened. Bad news seems as intense now as ever. There are a lot of folks that I'd love to tell, "go take a hike." But maybe it's me who should hit the trail. And that's the topic for today's TDS podcast.
Go Take a Hike
One of the headlines I read today referred to The Cultural War that's going on in America. That is so deflating to me. Other troublesome words right now include North Korea, hurricanes, earthquakes, protests, acerbic tweets, healthcare, foreign intervention, and intolerance. A few of those words I can do something about. The rest of it is out of my control.
Thinking about this reminds me of something that I've learned about relationships in general. We often don't have control over the actions of others. But we do have control over our reactions to their behavior.
So, if I'm going to be useful to others, then I need to stay as balanced as possible. And the best way for me to do that is to exercise in nature. It's the perfect activity for photographers. Here are a few tips to get the most from this experience.
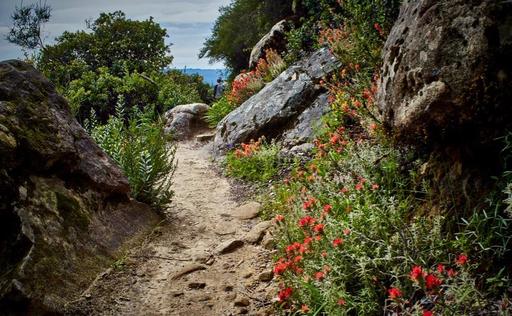
- Get Up Early - There are many benefits to getting out the door early. From a photography standpoint, the light is good. Beyond that, the world is quiet in the wee hours of the morning, and that soft energy is very soothing for soul. A hike a 7am is a completely different experience than at 1pm.
- Be Safe - I often travel alone. But I'm over 6'7" and weigh over 200 pounds. Not everyone has that physical advantage. So be sure to compensate accordingly. Carry a whistle. It is the most efficient communication and emergency device in nature. Dogs and friends make great trail companions. Take the necessary precautions so you can enjoy your experience outside.
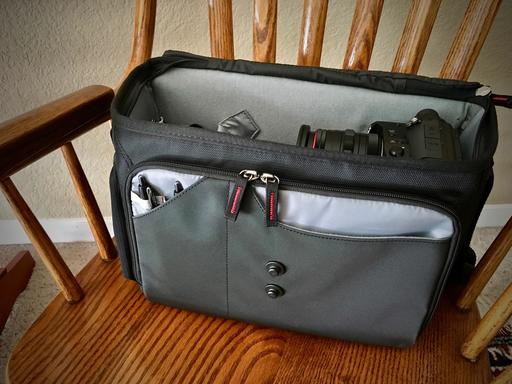
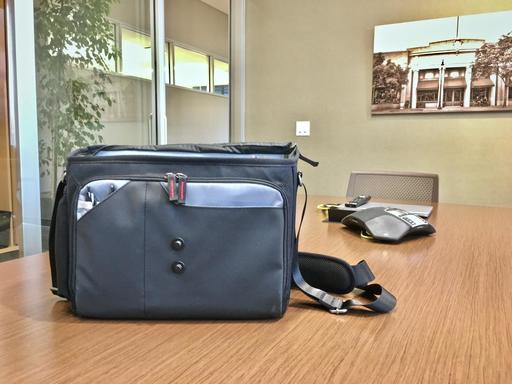
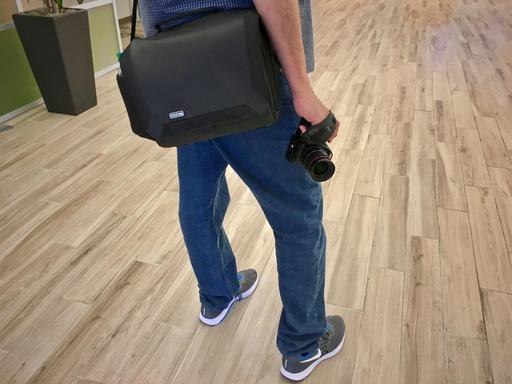
- Travel Light - If I'm not just a little bit cold when I start the hike, then I know I'm going to be way too hot when I finish. Light layers, nimble camera bag, enough water to stay hydrated, are all you need for most short day hikes.
- It's Not a Race - You can go fast if you wish, but you will miss many shots, birds, flowers, and much of the joy of nature. Allow yourself to stop for pictures, admire vistas, and have a sip of water. The idea is to break the pace of our daily lives, not simply move it out to the trail.
- Keep Your Phone in Your Pocket - Unless you're using your smartphone as your camera, keep it tucked away. The Do Not Disturb feature will let calls through from your favorites, which should be friends and family. Let everything else stay on hold until you're back in civilization.
If you're lucky enough to have access to outdoor walking trails, then embrace that activity. Taking a hike won't automatically solve the world's problems. But staying healthy and balanced will put you in a better position to contribute to the solutions we need.
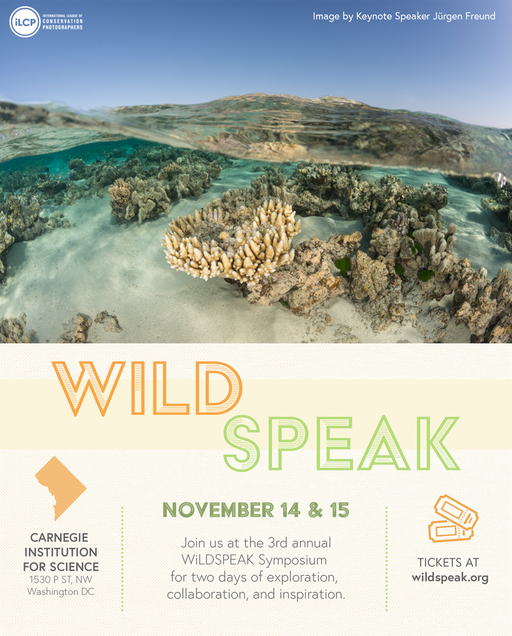
ILCP WildSpeak Coming in November
Conservation photographers from all over the world will gather again at WildSpeak 2017 in Washington D.C. I covered this event last year, and it was one of the most important conferences I've ever attended.
WildSpeak will once again take place at Carnegie Institution for Science on November 14 and 15. Presenters include top naturalists, biologists, and nature photographers who have been immersed in their particular specialities. They share their findings in a series of presentations over the two days of the event.
Plus, you'll learn how you too can participate in the world of conservation photography. Be sure to allow enough time during your visit to explore places in D.C. such at National Geographic headquarters and the Museum of Natural History at the Smithsonian.
You can learn more and register by visiting the WildSpeak site. I'll be there again this year. If you plan on attending, be sure to let me know so we can say hello.
Cascable Transfer with Lightroom "kas-ka-ball"
Cascable Transfer will let you copy your selected images directly from your WiFi camera to Lightroom.
I have two tips for doing this. First, set up a masters folder ahead of time called Cascable Transfer. Then import some images into it, just a few to get the wiring in order. That way you can transfer your masters to that folder when you use Cascable.
Second, if you get the runaround with the Lightroom plugin not being installed, even after you've installed it via Cascable Transfer, just open Lightroom, go to the Plugin Manager, and enable it there. Everything should work fine after that.
Cascable Transfer is a $15 app that supports WiFi enabled Canon, Nikon, Fuji, Olympus, Sony, and Panasonic cameras. It makes it easy to transfer RAW, Jpeg, or RAW+Jpeg to the Finder, Photos for macOS, or Lightroom (which I'll cover next week).
Each RAW+Jpeg pair took about a minute to transfer. Once the process was completed, my images were waiting for me in Photos. The procedure is easy. First, turn on WiFi in the camera, then connect to the network on your Mac, then launch Cascable Transfer and browse the images on the card.
This is a wonderful safety net for those times your card reader isn't available (or working) and you want to copy pictures from your camera to your laptop.
Updates and Such
Big thanks to all of our Patreon members!
B&H and Amazon tiles on www.thedigitalstory. If you click on them first, you're helping to support this podcast. And speaking of supporting this show, and big thanks to our Patreon Inner Circle members.
And finally, be sure to visit our friends at Red River Paper for all of your inkjet supply needs.
Texas-based Red River Paper recently announced a new fine art paper, Palo Duro Etching. The new paper is a 100 percent cotton rag paper and is free of optical brightener additives. The paper is designed to offer warm white tones, deep blacks and a subtle texture to accurately recreate traditional darkroom fine art prints.
See you next week!
More Ways to Participate
Want to share photos and talk with other members in our virtual camera club? Check out our Flickr Public Group. And from those images, I choose the TDS Member Photo of the Day.
Podcast Sponsors
Cascable - Cascable is the best tool available for working with your camera in the field.
Red River Paper - Keep up with the world of inkjet printing, and win free paper, by liking Red River Paper on Facebook.
The Nimbleosity Report
Do you want to keep up with the best content from The Digital Story and The Nimble Photographer? Sign up for The Nimbleosity Report, and receive highlights twice-a-month in a single page newsletter. Be a part of our community!
Want to Comment on this Post?
You can share your thoughts at the TDS Facebook page, where I'll post this story for discussion.
 Molly - She replied to my ad on craigslist, and we had a terrific shoot.