Working with off-camera flash doesn't have to be expensive. Yes, we see wireless flash systems that cost $1,000 and up, but you don't need those for professional results.
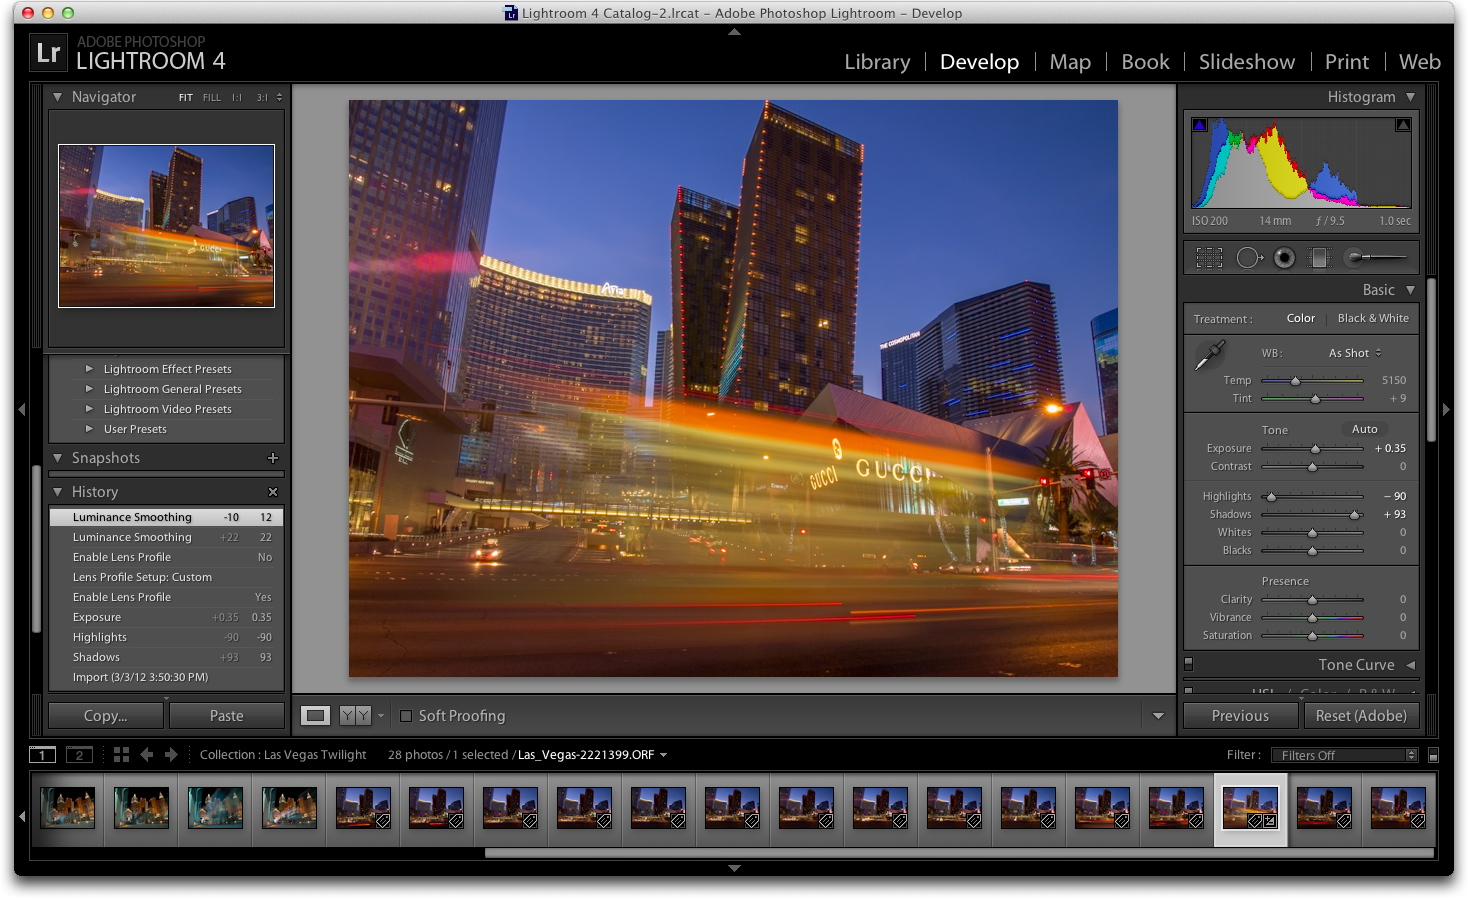
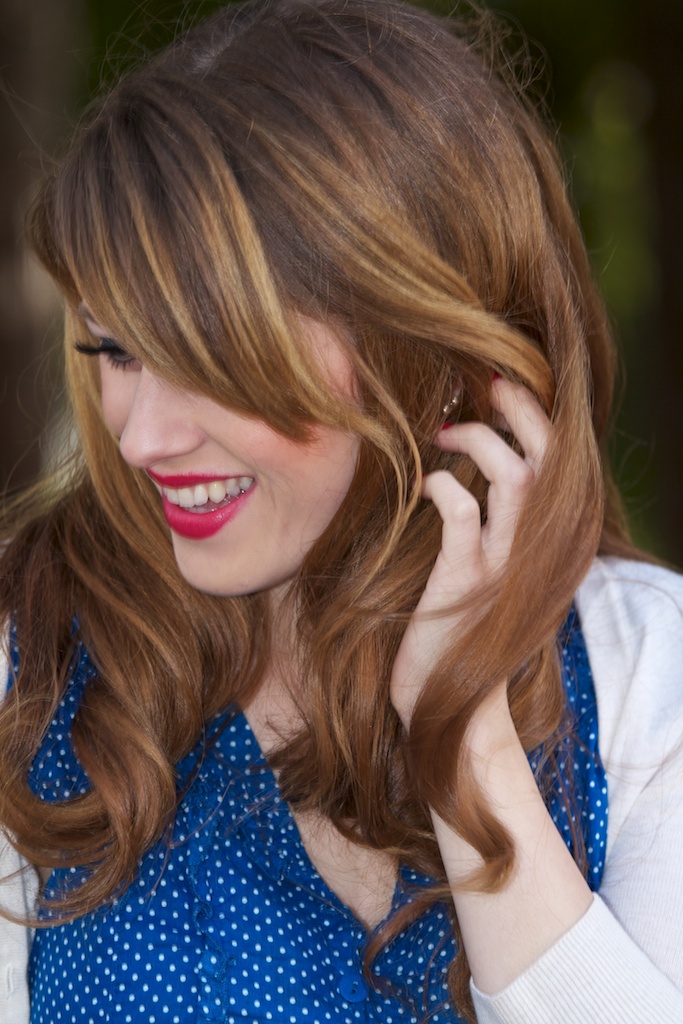
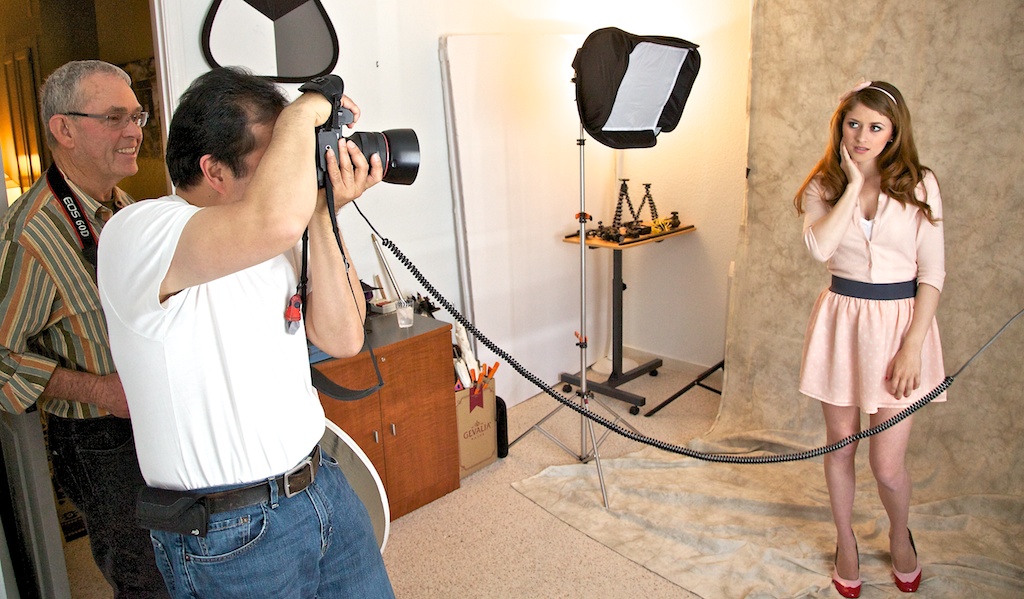 Photographers Ed Shields and Ernesto Pono work with model Ashley Tuttle during the TDS Off-Camera Flash workshop.
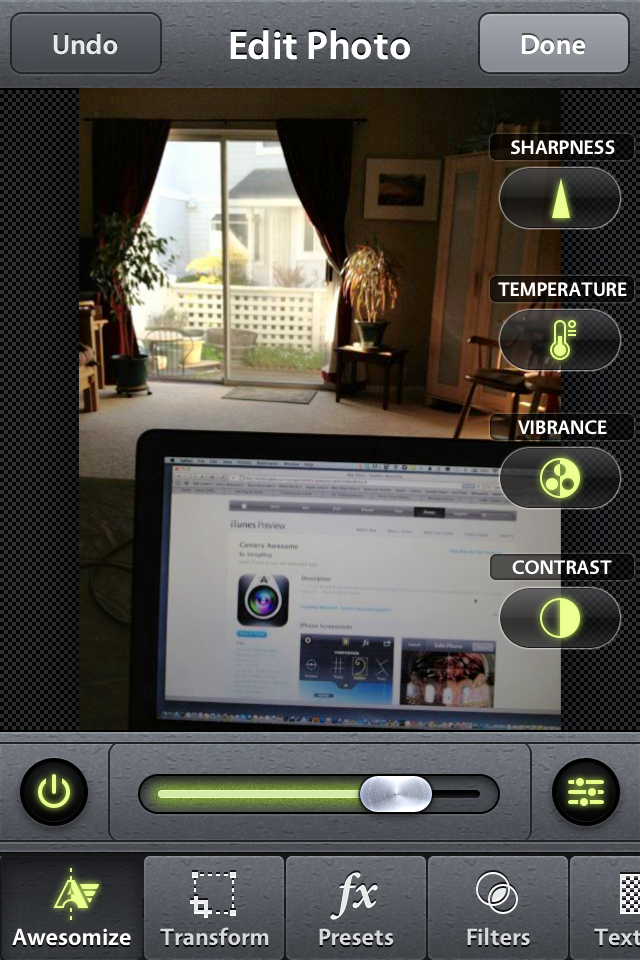
During the recent TDS Off-Camera Flash Workshop, I showed participants how to put their old flash units to works using affordable gear such as the triple shoe adapter and a soft box. You'd be surprised how often you don't need automated flash. In a home studio, for example, all you have to do is figure out the aperture setting for a flash set in manual mode. That usually takes about 3 shots. Once you see what you like on the LCD, you're set.
I'm using my old Sunpak 283 flashes that have manual output settings, such as full, half, one quarter, etc. By putting one or two of these on a triple shoe in a soft box, I can lower their output to one-half, still get the light I need, but enjoy faster recycling times.
If we add a hair light or background light, we don't have to worry about those messing up the ETTL flash readings - because we're in manual mode. To tell you the truth, there are many situations where manual flash is actually easier.
The next TDS workshop is on Close Up Photography on April 21 and 22 in Santa Rosa, CA. I have lots of creative techniques to share for lighting and composition. You can get more information by using the Send Me Info box on the workshops page.
Also, don't forget about my lynda.com online training, Off-Camera Flash. I provide an overview of the basic gear and techniques that will help you get professional results, even on a hobbyist's budget.
The Digital Story on Facebook -- discussion, outstanding images from the TDS community, and inside information. Join our celebration of great photography!