This is The Digital Story Podcast #727, Feb. 25, 2020. Today's theme is "The Anatomy of a Location Photo Shoot." I'm Derrick Story.
Opening Monologue
There are many moving parts to a location photo shoot assignment. And even when you think you have all the bases covered, an unexpected challenge can rear its head. Today, I talk about how I prepare for and execute an assigned photo shoot on location. Hopefully there will be a few tips here that you can glean for your next assignment.
The Anatomy of a Location Photo Shoot
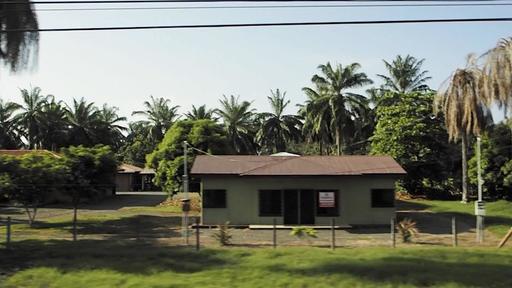
Most of my assignments are away from the studio on location. Since I came into the business as a photojournalist, I'm very comfortable dealing with the outside world when I work.
But there are also extra preparations one needs to attend to when away from the comfy confines of their home base. First, I'll talk about my basic workflow, then I'll add a few tips to finish things off.
Let's start with the 5 basic steps for the shoot.
5 Steps to a Location Photo Shoot
- Corner the Client - Even the best clients believe that we have special mind reading powers that guide us to the exact shots that they are hoping to receive. I do have decent intuition and a pretty good eye, but I've learned that the shoot will almost always go better if I have a conversation beforehand about what our goals are. For weddings, I get as formal as a detailed shot list. But for most other assignments, a conversation with notes gets the job done.
- Make Sure Your Permissions Are in Order - Will you need access to a building, school, or office? Are model releases required? Are the subjects aware that you're coming, at what time, for how long, and what you're going to be doing? After your chat with the client, make sure that you get the required permissions before the photo shoot begins.
- Pack Your Equipment the Day Before - Sometimes we have no choice but to grab our bag and run out the door. But if you do have the luxury of time, pack the day before. Then, in the middle of the night when you realize that you forgot to include the reflectors, you still have time to add them to your kit.
- Really Think About Your Lighting - This impacts everything. Your approach to lighting on the assignment influences your lens selection, set up time, actual shooting time, and of course, final results. Are you relying on natural lighting, augmenting with reflectors, using remote strobes, or mounting LED panels? Figure out your approach, best you can, and visualize how the shoot is going to turn out.
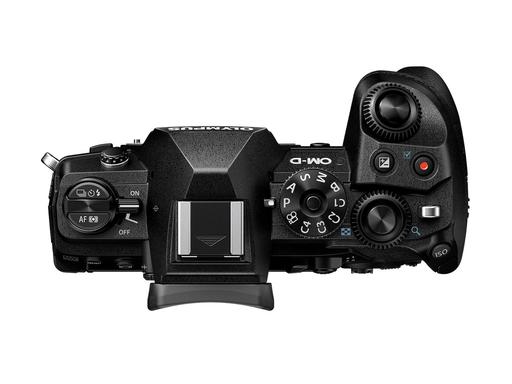
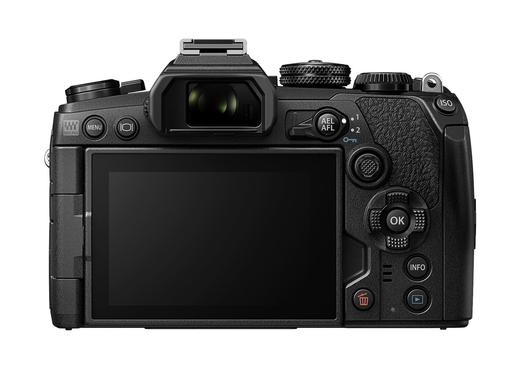
- Two Cameras, Four Lenses - Once you analyze the assignment, choose your lenses and cameras. Typically, I'll have the appropriate zoom on one camera body and the specialized prime on the other. Switching between bodies is much faster that swapping out lenses. Then, to be safe, have an anticipated optional optic on hand for each camera.
Once you've completed the assignment, make sure you're clear on the deliverables and their timing. Make sure the client and you are on the same page. Are you responsible to sending images to the subjects as well? Make sure that's all buttoned down before you pack the car and drive away.
A Few Bonus Tips
Be sure pack business cards, because hopefully people will ask for one :-) Dress appropriately. You'll be more comfortable and better received by the subjects. Water and power bars will really help you when the assignment goes longer than anticipated, which does happen. I always have my water bottle with me.
Don't skimp on post production. I edit my selects, let them sit, review them all in a slideshow, note the outliers, re-edit those, then watch another slideshow until the entire deliverable looks consistent and beautiful.
If you do these things, and do them with a cheerful, professional attitude, chances are very good that you will hang on to your existing clients, and with a little luck, gain a few new ones as well.A recent survey reveals wedding photographers spend only 4% of their time taking photos
You can read the entire article here on DP Review.
The other 96 percent was culling, editing, business admin and communication. The biggest chunk, not surprisingly, was editing. This makes me think fondly back on the film years when I just dropped off the film at the lab.
So where did this information come from?
UK-based company Your Perfect Wedding Photographer recently conducted its fourth annual industry survey. Although more than 300 full-time wedding photographers participated in the survey, it's important to remember that the findings reflect a small segment of local wedding photographers and the results may be more typical for a specific region rather than the industry as a whole. That said, there are a few interesting tidbits from the data.
- The average number of weddings captured a year is 28, down by 1 from 29 in 2018.
- The average cost of a full day starting package is £1,590 ($2,063 USD), up by £30 from £1,560 ($2,023 USD) in 2018.
- 40% of Photographers use a Canon Camera, 31% Nikon, 22% Sony, 7% Fuji.
- The average age of those surveyed is 39 years old, up 1 year from 38 in 2018.
- 44% of respondents were women and 56% are men.
Participants also shared their thoughts on this industry. 'It's getting more competitive with more people charging less. I would love for photographers to charge properly so the average moves from £1500. It has been this for so many years and hasn't moved with inflation or other external costs increasing. My rate reflects my experience and the level of service but at a glance, it can be harder when someone is comparing primarily on price,' laments one commenter.
Update for the TDS 2020 Photography Workshop Season
Those of you on the registration list for the Humboldt Redwoods Workshop, keep an eye out for the registration packet that will go out later this week. We have a great event for you, and I'll be working with you to ensure that you are fully prepared to take advantage of this wonderful opportunity. Plus, we had one seat open up (moved to another workshop), so if you want to join us, hop over to the 2020 Workshops Signup Page and get on the Reserve List.
If you have questions about the other workshops, feel free to drop me a line using the Contact Form on www.thenimblephotographer.com.
When you decide which event is best for your, jump over to our 2020 Workshops Signup Page and place a $100 deposit to secure your place. Only participants on the Reserve List who have placed a deposit will be eligible to register for a workshop. If you have questions or need more information, fill out the "Send Me Info!" request form. I'll get back to you asap.
- LA Street Photography Experience - March 13-15, 2020 - 1 Seat Remaining - This hands-on workshop guides you on an exploration of classic Los Angeles locations and architecture. Our excursions will take us as far west as Venice Beach, as well as famous movie spots and the back streets of this fascinating Southern California area. Limited to 9 participants and featuring two instructors (Derrick Story and Mike Boening), you will enjoy great photography, food, and friendship with our fellow enthusiasts. Three days, $749. You can place your deposit here.
- Humboldt Redwoods and Coast Workshop - May 12-14, 2020 - 0 Seats Remaining -- Our home base for this experience is in the hospitable town of Fortuna that's on the banks of the Eel River. From there we explore the magnificent redwood groves of Humboldt County and the rugged coastline of Northern California. This workshop explores three distinct ecosystems in a satisfying 3-day event. Limited to just 9 participants, you can reserve your spot and learn more about this event here.
- Lassen Volcanic Park Photo Workshop - July 16-18, 2020 - 2 Seats Remaining -- We'll convene at a spacious cabin at Lake Almanor that serves as our HQ. From there we explore the stunning Lassen landscape, peaceful shores of Lake Almanor, and the magnificent mountain night skies. This hands-on photo workshop is limited to 8 participants and is a wonderful blending of experience, camaraderie, and artistry. Limited to just 8 participants, you can reserve your spot and learn more about this event here.
- The Eastern Sierra Photography Workshop - Oct. 1-3, 2020 - 2 Seats Remaining - Our event is headquartered at the Silver Maple Inn in Bridgeport, CA - gateway to Bodie, Mono Lake, and June Lake. We'll take advantage of the magical morning light to photograph some of the most unique landscape in North America. We'll photograph the sparkling night skies of the Sierra and explore rustic urban environments. Limited to just 9 participants, you can reserve your spot and learn more about this event here.
Updates and Such
Inner Circle Members: A big thanks to those who support our podcast and our efforts!
How to Watch Photos for macOS Catalina and iPadOS - Learn everything you need to know about Photos for the Mac and iPad by checking out my latest course on LinkedIn Learning and on lynda.com. This course is perfect for Mac and iPad based photographers who shoot with iPhone, Mirrorless, and DSLR cameras. It covers both photography and movies. And if I say so myself, it's a lot of fun.
B&H and Amazon tiles on www.thedigitalstory. If you click on them first, you're helping to support this podcast. (The Digital Story is supported by its audience. When you purchase through links on our site, we may earn an affiliate commission.) And speaking of supporting this show, and big thanks to our Patreon Inner Circle members:
Affiliate Links - The links to some products in this podcast contain an affiliate code that credits The Digital Story for any purchases made from B&H Photo and Amazon via that click-through. Depending on the purchase, we may receive some financial compensation.
And finally, be sure to visit our friends at Red River Paper for all of your inkjet supply needs.
See you next week!
More Ways to Participate
Want to share photos and talk with other members in our virtual camera club? Check out our Flickr Public Group. And from those images, I choose the TDS Member Photo of the Day.
Podcast Sponsors
Red River Paper - Keep up with the world of inkjet printing, and win free paper, by liking Red River Paper on Facebook.
The Nimbleosity Report
Do you want to keep up with the best content from The Digital Story and The Nimble Photographer? Sign up for The Nimbleosity Report, and receive highlights twice-a-month in a single page newsletter. Be a part of our community!
Want to Comment on this Post?
You can share your thoughts at the TDS Facebook page, where I'll post this story for discussion.