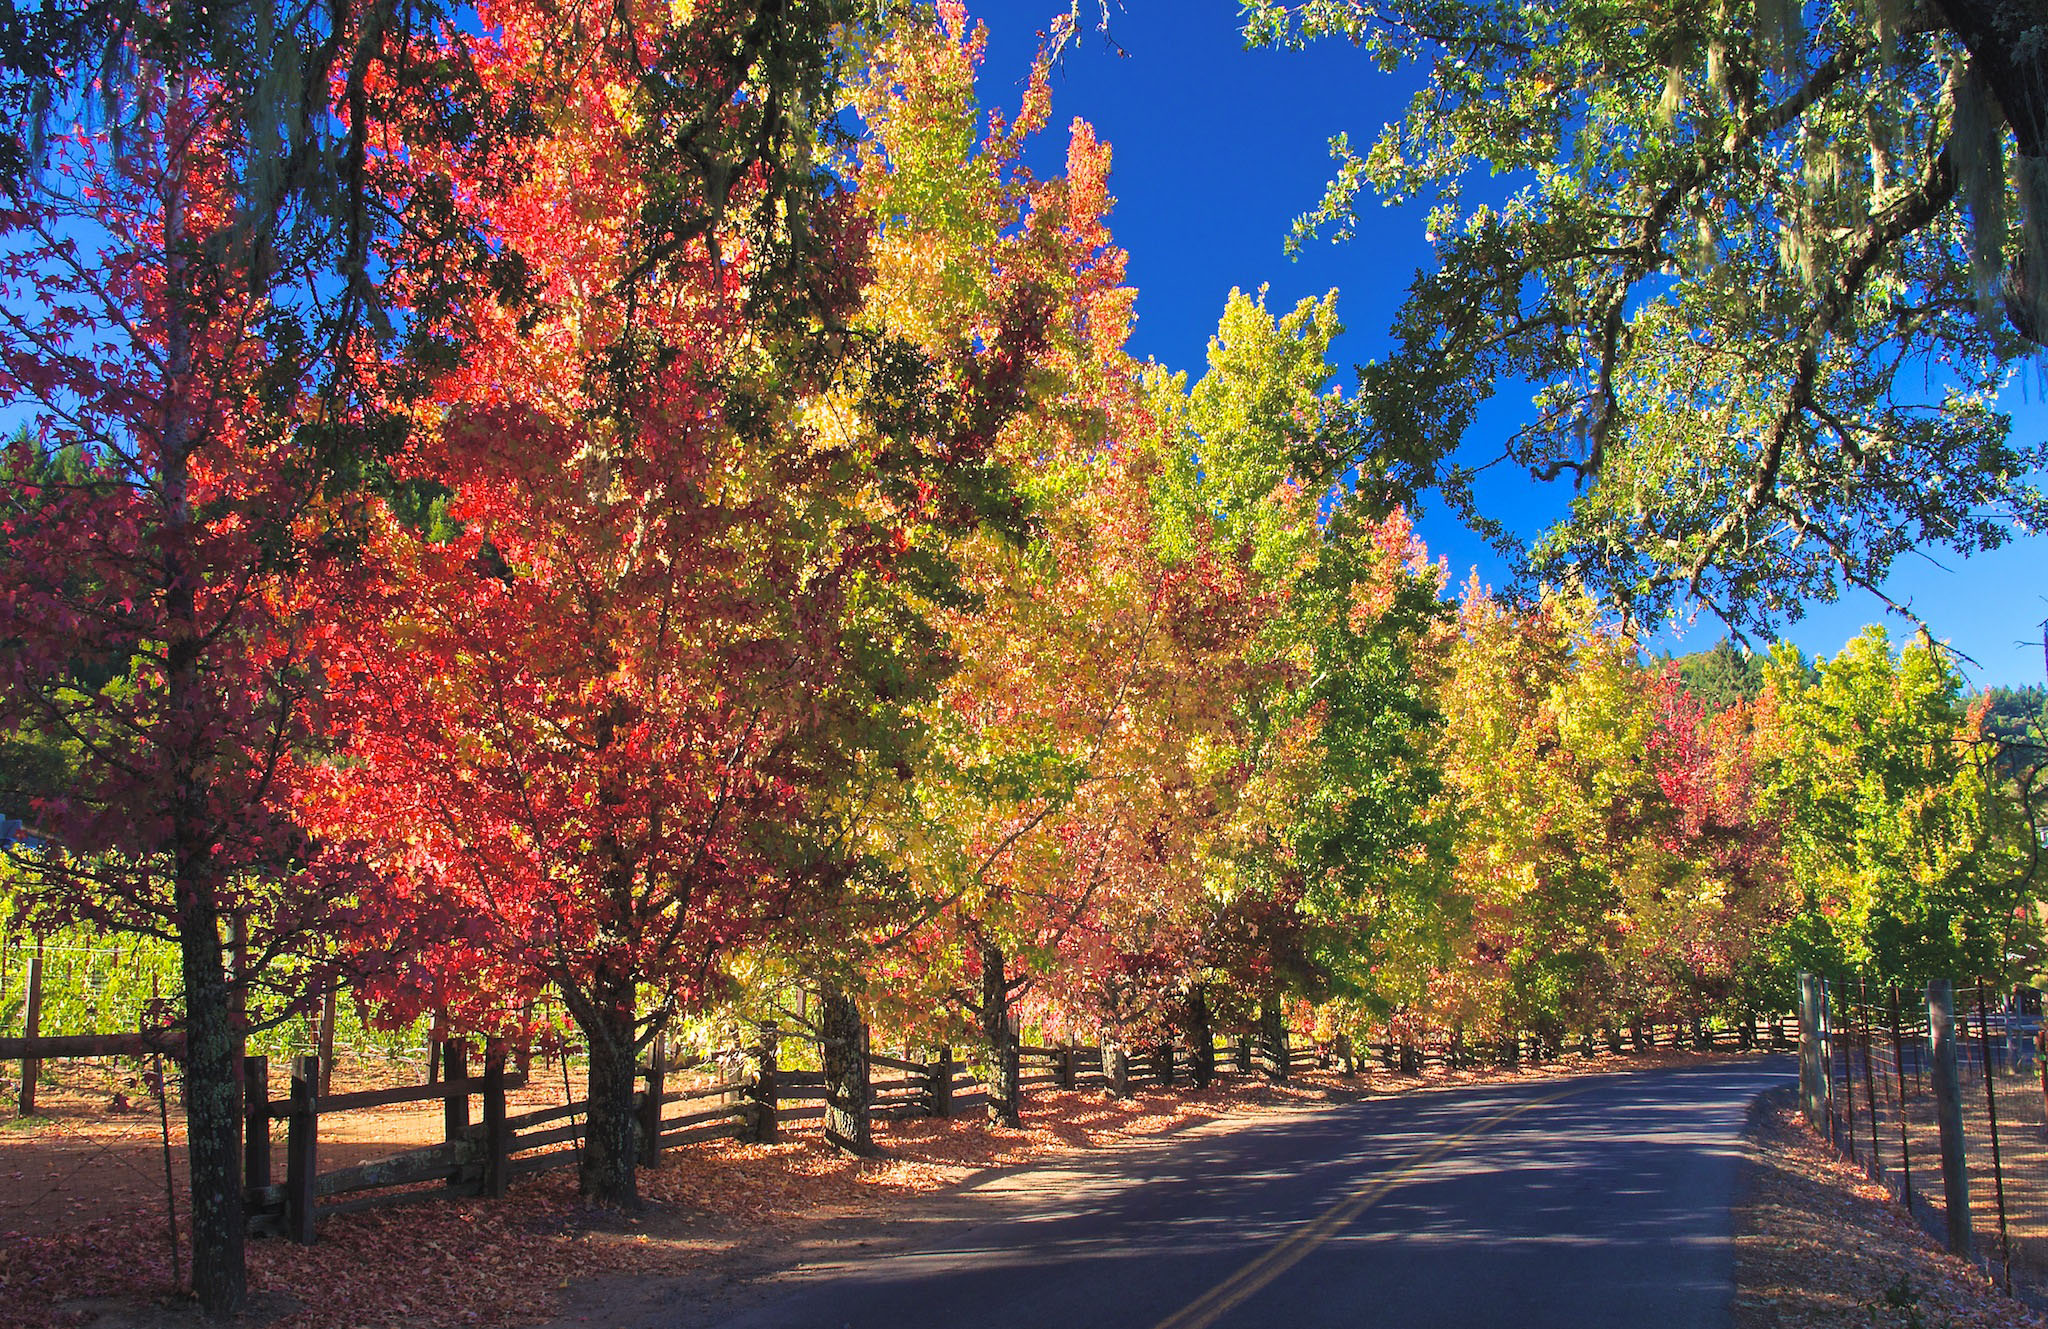
I went on a scouting mission this morning to evaluate my favorite spots in preparation for the Fall Color with Safari West Workshop that begins tomorrow at my studio in Santa Rosa, CA. The color is just beginning here in Northern California, and will continue to intensify over the coming weeks.
Healdsburg, CA. Photo by Derrick Story.
I still haven't decided where we're going for our Sunday morning landscape shoot. But I think this spot might be a contender.
Stay tuned for reports on the workshop, including images by participants.
If indeed Apple announces the iPad mini on Oct. 23, 2012, the device will have a big impact for nimble photographers. The current iPad is the largest surface area object in our "travel light" camera bags. Measuring 9.5" x 7.31", the iPad determines the type and size of transport we must carry to be fully functional while on the go.
Reducing that surface size to something in the neighborhood of 7.85" on the long side means that we can carry a Compact System Camera, iPad mini, and accessories in virtually any camera bag. But in order for this to work, the new tablet will need certain attributes.
iPad Camera Connection Kit - Currently this kit -- that allows you to import images from a camera or memory card -- is only available as a Dock Connector model. We're pretty sure that the alleged iPad mini will use a Lightning Connector. Hopefully Apple will release an updated CCK so we don't have to use an adapter that could break because of the amount of leverage created. Also, there's no sure bet that the adapter will work with the current Connection Kit.
Retina Display - One of the discussed goals of the iPad mini has been price competition with Amazon, Samsung, and Google. Apple may want to release a non-Retina display version of the device to keep it price competitive. If they do, I'm hoping that a Retina display model will be available also. Once you've had Retina, it's very hard to go back.
HD Camera - I think the camera built in to the iPad mini is very important. This device will be much less awkward to take pictures with, yet still provides an HD view of the world. I'm hoping that we see a camera with the specs close to the unit that's in the iPhone 4S, or better.
GPS - A good camera that can geotag images is vital to nimble photographers. There's no better time to add location information than when the image is recorded.
Smart Cover This device needs to take up as little space as possible, and the Smart Cover we currently have for iPads is a great accessory. Would love to have one for the mini at launch.
Will we get these features? We'll know soon enough. The announcement is in less than a week (we think...).
With Aperture 3.3 and iPhoto 9.3, Apple introduced the Unified Library that allows both applications to share a single library container. Not only does this allow you to switch back and forth between iPhoto and Aperture seamlessly, but it introduces new options for your photo workflow.
How the Unified Library Works
First, however, here's a brief look at the Unified Library in action.
Since this movie was made, a new feature was introduced in Aperture 3.4 making this "switching back and forth" even easier. The command, File > Open in iPhoto streamlines the process of jumping over to iPhoto (and vice versa).
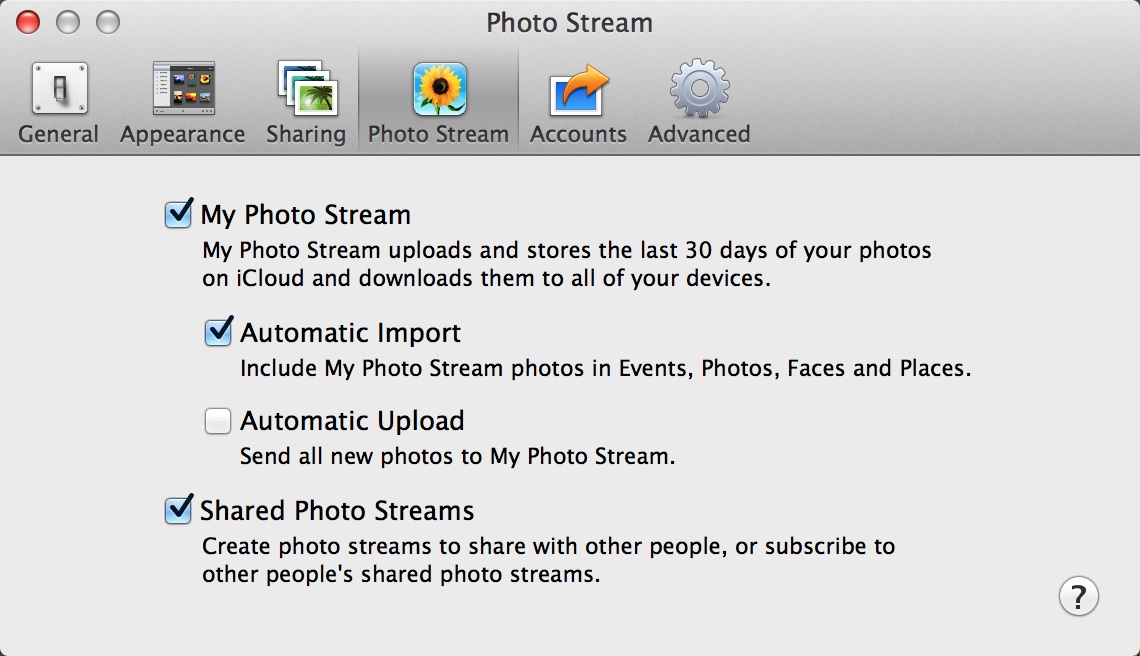
I still can have only one library designated to manage my Photo Stream. I've set up an iPhoto Library specifically for that task. My iPhoto Preferences are configured to automatically download images from Photo Stream into this container.
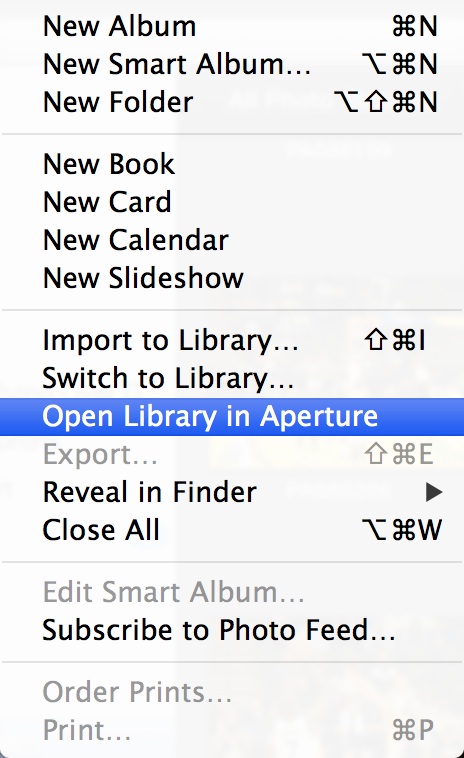
So all of my pictures from the iPhone and iPad flow into this designated iPhoto library. Now, let's say, that I want to work on one of these shots in Aperture. I go to File > Open Library in Aperture, and the entire Photo Stream is there. I can edit anything that appeals to me with Aperture's extensive toolset, export finished pictures out to my Mac, or share them online. When I'm done, I switch back to my regular Aperture library and let iPhoto continue to manage the Photo Stream.
Easy! Needless to say, I'm lovin' the Unified Library.
The Digital Story on Facebook -- discussion, outstanding images from the TDS community, and inside information. Join our celebration of great photography!
With so many changes in the camera market, we have new options for configuring an arsenal that best suits our needs.
In today's podcast, I assemble four camera kits using everything from Nikon's D600 full frame DSLR to Canon's waterproof compact D20. In part, this is for fun. But it can also help us reexamine the tools we're using for our work.
I then introduce the first four workshops of the 2013 season. Plus, I have ideas for more events that I'd like your feedback on. All of this, and more, in this week's TDS podcast.
Sponsor Note: Both Red River Paper and SizzlPix have special notices for our audience. Be sure to check out the Sponsor blurbs in today's podcast show notes. (Scroll down the page...)
Panorama is the Oct. 2012 Photo Assignment. You can read more about how to submit on our Member Participation page. Deadline for entry is Oct. 31, 2012. Note: We're making an exception this month for image size. Submit your panorama at the size you feel appropriate.
Make Your Photos Sizzle with Color! -- SizzlPix is like High Definition TV for your photography. Special this month, order one SizzlPix and get the second one for 50%. Put "TDS" in the comments field of your order.
Need a New Photo Bag? Check out the Lowepro Specialty Store on The Digital Story and use discount code LP20 to saven 20% at check out.
It's already time to start thinking about the 2013 photography workshop season, and I have four events scheduled, with more to come. If you want to get on the reserve list for 2013, visit the TDS Workshops page and complete the Send Me Info box. It's going to be a great year!
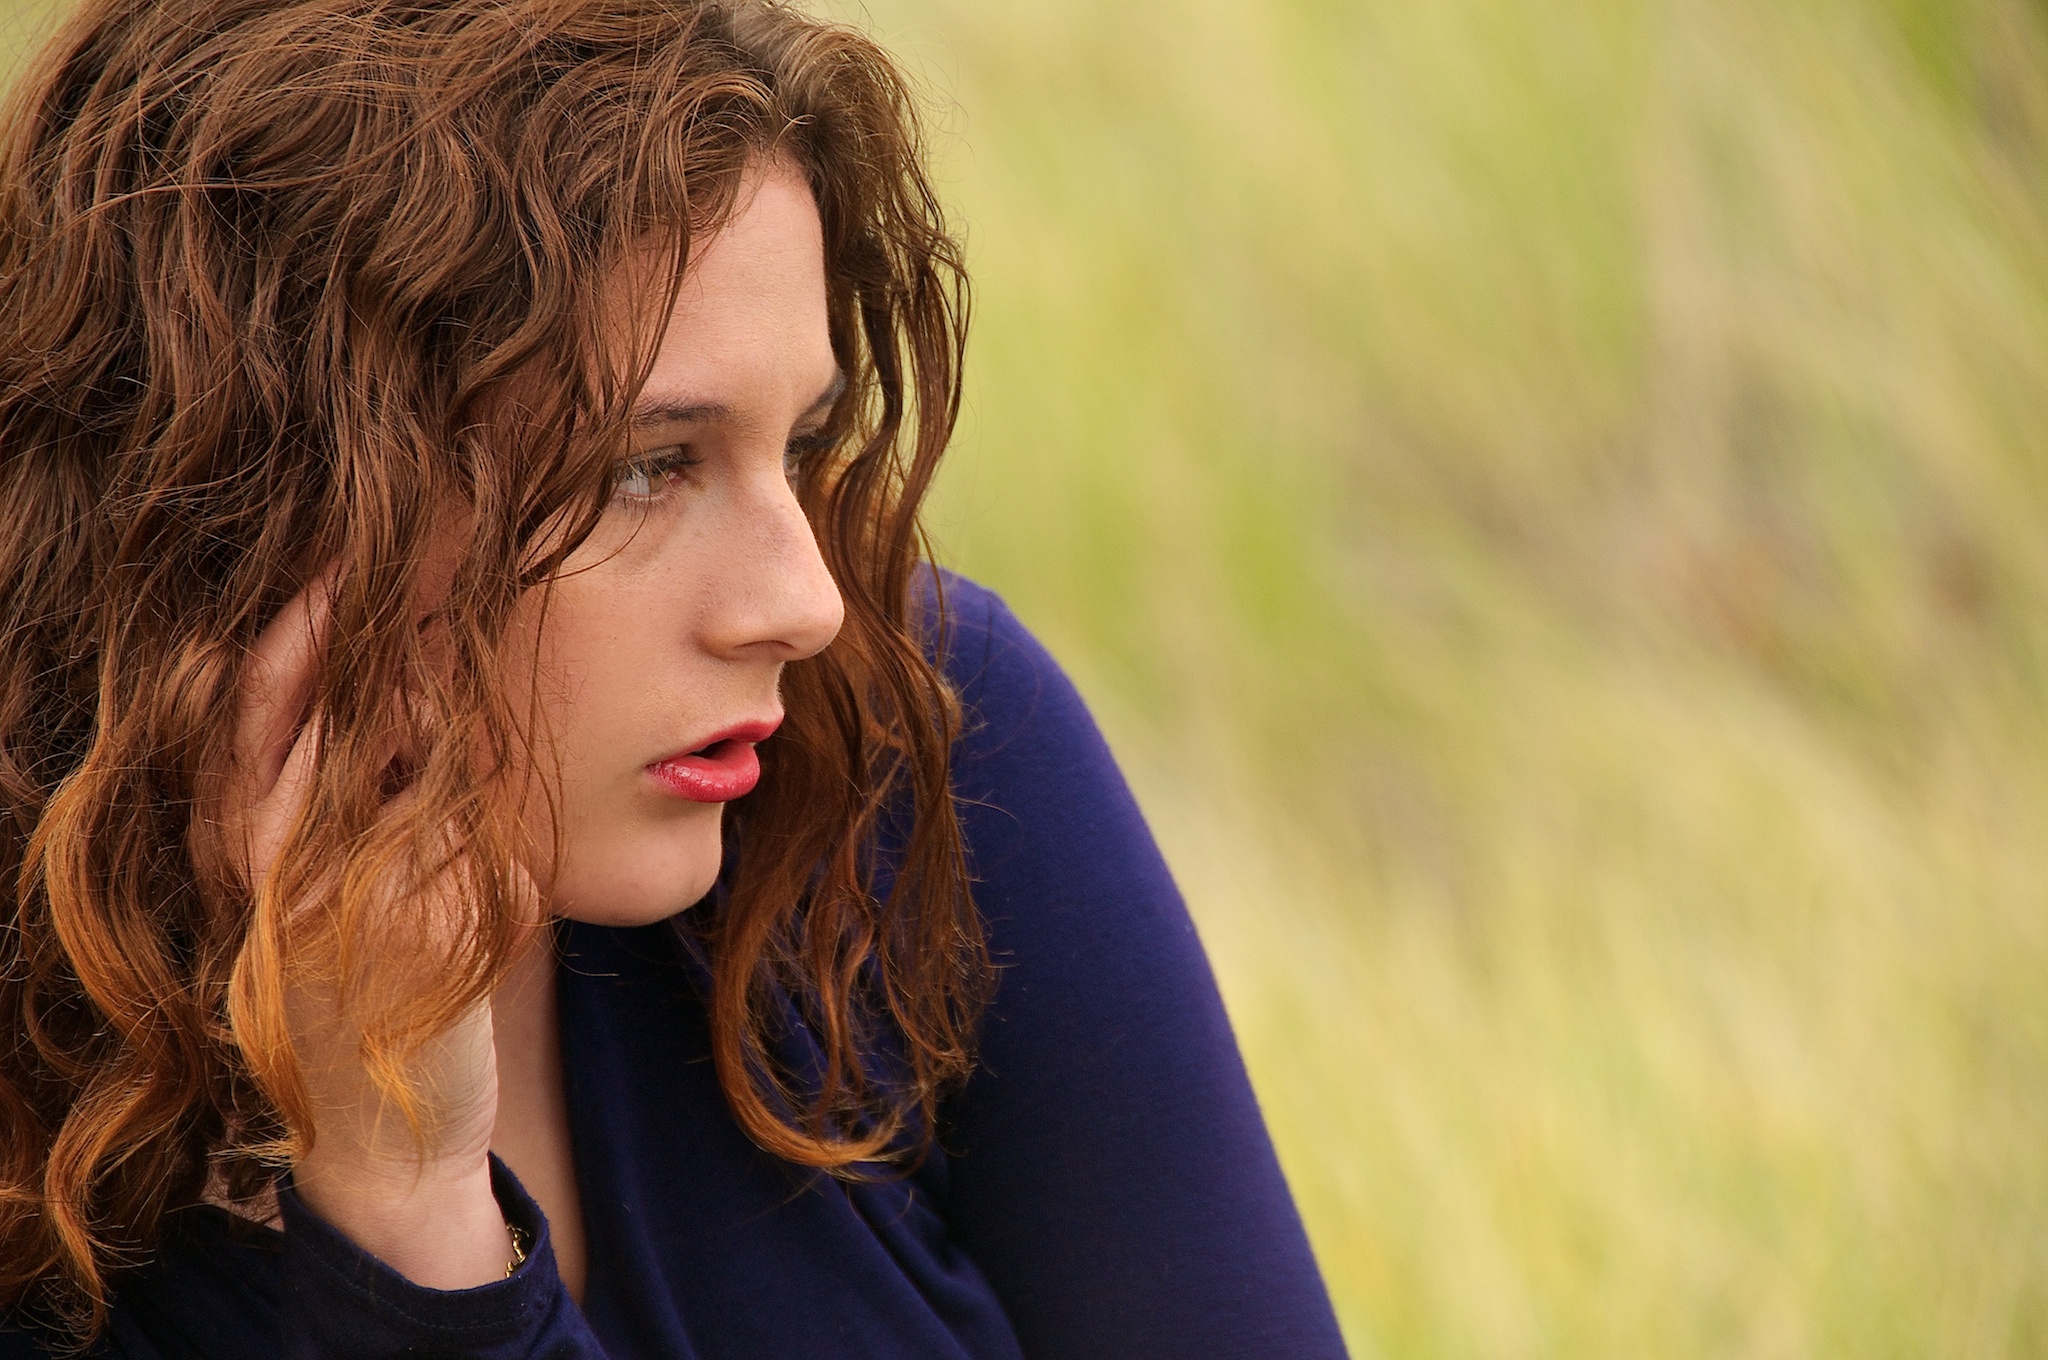
Portrait of Alyssa by Gary Angelo at the 2012 Sonoma Coast Photography Workshop
Scheduled TDS Workshops for 2013
April 2013: "iPad for Photographers" - Master the mobile workflow with Nimble Photographer, Derrick Story. We will pack our iPads and cameras and photograph interesting people and places, then perfect the mobile workflow with only our tablet computers. We'll cover capture, organization, editing, and sharing. Special sessions on time lapse photography and movie making. 2 full days, breakfast and lunch included, excellent swag, surprises - $475 (advance purchase price available through Feb. 2013)
June 2013: "Movie Making for Photographers" - The camera gear we've invested in can do more than still photos. They are excellent HD movie making devices. In this workshop, you'll learn and practice storyboarding, filming techniques, audio recording, editing, and publishing. Designed for photographers who want to perfect their movie making skills. 2 full days, breakfast and lunch included, excellent swag - $475 (advance purchase price available through March 2013)
August 2013: "Sonoma Coast Workshop" - One of the most popular events for 2011 and 2012. Roll up your pant legs and shoot portraits and landscapes on the rugged Sonoma Coastline. It's a treat for the senses. Classroom sessions at the amazing Bodega Bay Lodge "Library," and field sessions at our camp at Doran Beach. 2 full days plus pre-workshop reception, breakfast and lunch included, excellent swag, professional model - $550 (advance purchase price available through May 2013)
October 2013: "Fall Color with Safari West" - Sonoma County has rolling hills covered in vineyards, beautiful trees, and gorgeous blue skies. What a prefect place to shoot Fall color and bolster your landscape library. But there's more. We include environmental portraiture with a professional model, and an exclusive African wildlife photo adventure at Safari West, led by a professional photographer, plus a few surprises. This is our premier workshop of the season. 2 full days plus pre-workshop reception, breakfast and lunch, excellent swag, professional model, Safari West adventure - all included for just $575 (advance purchase price available through May 2013)
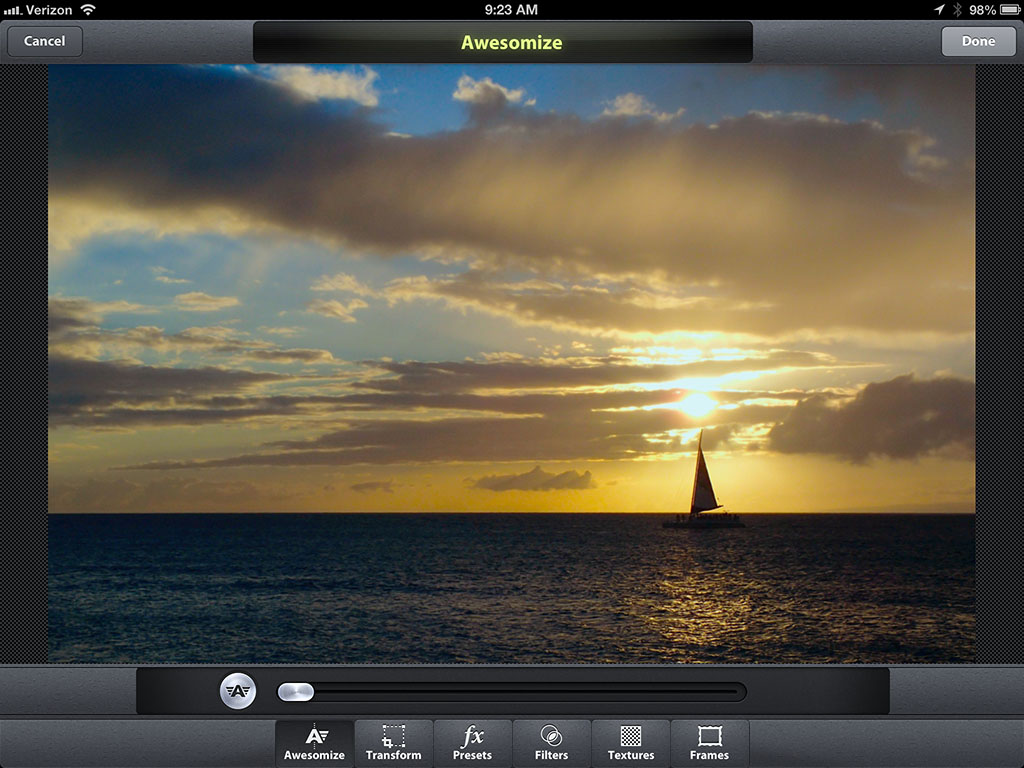
One of my favorite iPhone apps, Camera Awesome, has now been engineered for the iPad too. This is great news for nimble photographers.
The app includes an excellent editing environment.
You can shoot and edit with Camera Awesome. If the idea of taking a picture with the 3rd Gen iPad seems odd at first, consider this: the device has a good 5 MP camera and a fantastic viewing screen. You literally are composing on an HD display.
Camera Awesome further encourages this by placing the controls where your thumbs naturally are positioned while you hold the iPad. Plus it has the very useful "split the focus and exposure targets" feature that allows you to focus on one part of the composition and expose for another area. You can enable this with a 2-finger tap.
The editing environment is also terrific. Start by tapping the "Awesomize" icon to reveal the toolset including the fx presets, cropping tool, filters, and of course, the Awesomize slider.
Once you're finished editing, it's easy to share via SmugMug, Facebook, Twitter, Flickr, Picasa, Photobucket, Instagram, and email. You can also same your picture to the iPad's Camera Roll.
Camera Awesome is free. It offers in-app purchases for additional presets and filters. I consider this latest version a must-have app for iPad photography.
You can find more photo tips and "photography how tos" on my Pinterest page.
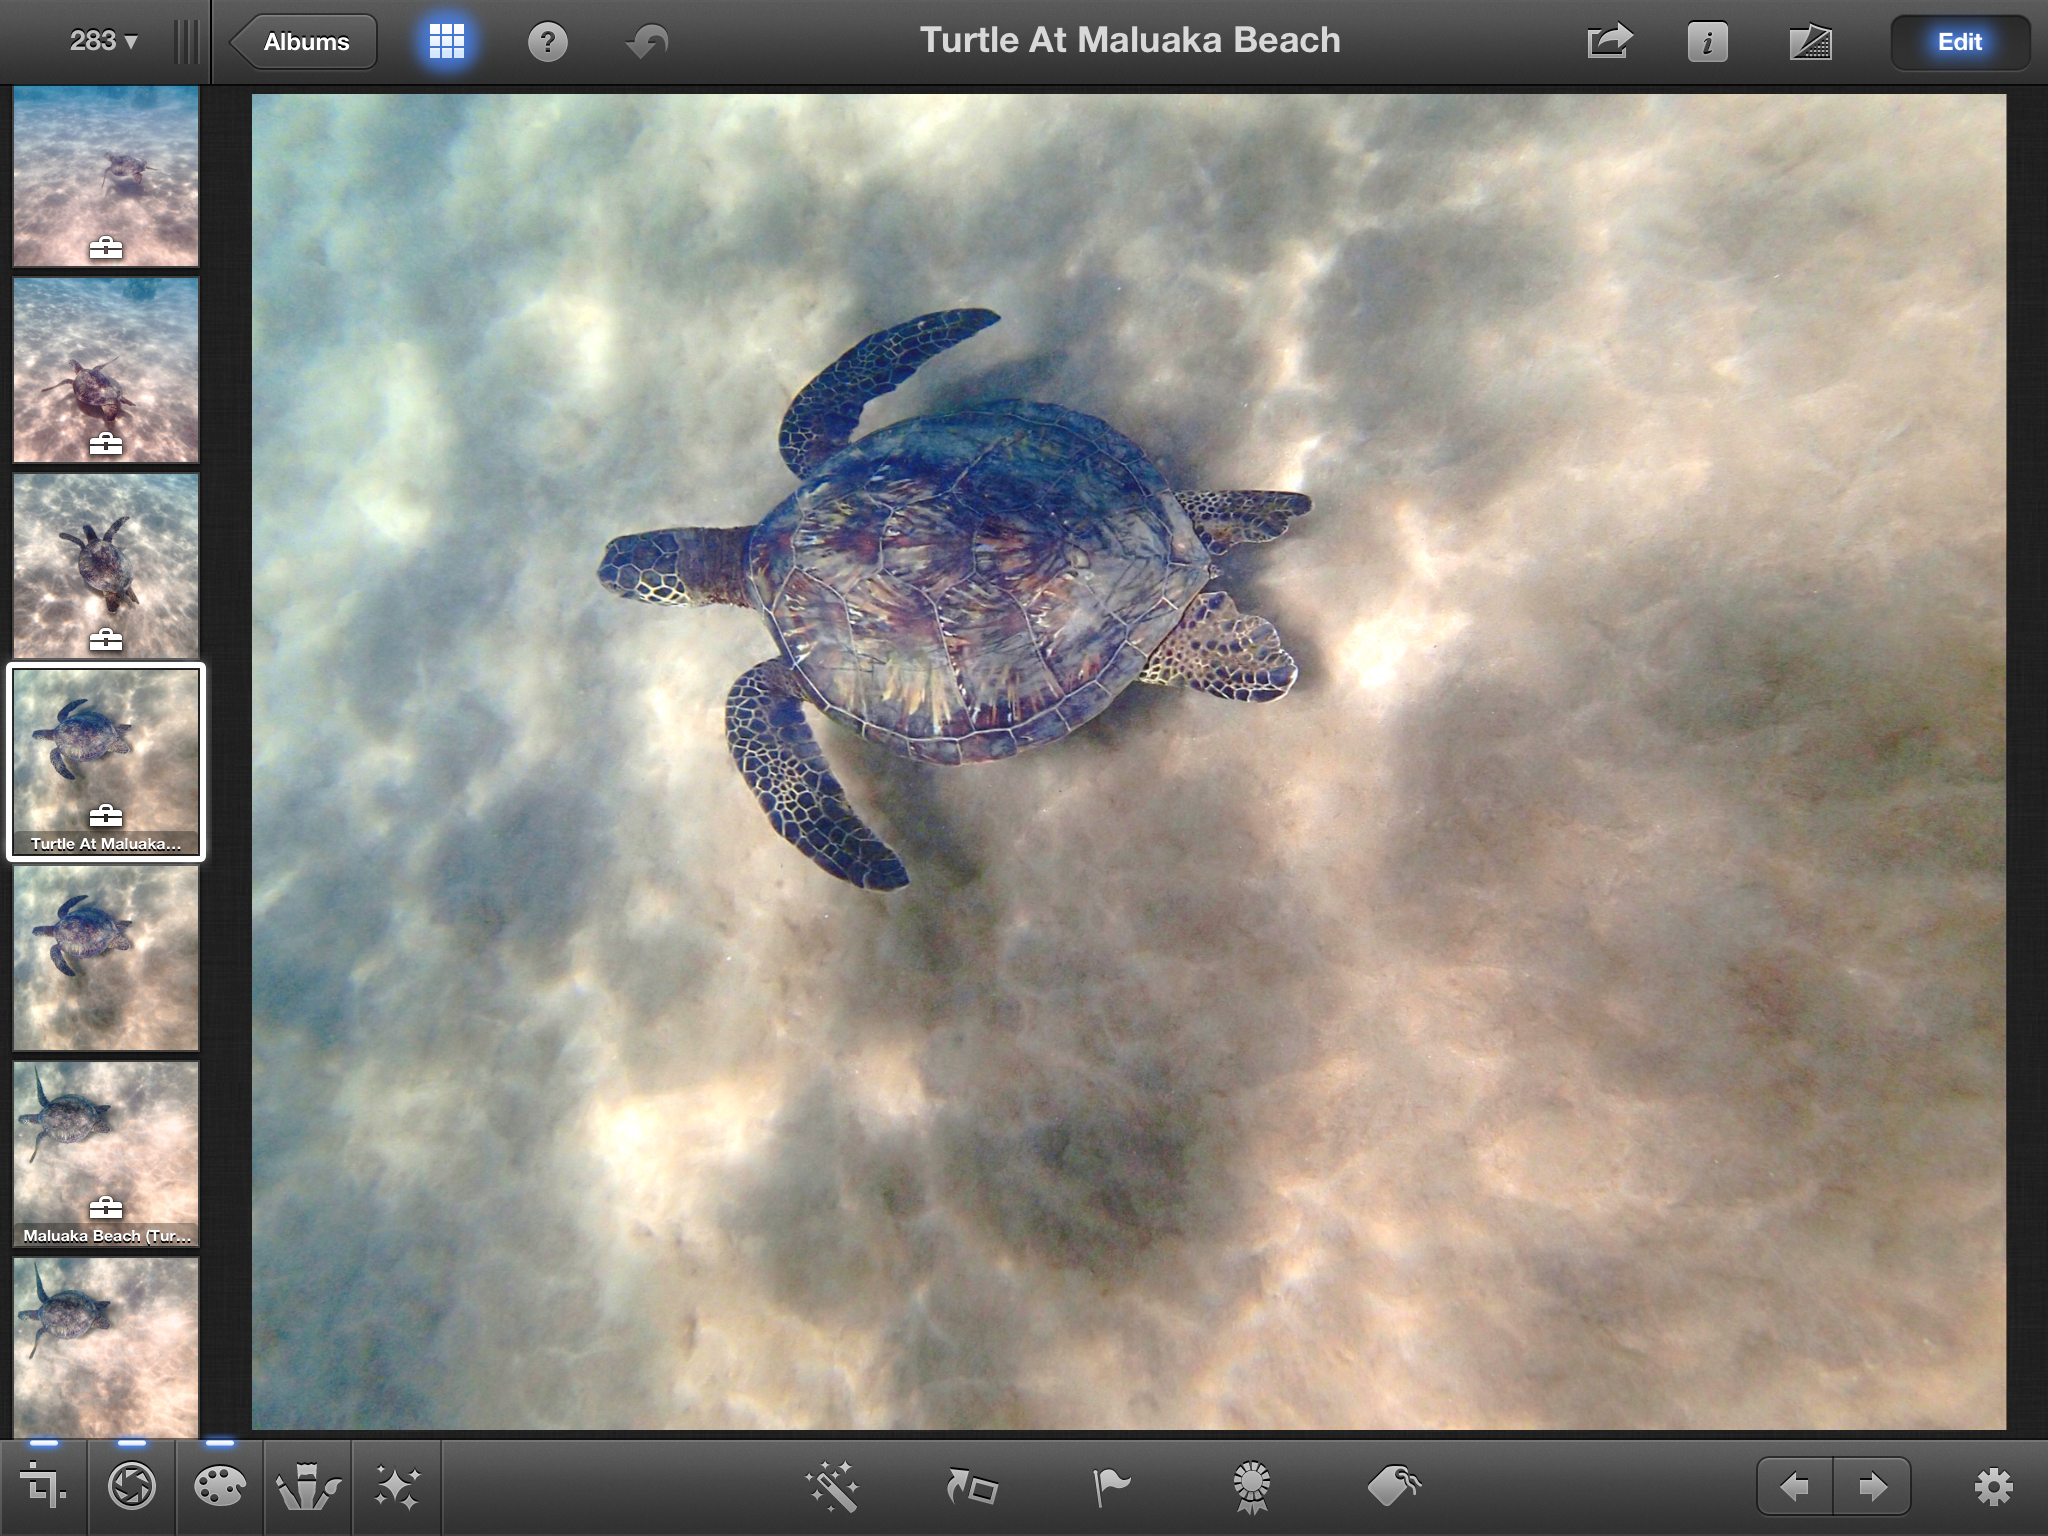
The iPad is a highly capable companion for the digital photographer. Its main drawback, however, is the lack of storage on the device itself. In my recent Macworld Magazine article, The Ultimate iPhoto Workflow, I show how you how to work around the storage limits so you can leave your laptop at home and use the iPad on the road.
This set up works particularly well on vacations when you don't want to be tempted to deal with office problems and daily life, but you still want to upload, process, and share the images from your trip. Then, when you do return, integrate what you've done on the road with your photo library on the home computer.
This particular workflow uses iPhoto for iOS, which is a capable organizing, editing, and sharing application for the iPad. But you could modify the steps to work with other software too. Take a look at The Ultimate iPhoto Workflow and see what you think.
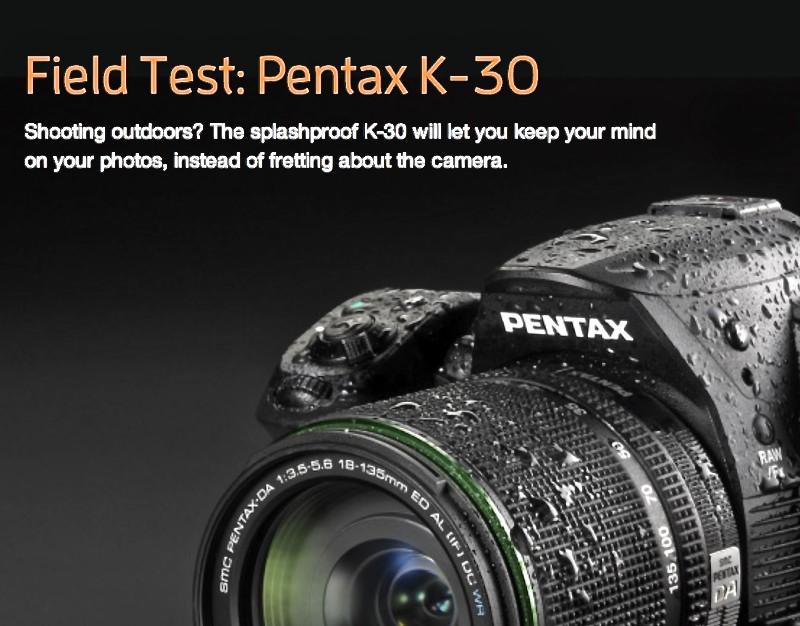
TechHive just posted my field test of the rugged Pentax K-30 DSLR with the new 18-135mm f/3.5-5.6 zoom lens. I used this camera in various conditions for nearly two months, before reluctantly sending it back to Pentax.
Its billboard feature is the weather resistant body and lens. If you use the 18-135mm (27-202mm equivalent), you would rarely have to change glass in the field. This makes the K-30 a good choice for backpackers, snow boarders, and other outdoor photographers.
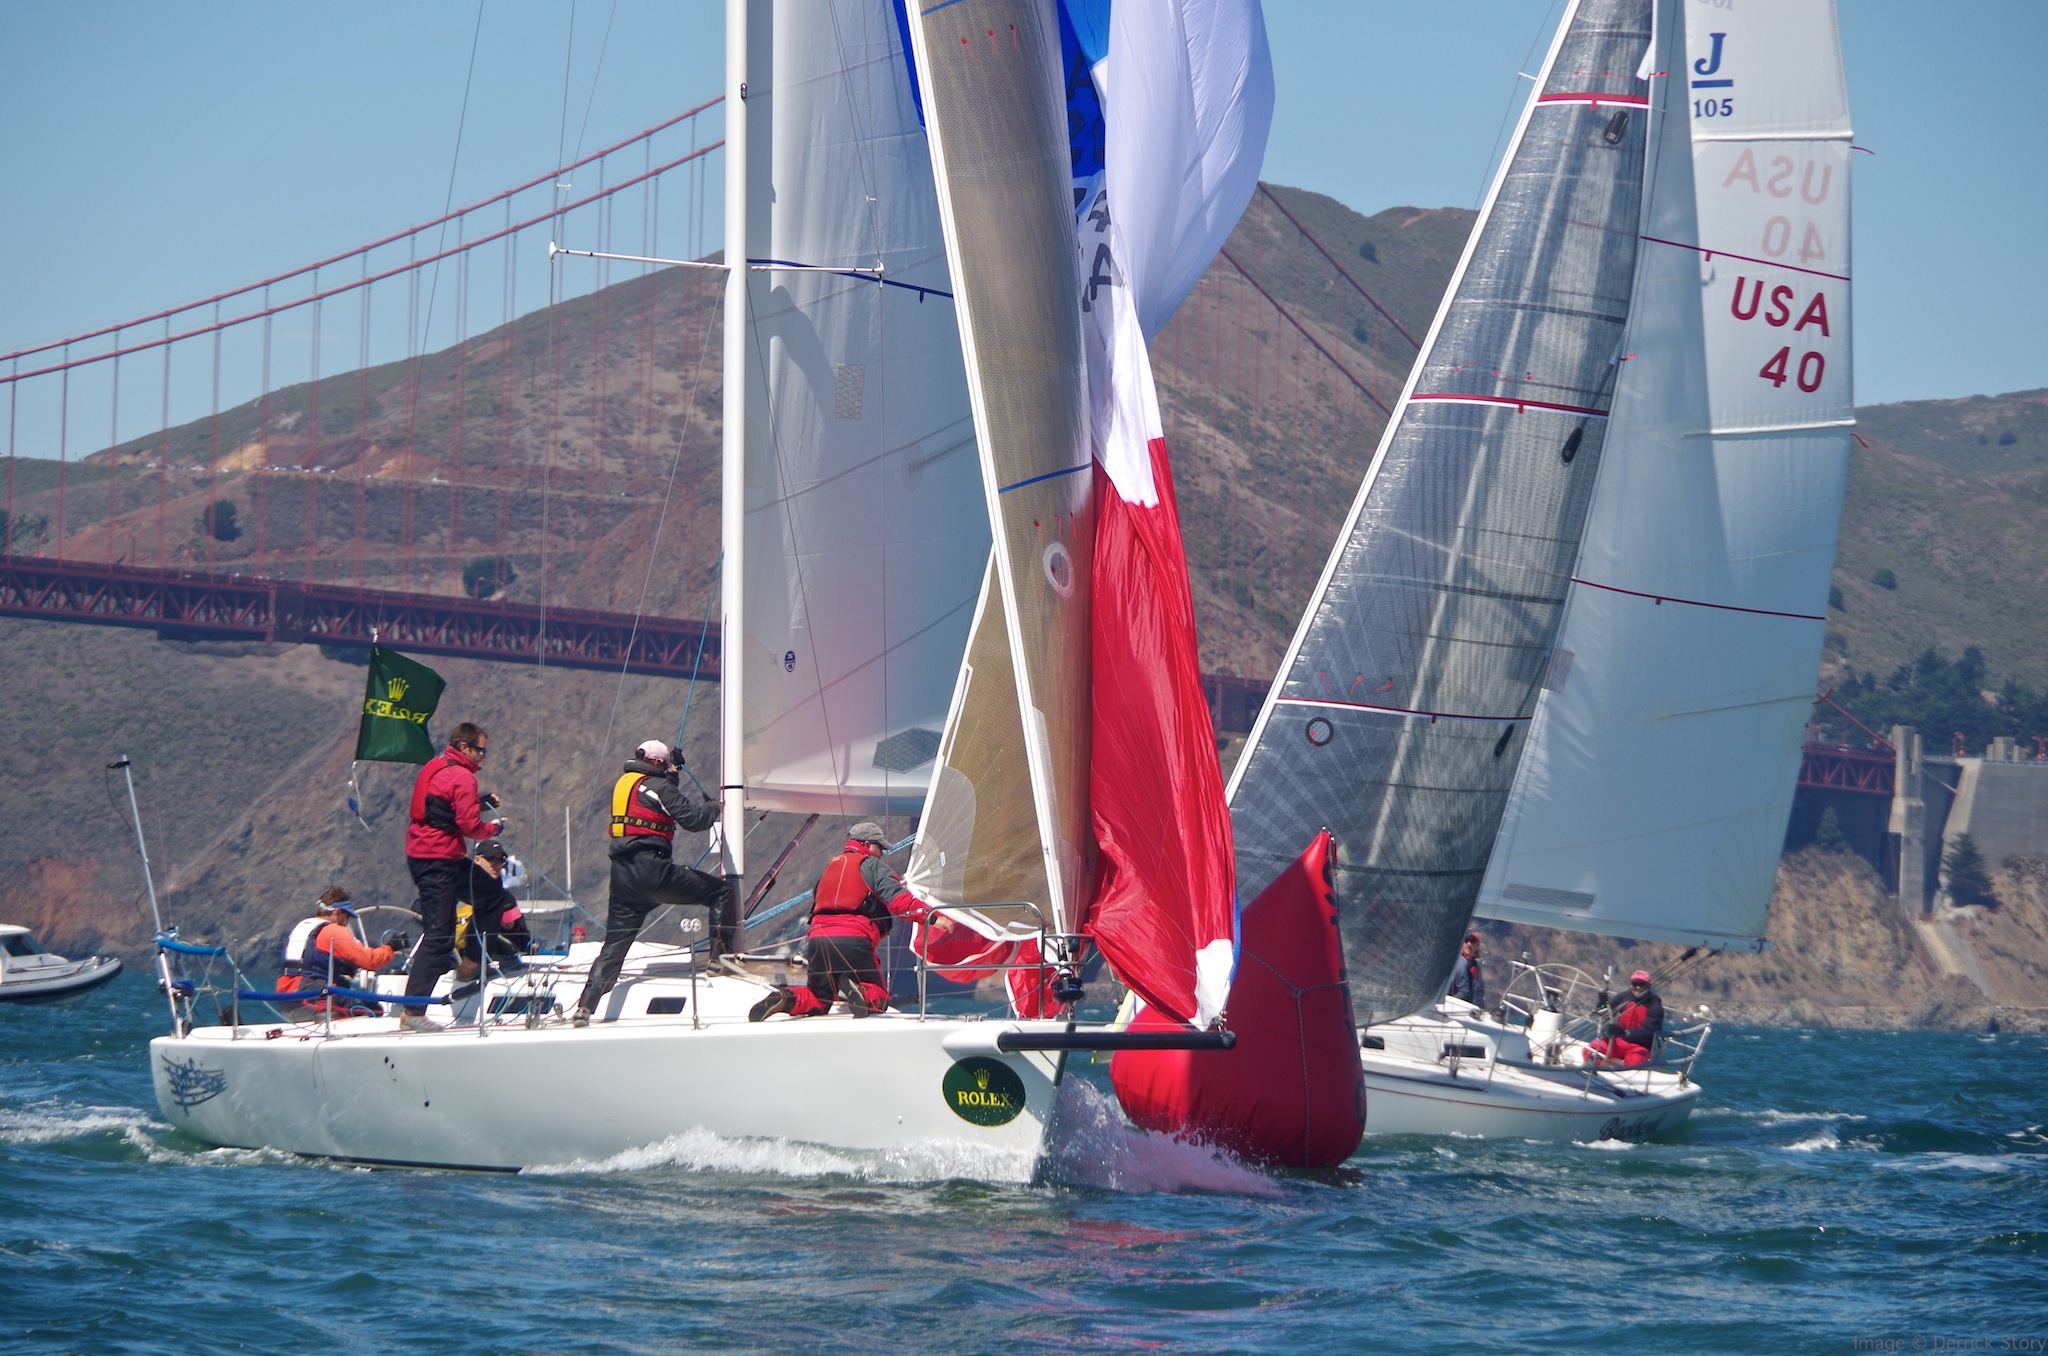
I tested the K-30 while shooting the Rolex Big Boats challenge in San Francisco Bay from an outboard circling the event.
But the K-30 includes a host of other features that aren't included on many DSLRs in its price range (less than $1,100 with the zoom lens):
Built-in HDR: The K-30 comes with four levels of in-camera HDR processing, ranging from subtle recovery of highlights and shadows to exaggerated HDR effects.
Multiple exposure: Another in-camera special effect is multiple exposure, which lets you combine up to nine frames into a single final image.
AA batteries: The K-30 ships with a respectably strong lithium power cell. But the battery chamber is also designed to hold four AA batteries. All you need to make the switch is an inexpensive adapter. Then, in the menu, you can select the type of AA battery you want to use (lithium, nickel-metal hydride, or alkaline). It's a great feature if you like to go on extended adventures away from power outlets.
Raw/Fx button: Located on the left side of the camera, the Raw/Fx button allows you to switch quickly to Raw format for the next shot. So when you see a composition that might require a little extra work, you can go from JPEG to Raw with just the press of a button. You can also set this button to remain in Raw mode until you toggle it off.
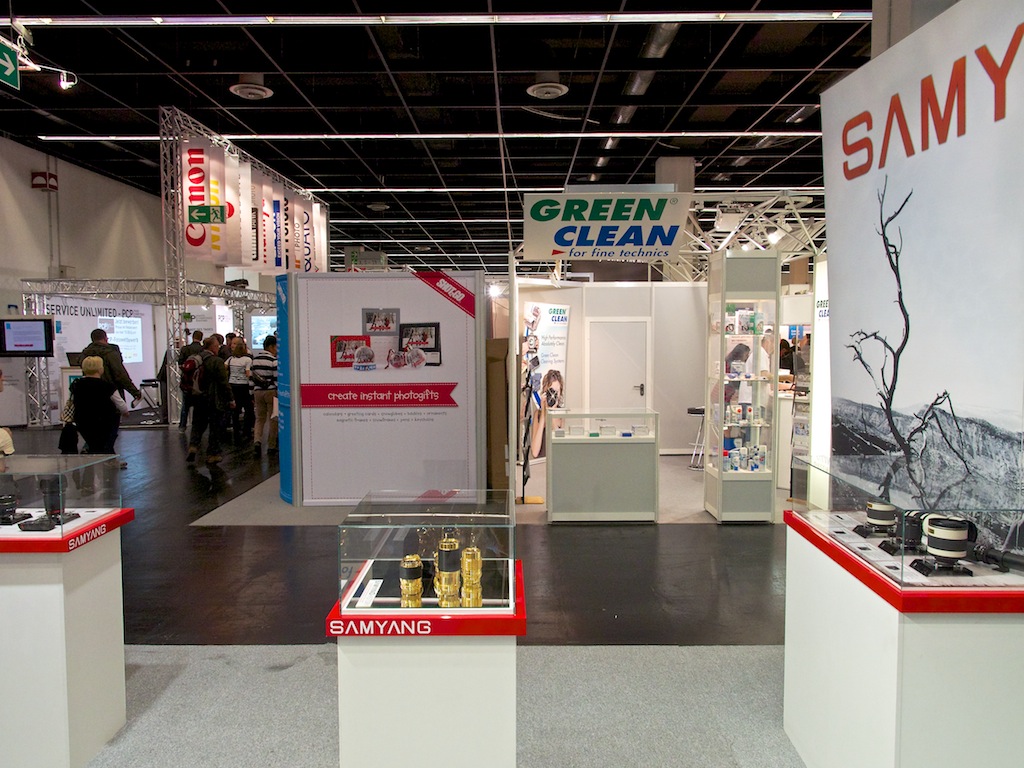
A great way to shake things up photographically is with an ultra wide lens. I recently had a chance to experiment with the Samyang 7.5mm f/3.5 UMC fisheye lensfor micro four thirds on my Olympus OM-D. Samyang makes this lens in various mounts, so they most likely have one for your camera too.
Super wide perspective with the Samyang 7.5mm f/3.5 fisheye lens for micro four thirds.
The micro four thirds version is a manual focusing 7.5mm chunk of glass. That works out to 15mm in full frame terms -- very nice. The manual focusing isn't really an issue with the Samyang, because almost everything is in focus anyway. But I did go through the motions of picking a spot and turning the ring. The maximum aperture of 3.5 seemed like enough for indoor and out, especially with the high ISO capability of today's cameras.
Same view at 12mm with the Panasonic 12-35mm f/2.8 zoom.
The Samyang lens sells for $299 USand is available widely. If you need to broaden your visual horizons, you might want to take a look.
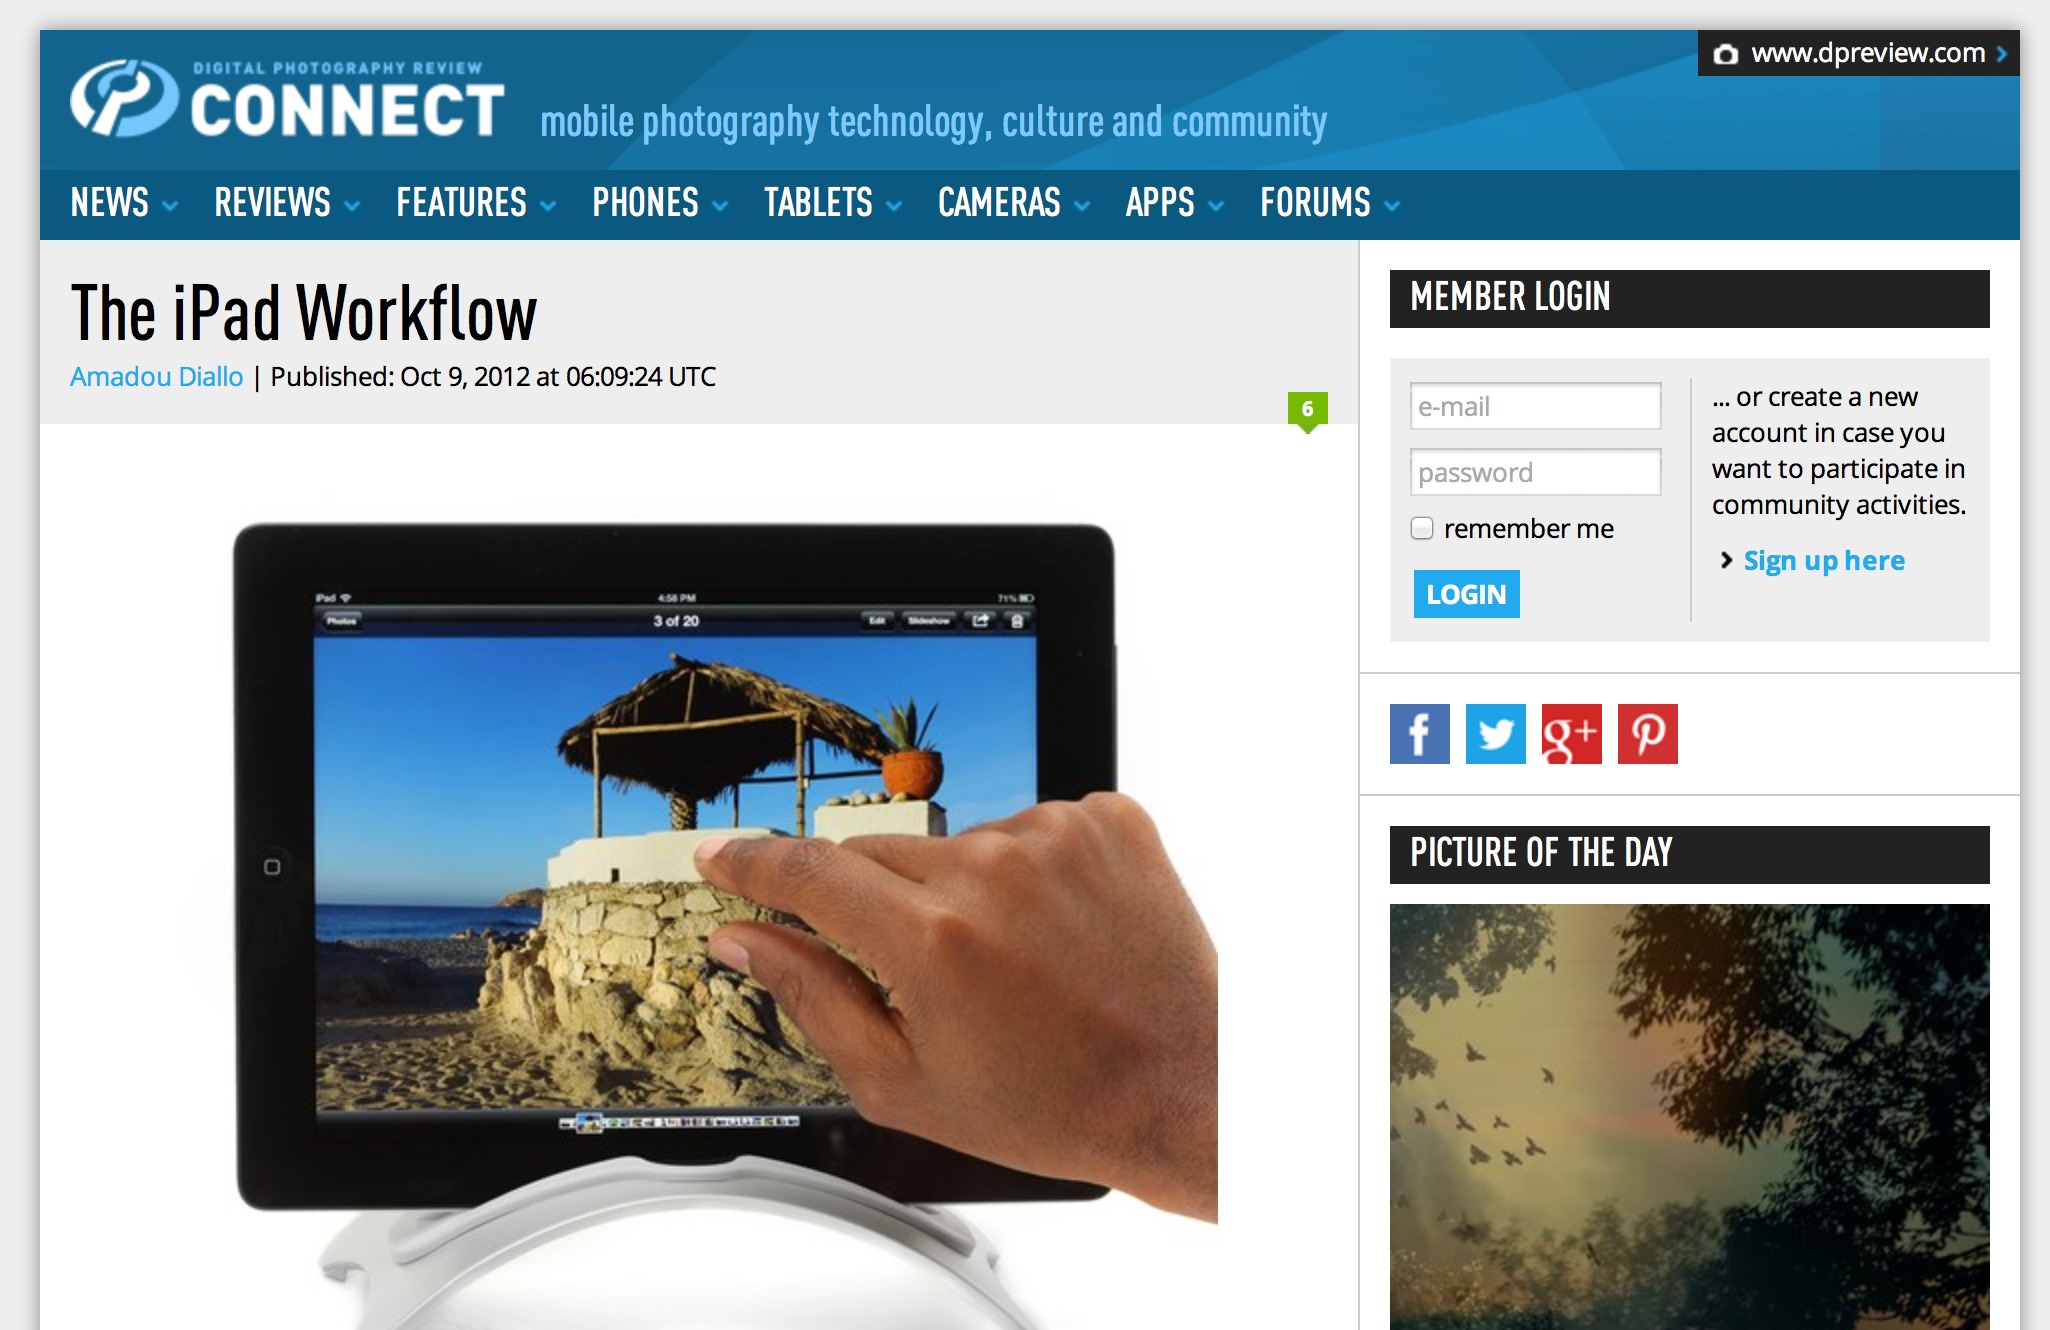
A sign of the times. DP Review just launched Connect, a site dedicated to mobile photography technology, culture, and community.
The top nav bar covers a broad array of topics: news, reviews, features, phones, cameras, tablets, apps and forums. The site looks good on my Mac and on the 3rd Gen iPad, but is a little hard to read on the iPhone 4S.
There's plenty of information right now, even at launch. Looks like a good site for Nimble Photographers to add to their reading list.
You can find more photo tips and "photography how tos" on my Pinterest page.
 Healdsburg, CA. Photo by Derrick Story.