During our TDS Photography Workshop in Pt. Reyes, CA, I put forth the idea of working in B&W over the course of the event.
 Skipper on Thistle flower. Olympus OM-D E-M5 Mark II with 40-150mm f/2.8 PRO zoom in monochrome mode. Photos by Derrick Story.
Since many of the participants had mirrorless cameras with electronic viewfinders, we could view the beautiful Northern California landscape in Black & White right there in our cameras. I consider this a wonderful feature that makes this type of capture even more exciting.
Another nice feature is the ability to shoot in RAW+Jpeg. In my case, my Jpegs were the monochrome images, recorded at full resolution with SuperFine compression. But I still had the corresponding RAWs for each shot. This provided me the luxury of choosing which version I liked best for any given scene.
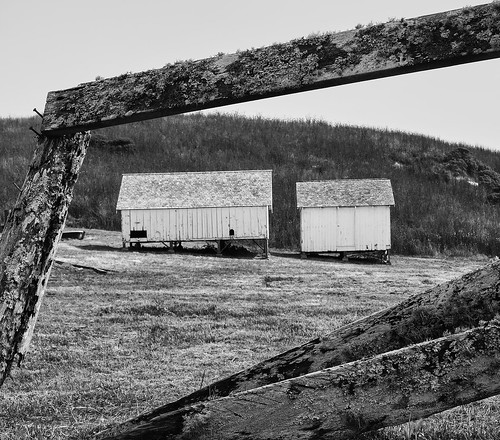 Tomales Point. Olympus OM-D E-M5 Mark II with 14-42mm EZ zoom in monochrome mode.
I was surprised at how often I liked the monochrome better. Yes, I had anticipated that some of the landscape scenes would look great in B&W, but I was delighted that many of the wildlife images looked great too.
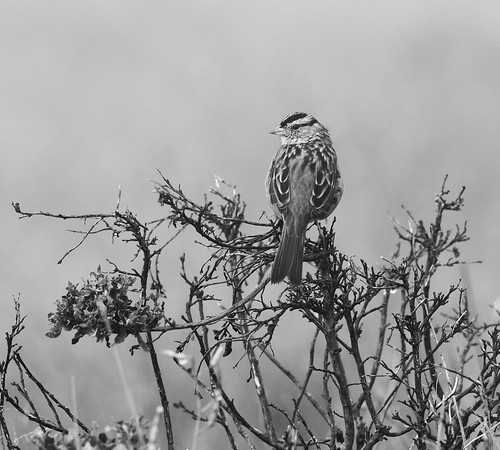 Olympus OM-D E-M5 Mark II with 40-150mm f/2.8 PRO zoom in monochrome mode.
Because the monochromes were Jpegs, I knew that I would be able to edit them quite as much as the RAW files (although they held up better than I anticipated). So I did try extra hard to get them right in the camera. I think this led to me slowing down a bit and really enjoying the experience of photographing the diversity of Pt. Reyes.
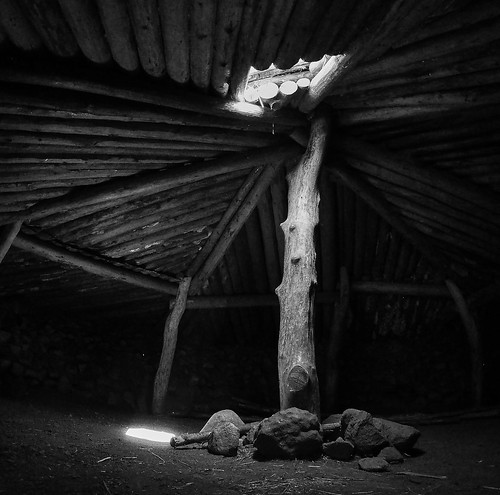 Olympus OM-D E-M5 Mark II with 9mm "lens cap" fisheye in monochrome mode.
A few of our photographers also went this route and created very artistic images. Others stuck with RAW and converted to B&W in post. But almost everyone shared a stunning monochrome or two during our class presentation at the end of the workshop.
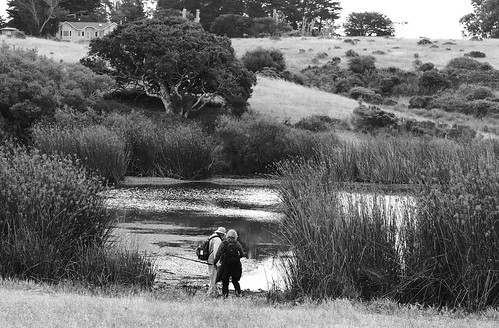 Olympus OM-D E-M5 Mark II with 40-150mm f/2.8 PRO zoom in monochrome mode.
So what's my conclusion after this artistic experiment? I think I'm going to use this technique more often. I really don't have anything to lose with RAW+Jpeg, and I felt that my concentration was improved while shooting. Not to mention that I really like some of the images.
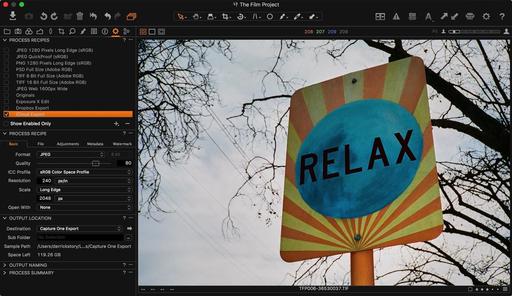
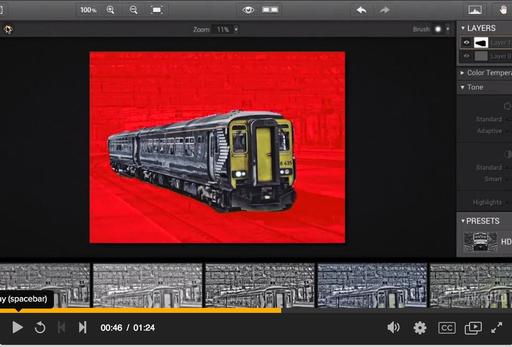
Capture One Pro Tips and Techniques
I cataloged and fine tuned these images with Capture One Pro. If you want to learn how to work with your photographs in this application, check out Capture One Pro Essential Training, now available on lynda.com. More than 5 hours of tips, tricks, and techniques. Plus many free movies using advanced techniques.
I've also created a dedicated Capture One Pro Training page on The Digital Story. You can follow all of the tips and techniques that I publish in one convenient spot.
Thinking About Making the Transition from Aperture or Lightroom? - Download my free eBook titled, Rocky Nook's Guide to Moving to Capture One Pro. I show you the steps to create a test library, then build the foundation for a smooth transition to Capture One Pro.
Want to Comment on this Post?
You can share your thoughts at the TDS Facebook page, where I'll post this story for discussion.