After a week of shooting with the Canon 40mm EF f/2.8 STM lens,I have to say this is one enjoyable little prime. At half the size of the 50mm f/1.8, it focuses quieter, is built sturdier, and is ever bit as sharp.
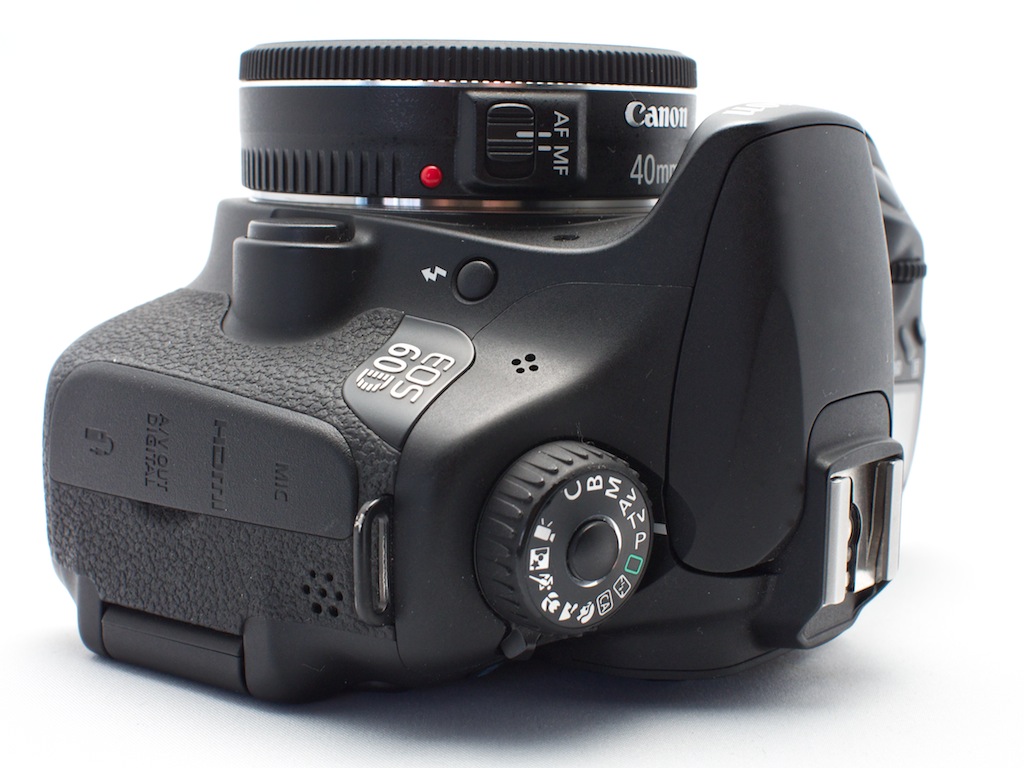 Canon 40mm prime mounted on a EOS 60D. Photo by Derrick Story.
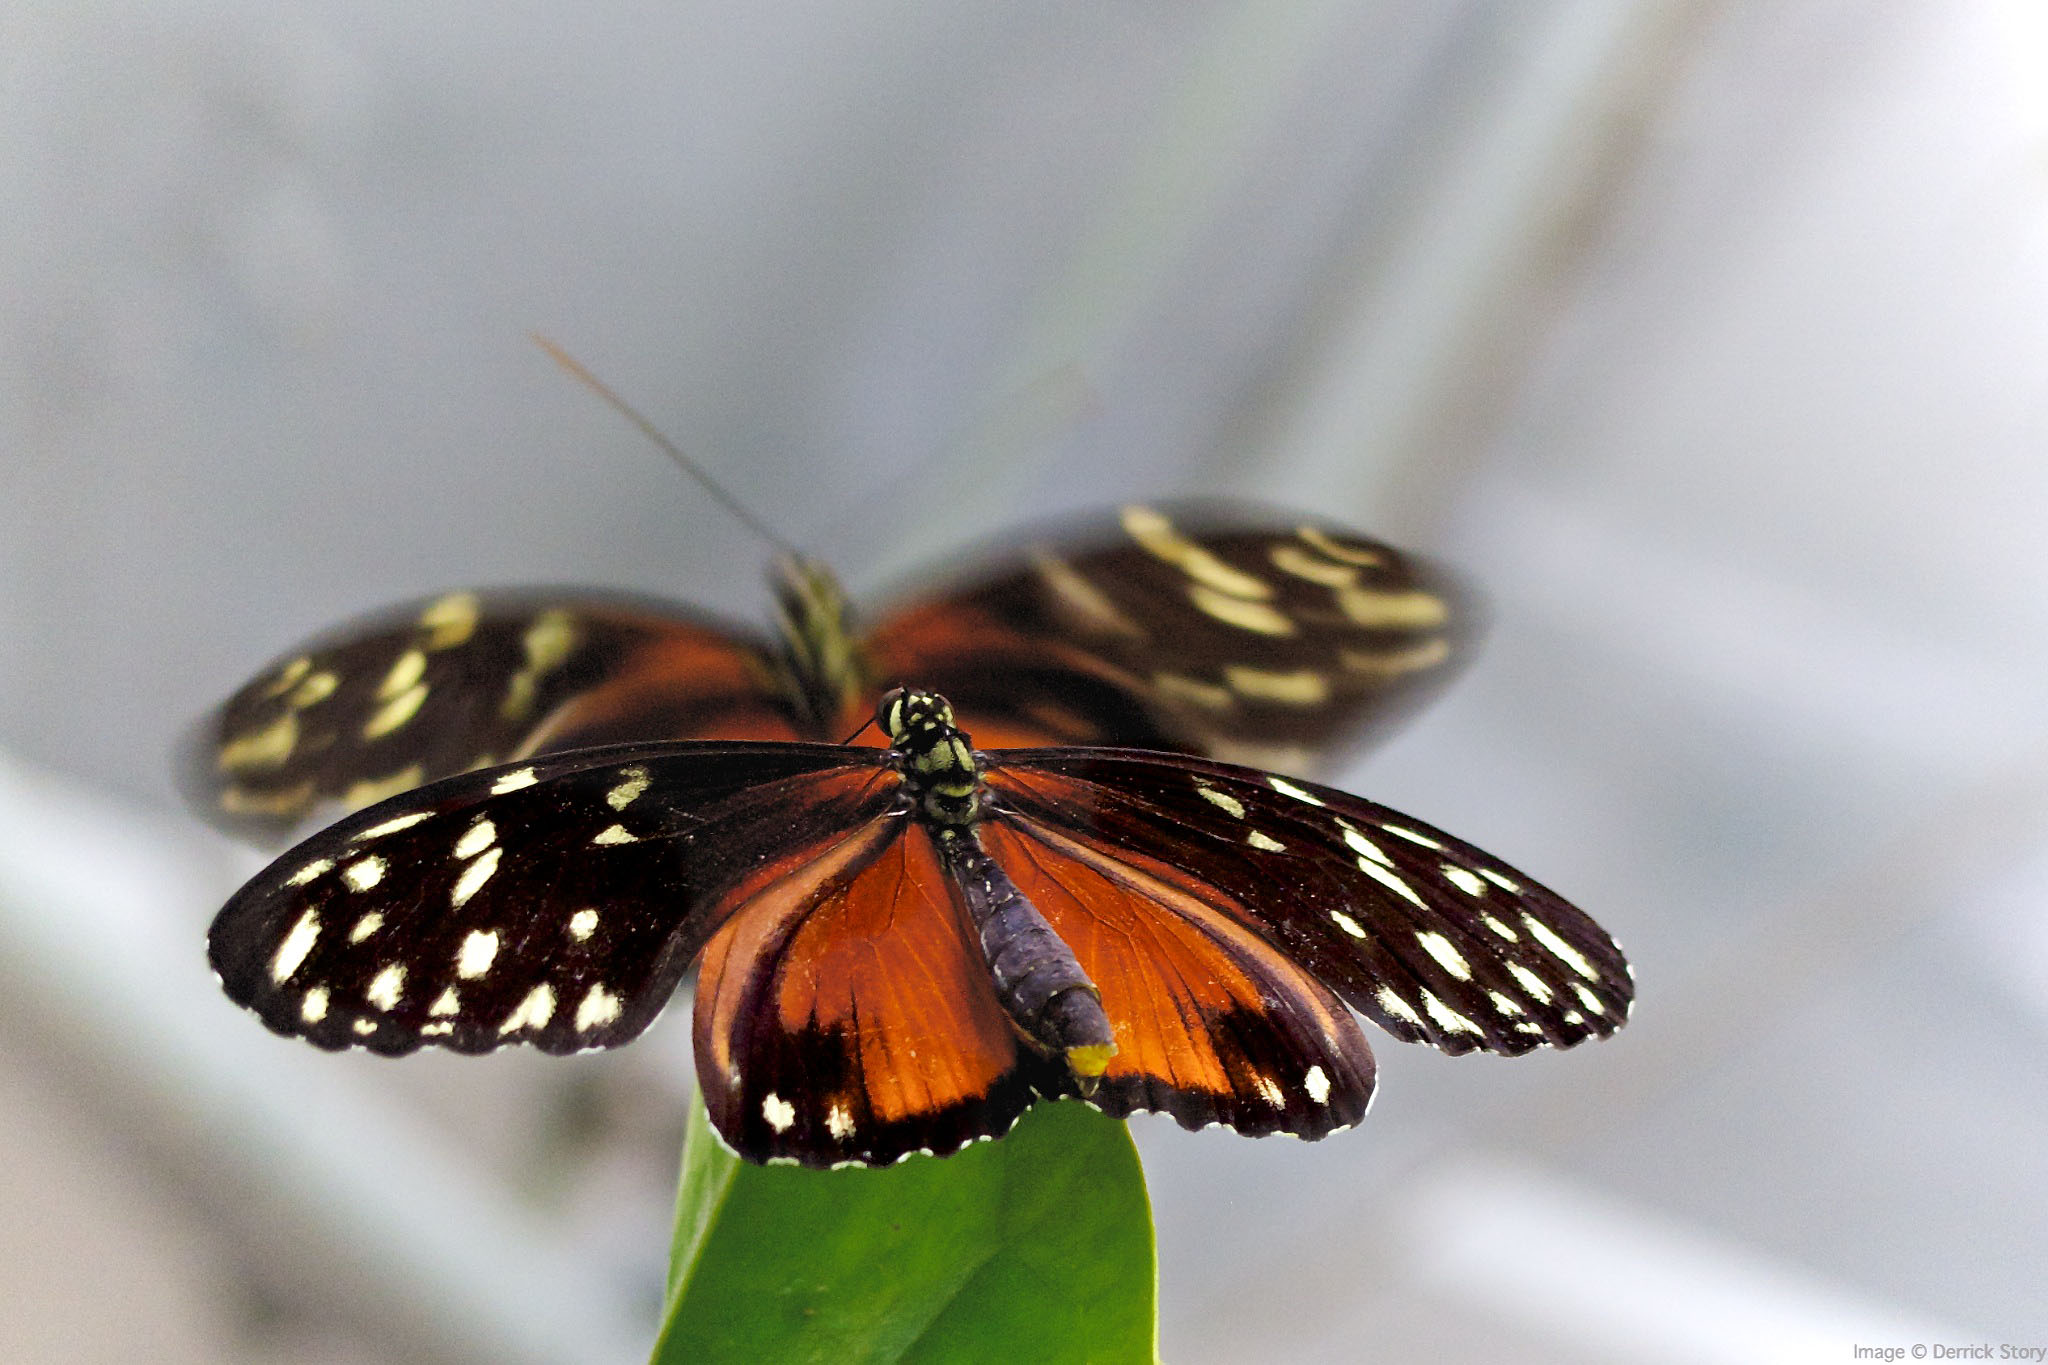
The 40mm will focus as close as 1 foot. It's not macro (even though Canon says that on the side of the lens), but it is close enough for interesting compositions.
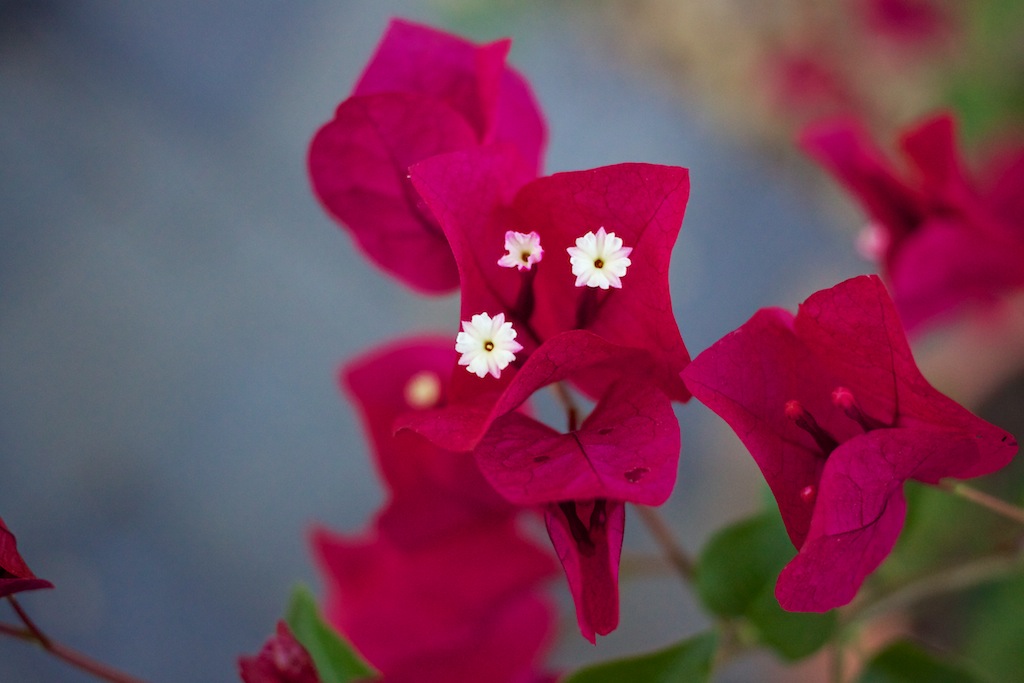 Close up of Bougainvillea flowers captured with the Canon 40mm wide open on a Rebel T1i. Photo by Derrick Story. Click on image for larger size.
The pancake lens also performed well in the studio. I used it to take a series of product shots.
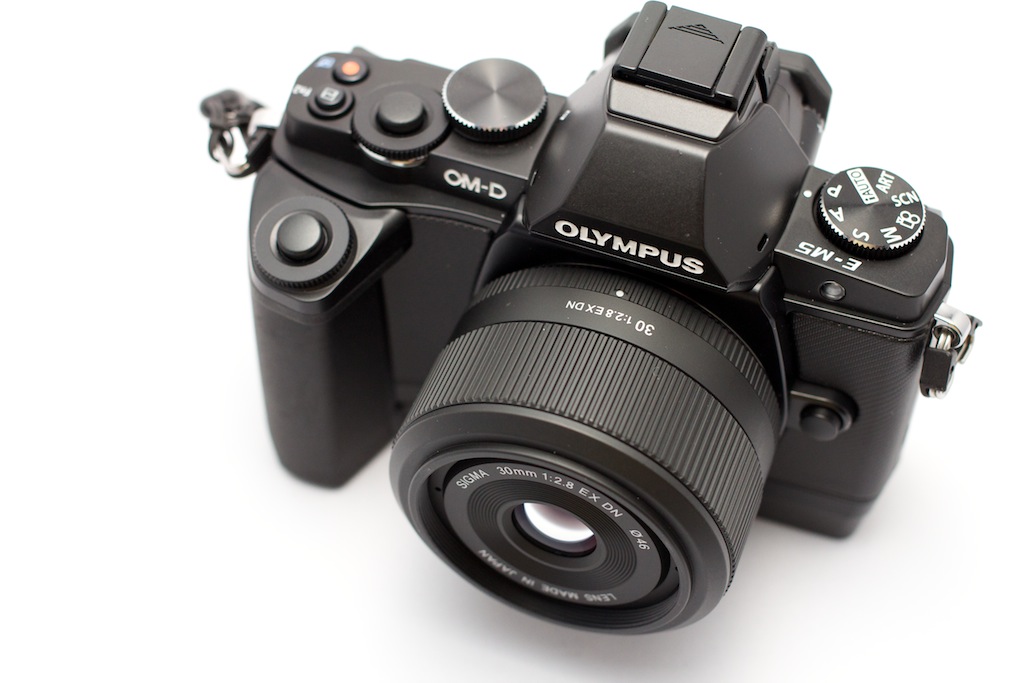 Olympus E-M5 with Sigma 30mm f/2.8 lens captured with the Canon 40mm f/2.8 pancake on a Canon 60D. Photo by Derrick Story.
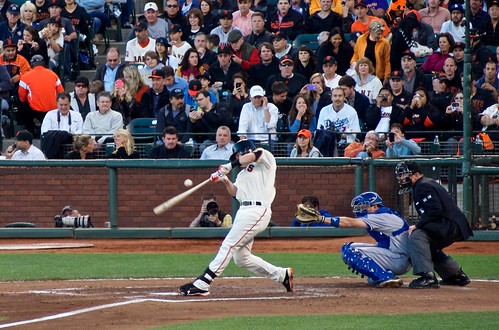
And finally, with the 40mm twisted into a Canon Rebel T1i, I crashed the Lowepro Summer picnic for some candid work. I also passed the camera around to see how others liked it. In the process, they took a photo of me.
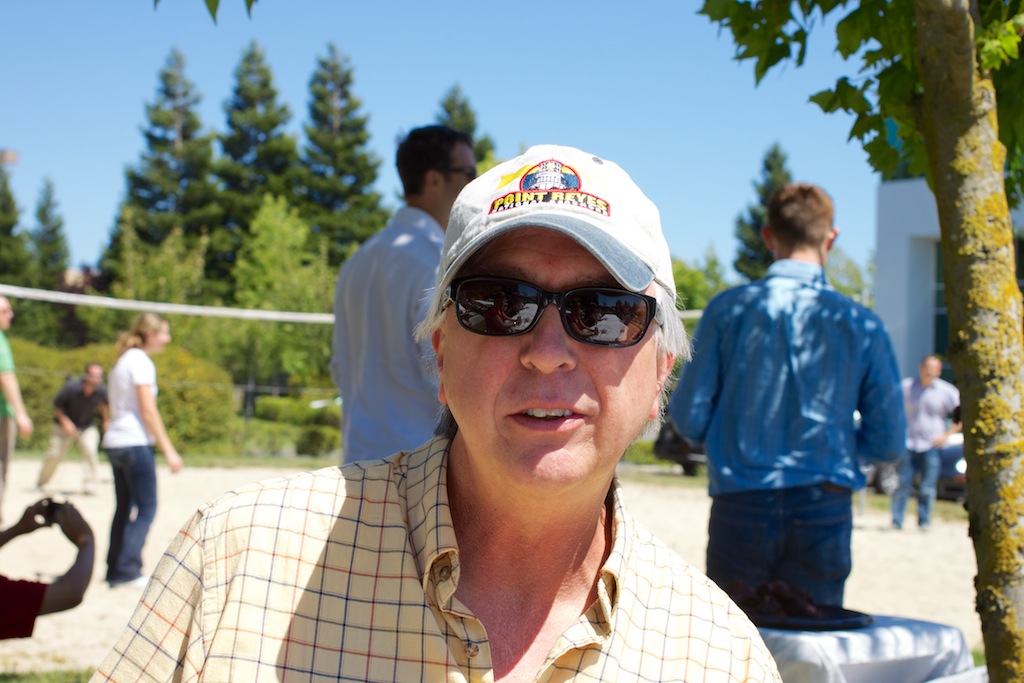 Photo of Derrick Story captured at the Lowepro summer picnic.
I like to call this lens the "optical body cap" because it virtually adds no thickness to my 60D when packed in the camera bag. I know this type of lens isn't for everyone. But I'm having a blast with it. Currently they're available for $199 US.
You can find more photo tips and "photography how tos" on my Pinterest page.