This is The Digital Story Podcast #749, July 28, 2020. Today's theme is "Resting on Your Laurels Can Hurt You - AP Switches to Sony." I'm Derrick Story.
Opening Monologue
Prior to the mirrorless revolution, Canon had the camera industry pinned to the mat. I remember attending an invite-only press event at PMA back in the day, and marveling at their confidence and swagger. And for good reason, they were dominate. But soon after, serious photography began to evolve away from the DSLR, and Canon was slow to innovate. And just last week, the Associated Press announced they were switching to Sony for all of their photography and video work. Today's top story on the TDS Photography Podcast.
Resting on Your Laurels Can Hurt You - AP Switches to Sony.
Change has been in the air for quite some time. A few months ago I read a story where at an important hearing DSLRs were deemed too noisy, and were allowed to shoot only at specific times. Silent mirrorless photographers could capture at will.
Since many of us are mirrorless shooters, we can imagine the benefits of these cameras over DSLRs during the daily grind of reporting. Mirrorless are lighter, more agile, and definitely quieter. If you had to carry a bag all day, every day, what would you choose?
Meanwhile, Sony continued to add necessary pieces to complete the professional photographer puzzle. They launched their professional service, they put long, wide aperture telephoto lenses in the roadmap, and they carefully integrated stills and video into the same camera system.
Then a week ago, the other shoe dropped: the Associated Press (AP) officially announced their switch to the Sony Alpha system. "With hundreds of staff photographers and videographers around the world, and thousands of freelancers who contribute, the AP is a massive and trusted source that covers both the expected and unexpected." Here's what they had to say about it.
The following interview quotes are from the story, 'We're confident that they can deliver': We talk to AP's Director of Photography about switch to Sony on DP Review.
"We liked the idea of having the color quality and the image quality being close to the same between stills and video equipment. So if a stills photographer helped out a video colleague with a little filming, or B-roll, it would fit in the edit. And if we were to pull a frame grab from a 4K video camera it would have the same basic feel as a photograph from a stills camera."
"And the lens mounts are the same, so if a videographer was working with a stills photographer, he or she could borrow a 600mm f4, or a stills photographer could try a cine lens to get a certain look. It just gives us some unique opportunities."
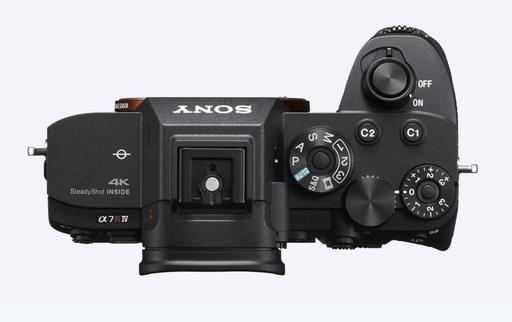
"The vast majority of the stills photographers will get a9 Mark IIs. We will get some a7R IVs for the videographers, and a couple for some of our entertainment shooters who do a lot of portraits. But the standard kit will be an a9 Mark II."
"On the video side there are six different cameras that might become part of the kit, from broadcast cine cameras all the way down to small palm-sized cameras, depending on the assignment. But we have six cameras spec'd-out on the video side."
Next, here are some quotes from the article, Why The Associated Press Just Switched To Sony on alphauniverse.com.
"We're excited to switch to this new technology partly because it can operate quietly, which makes it easy for us to go places that before the noise of a shutter might be distracting. Now we can go places and tell stories from different perspectives that we couldn't before. We also like the fact that what you see is what you get in the viewfinder. So if your color balance is off or your exposure is off, it is apparent immediately. We also like that it's lightweight." says David Ake, AP Director of Photography.
"For the very first time we'll have interchangeable lenses between some of our video cameras and some of our still photography cameras. That's extraordinary. We've yet to kind of really plot out what the effects of that will be to us at a year's time or two years time, but we know we're going to be able to work in a much more flexible, nimble way," says Derl McCrudden, Deputy Managing Editor.
I think there's also the sentiment that Sony is going to stay on the forefront of visual storytelling, and that investing in them will help AP stay at the top of their game as well.
Results from Our Listener Poll on the Near Future of Physical Workshops
We had an excellent turnout of 72 participants for last week's poll on physical workshops. Here's a summary of the results.
On the plus side, 27 (37 percent) respondents felt that a January workshop in Costa Rica was interesting to them and that they would consider it, at least from a pure health perspective. Fewer of those were optimistic about the feasibility of our planned event in October.
35 respondents (49 percent) ruled out the possibility of either workshop all together, based on the information that they have now. The availability of a vaccine is a major consideration for them.
10 respondents (14 percent) don't feel like there's enough information now to make a decision. I would say the odds of someone from this category signing up are slim.
This information is so valuable and has been a tremendous help to me. Along with other key elements, your comments will help direct us on a positive course moving forward.
In that spirit, I will announce my plans for the remainder of 2020, and the first half of 2021 on next week's TDS podcast. Included in that discussion will be both the October Eastern Sierra event, and my participation for Costa Rica in January.
I'm Now Writing on Medium
I've started publishing articles on Medium.com as @derrickstory. Posts that aren't anywhere else include: "How IBIS Saved the Day, er, The Night," "From LA to San Francisco, 61 Days in a Different World," and "My 10 Years with Olympus Cameras." If you're interested in these topics, I'm posting an article a week. You might want to stop by and follow.
After mentioning this last week, I was thrilled so see that many of you from our TDS audience were hanging out on Medium last week. Thank you so much for chiming in. I think this is going to be an excellent complement to the work we're doing on TDS.
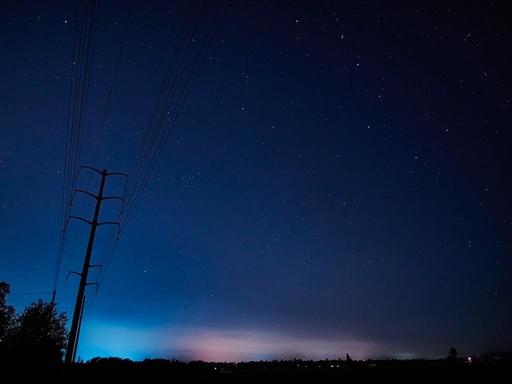
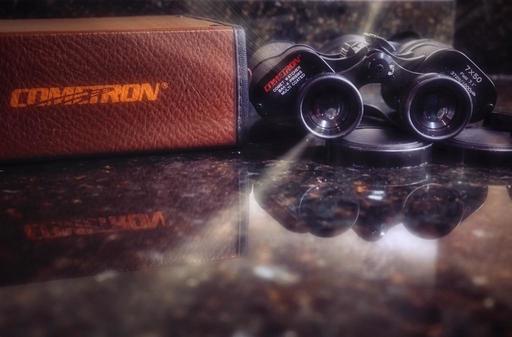
Comet and Night Sky Images from TDS Members
The night sky has been a welcome relief for many of us. Fresh air, interesting subject material, challenging work, and no masks! Here are some of the excellent contributions from our TDS Public Group on Flickr (a great place for photography, BTW.) I've picked a few of my favorites.
Ripping and Cataloging Audio CDs Now Available for Inner Circle Members
In this 40-minute video, I show you an easy way to incorporate audio compact discs into your current digital music library using iTunes/Apple Music for Mac or Windows.
You'll learn how to choose the best codec for your music, how to easily incorporate album artwork, and tips to keeping everything organized along the way.
It's available right now, for free, to TDS Inner Circle Members. And if you're not part of the Circle yet, you can sign up today and watch the movie right away. Just click on the Patreon tile that's on all the pages of The Digital Story.
The New Donation Kit for Carefree Shipping of Found Film Cameras
We have more time around the house than ever. And you finally dove into that bedroom closet that's been begging for some organization.
If you found a film camera that you're no longer using, our new Donation Kit makes it easy to pack and ship. Just visit the Contact Form on thenimblephotographer.com, click the box next to Donating a Film Camera, and let me know what you have. In your note, be sure to include your shipping address.
If it's a camera we can use for the shop, I'll send you a Donation Kit that includes a USPS Priority Mail shipping box and prepaid label. All you have to do is tape it up, insert the camera, and add the label. USPS will pick up your shipment from the front door of your house during their regular mail delivery. It's that simple!
Your donation help get analog gear in the hands of aspiring fine art photographers, and the proceeds help support this podcast.
Organizing and Archiving Digital Photos
It's a concern that lingers in the mind of just about every digital photographer: "How do I preserve my digital images and make them accessible while doing so?"
If you've had those thoughts, then help is available now. My latest LinkedIn Learning/lynda.com title, Organizing and Archiving Digital Photos is a complete course that shows you a variety of options and techniques to take control of protecting your image collection.
As your photo library grows, it becomes more important to back up your work. In this course, I teach the concepts and techniques behind efficient photo management for the long haul. First, I compare a few selected photo storage philosophies and techniques. I then show you how to create an ultralight backup system for travel, also back up photos stored on a laptop (or desktop), and finally, review archiving strategies for storing photos for decades.
Here are just a few of the talking points that I cover in the training.
- Creating an ultralight backup system for travel.
- Sending images from cameras to mobile devices.
- Internal vs. external hard drives (both have their roles).
- Organizing photos in managed vs. referenced catalogs vs. Finder-based.
- Re-archiving images from older hard drives (do this before they fail!).
- Integrating cloud services into your overall strategy.
- Including a few tips you might not have considered, such as making archival prints of your best images.
You can start fine-tuning your workflow today by watching Organizing and Archiving Digital Photos on LinkedIn Learning and on lynda.com. It's a great way to begin the process of protecting your digital media for years to come.
The Essential Steps to Impressive Video Conferencing
If you want to learn more about looking and sounding great for your next online interaction, then I think you'll very much enjoy my latest online workshop, The Essential Steps to Impressive Video Conferencing.
This 1-hour deep dive focuses on the 3 major areas of successful online interaction: Audio, Video, and Environment. During the course, I walk you through a variety of techniques that range from simple using gear that you already have, to improving your chops through a few inexpensive purchases.
The course is currently available for free to our Inner Circle Members on Patreon. Members, just go to our Patreon site, and all the information will be there. If you're not already an Inner Circle Member, you can join us for $5 a month.
The course is also available on our Nimble Photographer Workshop Page for $14.95.
I have tons of great tips and techniques waiting for you there. If you want to get serious about how you come across during online meetings, classes, interviews, and family interactions, then you definitely will want to watch this course.
Digitizing Family Memories Course Now Available Online
Each of the four classes will outline a specific set of steps for you to accomplish. By the end of the course, you will have an organized digital archive of your most valuable family images.
You can sign up for the course by visiting the Workshops page on The Nimble Photographer. The course fee is a reasonable $39 (on sale right now). It includes the 4 class videos, class notes, and access to the class forums that are a part of each movie.
Updates and Such
Inner Circle Members: A big thanks to those who support our podcast and our efforts! You can join our unofficial "Board of Directors" by visiting our Patreon page and signing up.
Due to the coronavirus pandemic, we've had to postpone our July photography workshop at Lassen Volcanic Park.
How to Watch Photos for macOS Catalina and iPadOS - Learn everything you need to know about Photos for the Mac and iPad by checking out my latest course on LinkedIn Learning and on lynda.com. This course is perfect for Mac and iPad based photographers who shoot with iPhone, Mirrorless, and DSLR cameras. It covers both photography and movies. And if I say so myself, it's a lot of fun.
B&H and Amazon tiles on www.thedigitalstory. If you click on them first, you're helping to support this podcast. (The Digital Story is supported by its audience. When you purchase through links on our site, we may earn an affiliate commission.) And speaking of supporting this show, and big thanks to our Patreon Inner Circle members:
Affiliate Links - The links to some products in this podcast contain an affiliate code that credits The Digital Story for any purchases made from B&H Photo and Amazon via that click-through. Depending on the purchase, we may receive some financial compensation.
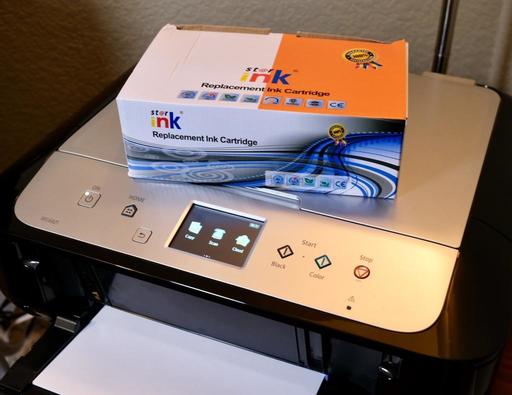
And finally, be sure to visit our friends at Red River Paper for all of your inkjet supply needs.
See you next week!
You can share your thoughts at the TDS Facebook page, where I'll post this story for discussion.
 Audio-Technica Pro-24CM - Compact Stereo Condenser Mic for recording ambient sound and voice.
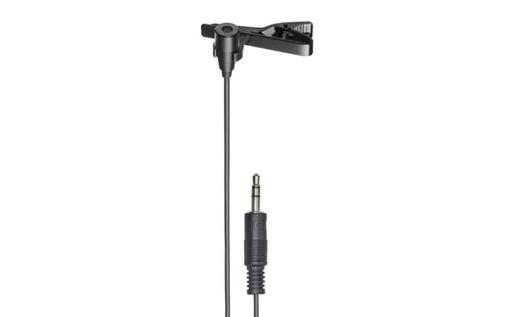 Audio-Technica Consumer ATR3350XiS Omnidirectional Condenser Lavalier Mic for recording voice in noisy environments and when I need my hands free.
 Rode VideoMic Pro+ Camera-Mount Shotgun Mic for interviews and general recording when the mic needs to remain on the camera.