As a
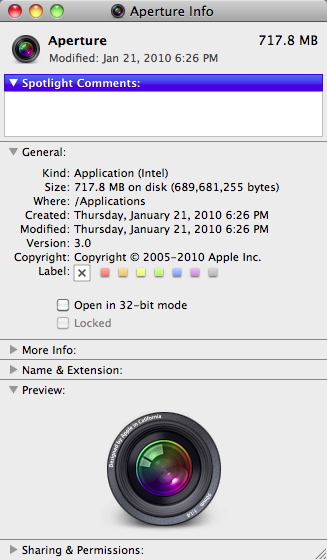
Canon S90 shooter, I was thrilled to see this top notch compact listed in
Aperture 3's Raw support list. I did a few preliminary tests, and I liked what I saw in Aperture. But then I started to wonder: How does Aperture's Raw processing compare to Canon's Digital Photo Professional? After all, there's lots going on behind the scenes here, including lens correction.
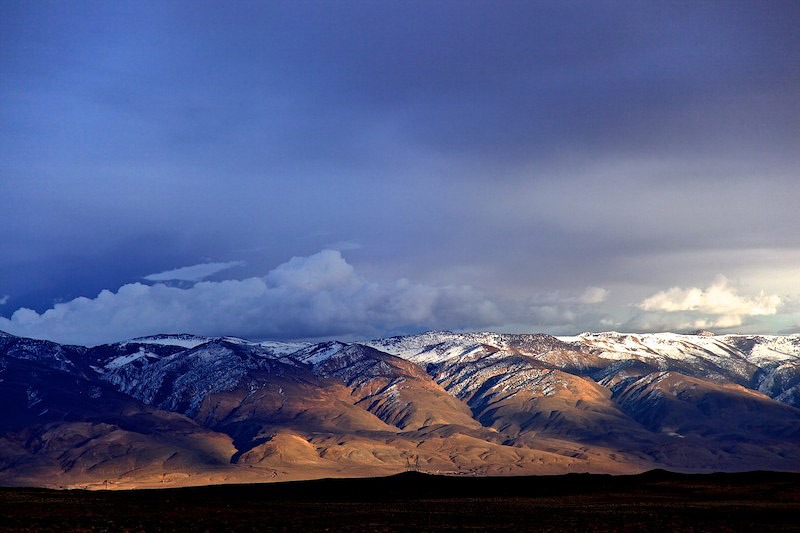
Top image processed in Aperture 3, bottom picture in Canon's Digital Photo Professional. Click on image to enlarge.
You may recall that I ran a similar test comparing DPP processing to ACR 5.6. In this current test, I tried to take advantage of the unique tools in each application to create the best image possible. I didn't add any sharpening after sampling down, as I normally would, because I wanted to keep the playing field level.
This shot was captured handheld at 28mm, f/5.6, ISO 100. I recorded the photo in Sparks, NV.
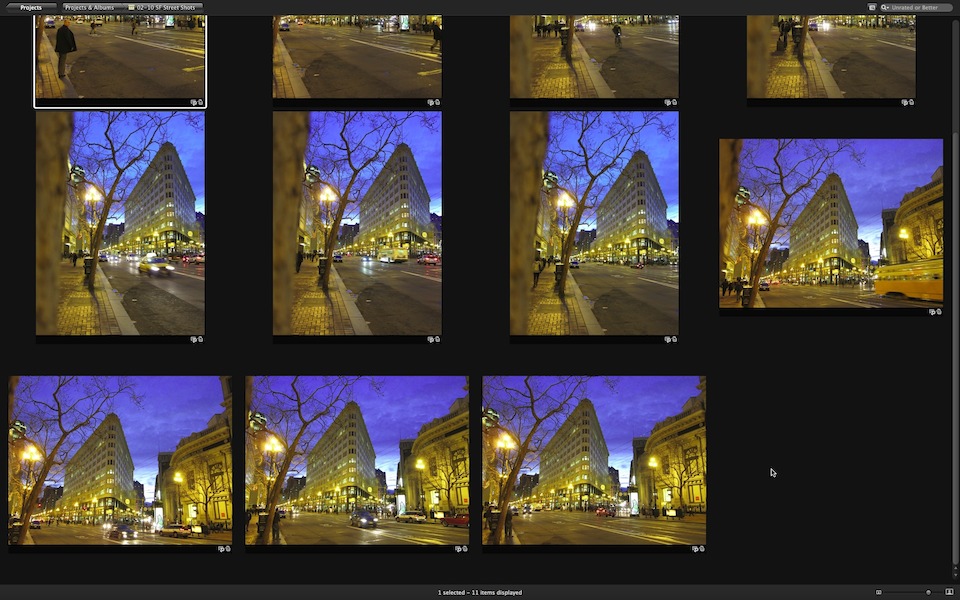
Aperture 3 Processing
The top image is processed in Aperture 3. I used the standard Aperture 3 Raw profile for the S90. I then used the following adjustments: Definition, Vibrancy, Levels, Edge Sharpen, and Vignette. You'll notice some distortion in the shot, best illustrated by the orange poll on the left side. Overall, I really liked how Aperture processed this image. It would be nice to have a tool to adjust the distortion in Aperture, but easier asked than programmed, right?
DPP Processing
The second image was processed in Canon's Digital Photo Professional. There aren't as many luminance and color controls as in Aperture, but I did have the Lens Aberration Correction control to counter some of the distortion in the image. Interestingly enough, DPP did not correct the distortion as part of the standard Raw processing. I had to enable the Aberration Correction control to straighten out the pole. And it was a bit odd having the Distortion slider hidden behind the Tune button for Aberration Correction. It does work nicely, however.
Bottom Line
Overall, I really like having all of the various image tools that are available in Aperture 3. But for certain S90 photos that require distortion control, I'll probably open them in DPP first, correct them, then save out as a Tiff for finishing off in Aperture 3 or Photoshop CS4. For everything else, however, I'm going to stick with Aperture 3.
More Aperture Tips and Techniques
To learn more about Aperture 3, check out my Aperture 3 Essential Training on Lynda.com. Also, take a look at our Aperture 3 Focus Section. Tons of free content about how to get the most out of Aperture.
More Articles About the Canon S90
Five Lesser Known (but very cool) Features on the Canon S90
Canon S90 Raw Processing Comparison: DPP vs ACR 5.6 RC
DigiScoping Pro Basketball with the Canon S90
Did Canon Really Improve Image Noise with the PowerShot S90?
"Compacts for Serious Shooters" - Digital Photography Podcast 201
Is the Canon S90 the New G11?
 Follow me on Twitter
-