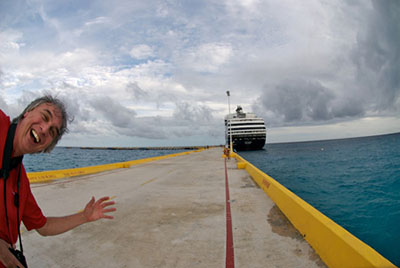
I've posted an underwater gallery from my recent trip to the Caribbean on a Geek Cruise. All of these images were captured with a rig that costs less than $500 US.
The Canon PowerShot SD700 IS is a 6-megapixel compact that has a large 2.5" LCD and is image stabilized. You can purchase the matching Canon WP-DC5 waterproof case that enables submersion up to 130 feet. (If you own a Canon compact, take a look at their Underwater Photography page. You can find the right case for your camera, plus there are tips to help you get the best shots possible with it.)
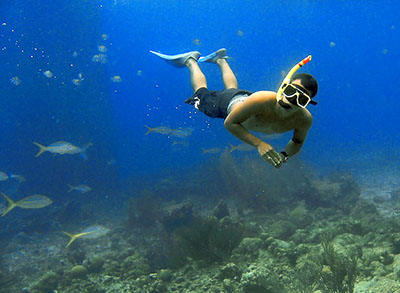
I don't like to use flash underwater (none of the images in the gallery used supplemental light), so I'm always looking for clear water with interesting landscape and fish. That way I can shoot in relatively shallow depths--often less than 10 feet.
Having a camera with image stabilization is very important. Everything is moving underwater, including you. The image stabilizer minimizes the effects of camera movement during exposure. I also increase the ISO to 400 to enable as fast a shutter speed as possible. And don't forget to use the camera's Underwater scene mode if it has one. It really helps with the white balance setting.
Once I'm out of the water, I still have some correcting to do in post production--most of it is levels and white balance adjustment. The good news is, once you figure out the adjustments you want, you can apply them to most of the shots from the day. Features such as "copy" and "paste" in iPhoto or "lift" and "stamp" in Aperture are real time savers for these types of assignments.
I also recommend that you get your own snorkel and mask if you plan to take up this sport. That way you know you'll be comfortable while diving. I have my own fins too, but they take up a lot of room in the suitcase. So I usually leave them at home when flying and use the fins available on the dive boat or for rent at the destination.
As with any type of nature photography, be very respectful of flora and fauna. Don't touch the coral or harass the fish. They will come to you out of curiosity if your body language is non-threatening.
Underwater photography is a terrific way to spice up your image library. I like the exercise I get with a good swim, and then you can celebrate your "catch" with a cold rum drink or two while relaxing on the beach afterward.
Photo of skin diver by Derrick Story, captured in Curacao with a Canon SD700 IS in a WP-DC5 underwater case.
Technorati Tags:
Aruba, Bahamas, Caribbean, digital photography, technique, Technology, The Digital Story, Underwater