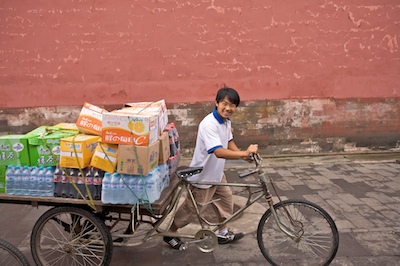
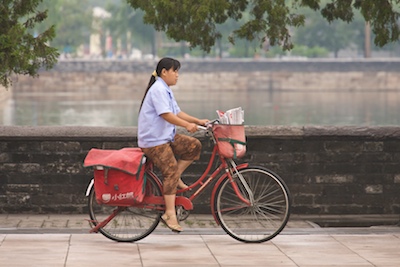
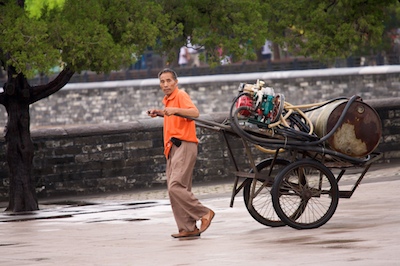
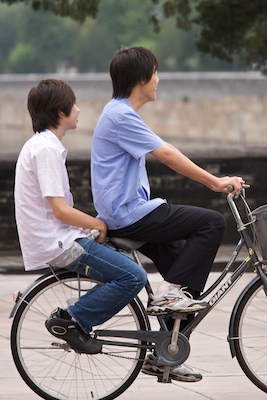
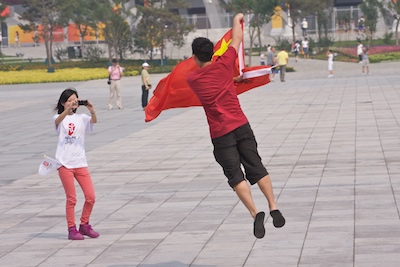
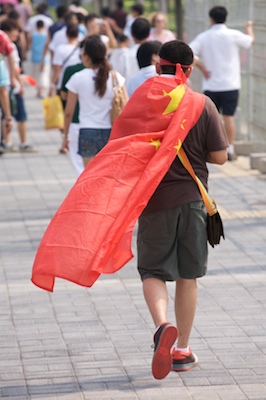
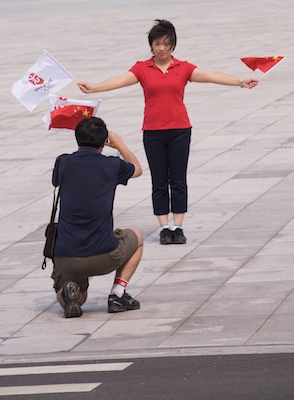
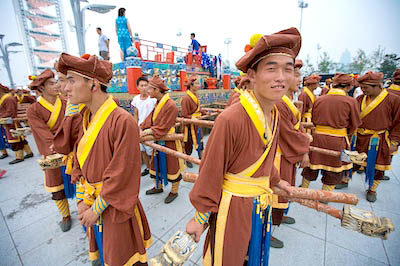
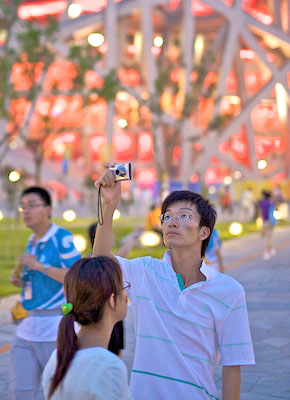
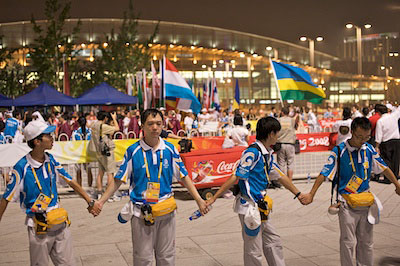
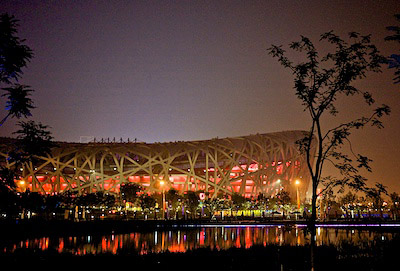
I just read DP Review's test report of the Sigma 50mm f/1.4 lens, and they back up what I've been saying about this beautiful glass. I used the Sigma often during my Beijing trip, and considered it my "go to" glass when working indoors.
But, if you need test results, DP Review now has them. The major drawback, from their perspective, is the $499 US price tag. I agree. It is expensive. And I thought twice before putting down my hard-earned money for it. But after depending on it for two weeks in China, I have to say the price doesn't seem quite as steep now.
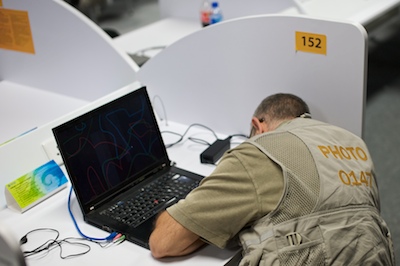
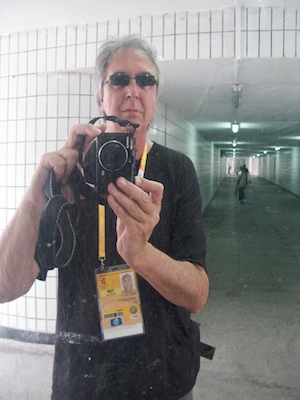
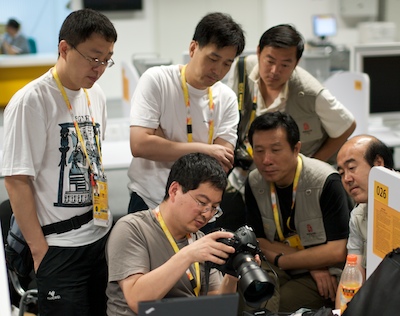
Photo of tired photographer captured inside the Main Press Center in Beijing by Derrick Story using the Sigma 50mm lens mounted on a Canon 5D.
 Now Available! The Digital Photography Companion. The official guide for The Digital Story Virtual Camera Club.
- 25 handy and informative tables for quick reference.
- Metadata listings for every photo in the book
- Dedicated chapter on making printing easy.
- Photo management software guide.
- Many, many inside tips gleaned from years of experience.
- Comprehensive (214 pages), yet fits easily in camera bag.
Technorati Tags: Derrick Story, digital photography, Sigma 50mm f-1.4, Technology, The Digital Story